We remove the pan for repair or replacement, as well as to replace the gasket if there is oil leakage through the gasket, if tightening the bolts fails to eliminate the leak
To do the job, you need tools: socket heads 10, torx E8, wrench 13, engine oil, cleaning cloth, oil drain container, sealant.
We install the car on a lift or a viewing ditch.
Removing the engine crankcase protection (article - Removing the protection of the Nissan Almera power unit)
Drain the oil from the engine (article - Checking and changing the oil in the Nissan Almera engine)
Remove the right mudguard.
Removing the rear support of the power plant (Replacing the supports of the K4M Nissan power plant Almera)
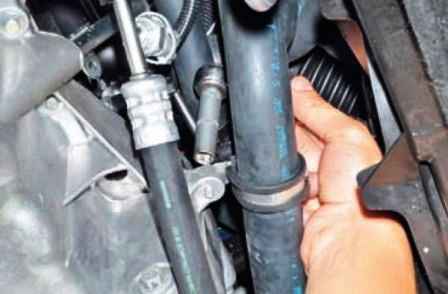
From the bottom of the car, from the front side of the engine, with a head of 10, unscrew the bolt securing the radiator outlet hose to the engine pan
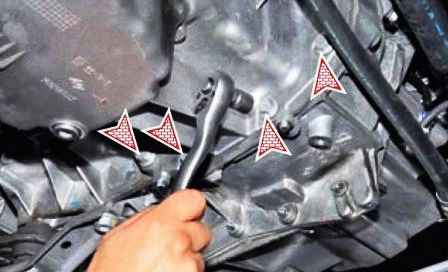
With a 13 head, unscrew the four bolts securing the oil pan to the gearbox
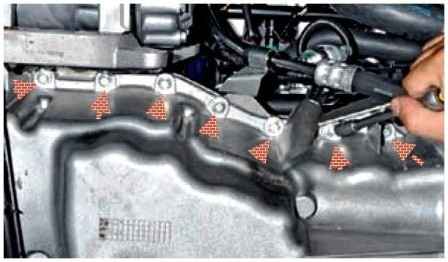
With a head of 8, unscrew the nine bolts of the front fastening of the pallet
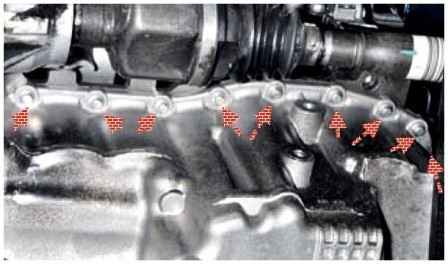
With the same tool, unscrew the nine bolts of the rear mounting of the pallet
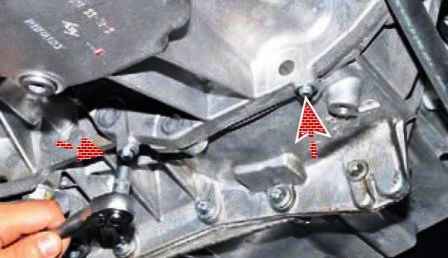
We unscrew the two bolts of the left fastening
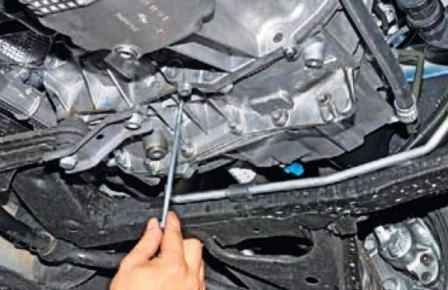
We unscrew the two long bolts of the left fastening of the oil pan
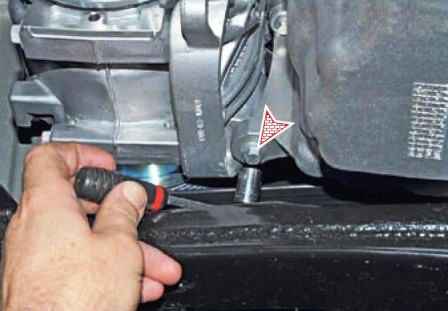
With a head of 10, we unscrew the bolt securing the oil pan to the bracket of auxiliary units
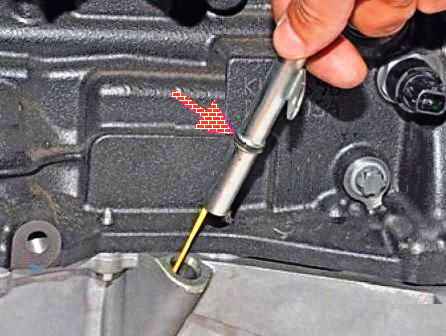
Remove the oil gauge guide tube
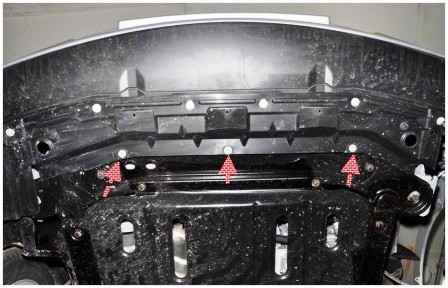
We unscrew the three screws securing the front bumper shield to the subframe
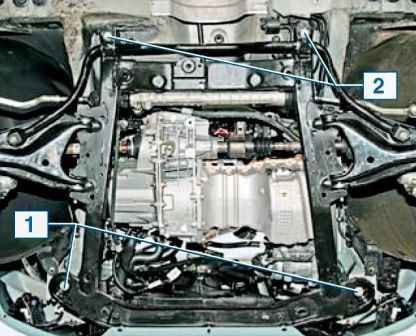
We unscrew the bolts of the rear fastening of the subframe by 3-4 turns.
Having unscrewed the bolts securing the two brackets of the subframe to the body and the bolts securing the subframe to the body, lower the front part of the subframe on the adjustable stand.
Pull the subframe down, remove the oil pan and remove it from behind the subframe.
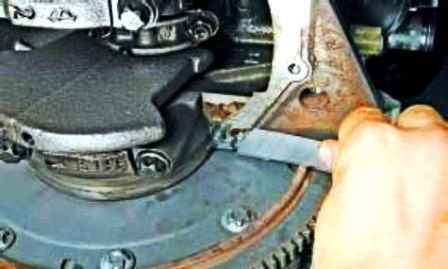
We clean the mating surfaces of the cylinder block and the oil pan from the remnants of sealant and oil.
Rinse the oil pan with kerosene.
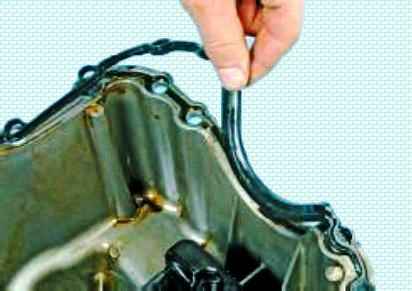
We put a new gasket in the grooves of the oil pan.
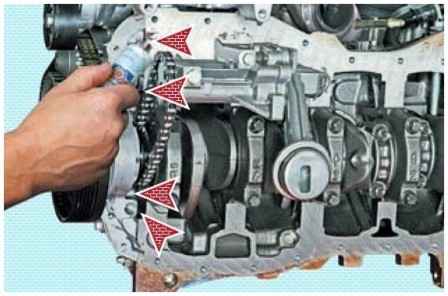
Before installing the oil pan, apply a thin layer of sealant to four places on the cylinder head cover (shown on the removed engine)
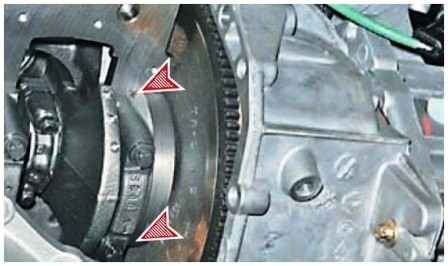
And two places of the cover of the first main bearing of the crankshaft
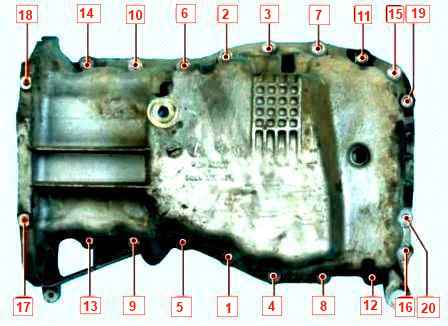
We install the oil sump, screw in twenty bolts.
We tighten the bolts in the order shown in the figure.
Pre-tightening 8 Nm. Final tightening 14 Nm.
Four bolts securing the oil sump to the clutch housing are tightened with a torque of 27 Nm.


