We change the anthers of the drive hinges in case of damage or when replacing the hinge.
Preparing the car for repair. We perform work on a lift or on a viewing hole.
Replacing the anther of the inner joint of the right wheel drive
We remove the drive (see the article - How to remove the Nissan Almera wheel drive).
Clamp the drive shaft in a vise with soft jaws.
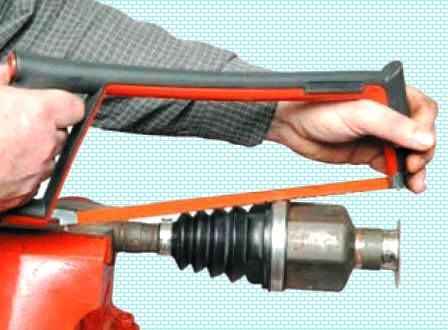
Saw through a large boot collar.
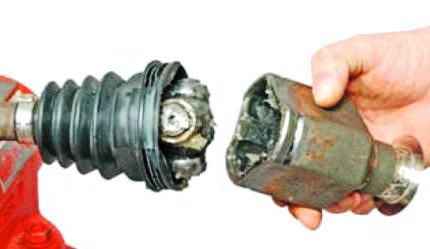
Remove the boot from the hinge body and take out the hinge body.
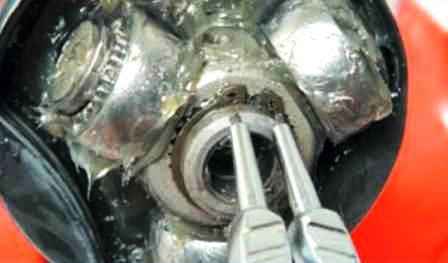
Using pliers, remove the retaining ring.
Using a core, mark the position of the inner hinge housing relative to the shaft (if we replace only the anther).
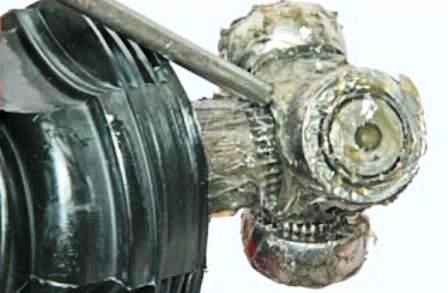
Using a drift and a hammer, we knock the inner casing off the shaft.
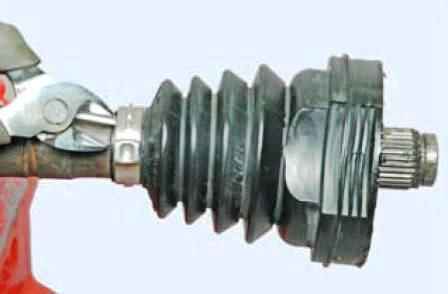
We bite the small clamp with wire cutters and remove the anther from the hinge.
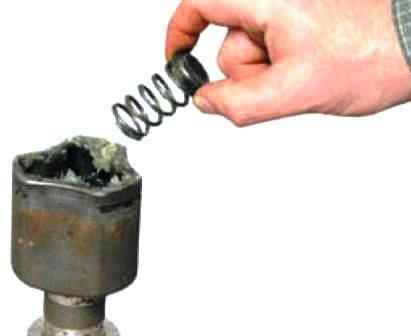
Remove the spring along with the thrust washer.
We wash and blow through all the insides of the hinge.
Inspecting and defecting parts.
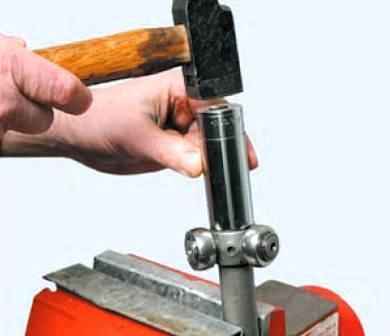
Assemble in reverse order.
Through the mandrel we press the three-stud into the position that was marked before removal.
Before putting on the boot, apply a thin layer of lubricant.
Pour 124 cm3 grease into the hinge cavity.
Replacing the anther and the bearing of the inner joint of the left wheel drive
Clamp the drive shaft in a vise.
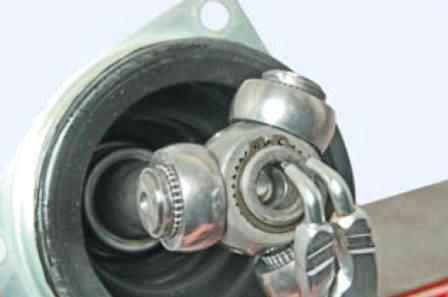
Remove the retaining ring
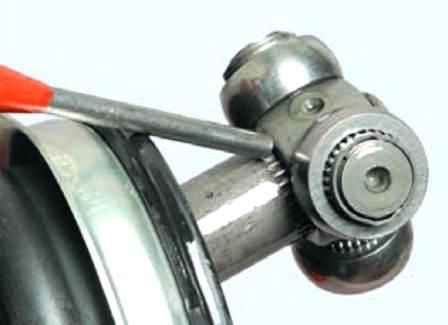
Mark the position relative to the shaft and knock the three-stud off the shaft
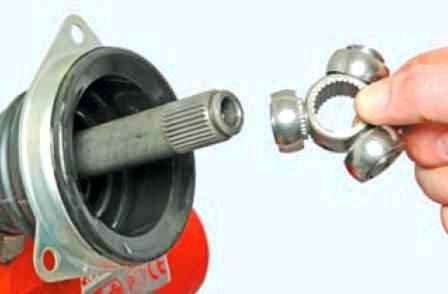
Remove the inner part of the hinge
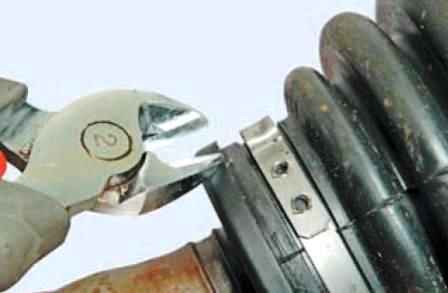
We bite the collar with wire cutters
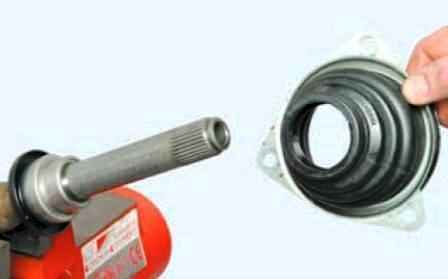
Remove the boot. We remove the holder from it
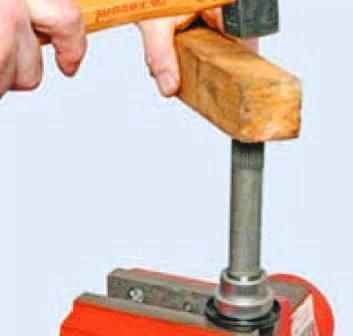
We install the drive shaft in a vise so that the bearing rests against the jaws of the vise, and compress the bearing.
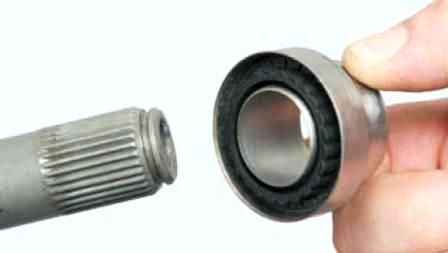
Remove the bearing and boot from the shaft.
We press the bearing on the press.
For correct positioning on the shaft, the bearing must be pressed onto it so that the distance between the ends of the bearing and the shaft is 118±0.2 mm.
This requires a mandrel, which can be made from a piece of pipe with an outer diameter of 30 mm, an inner diameter of 26 mm, and a length of 118 ± 0.2 mm.
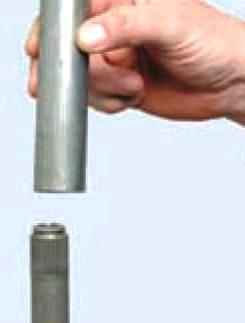
We put the mandrel on the shaft and press the bearing until the end of the mandrel is flush with the end of the shaft.
After that, we put on a new boot and attach it to the outer ring of the bearing.
We press the three-stud, put on the retaining ring.
Replacing the boot of the outer joint of the wheel drive
Removing the front wheel drive (article - How to remove the Nissan Almera wheel drive)
We clean the hinge from dirt and clamp the drive shaft in a vise
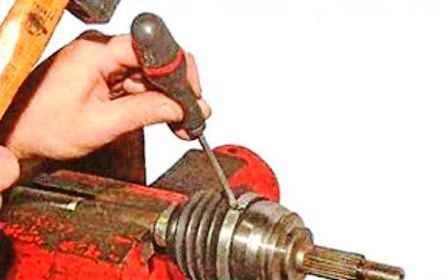
Having placed the blade of a flat screwdriver at the junction of the lock of a large clamp, we strike with a hammer on the handle of the screwdriver
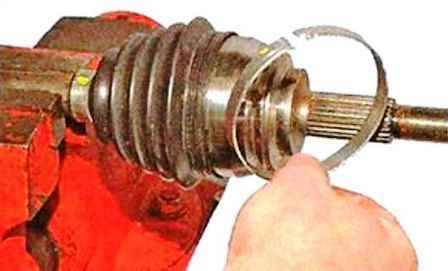
Opening the lock of the clamp, remove the clamp
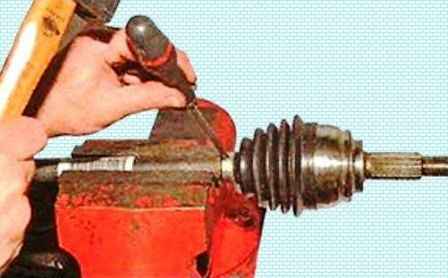
Having placed the blade of a flat screwdriver at the junction of the lock of the small clamp, we strike with a hammer on the handle of the screwdriver
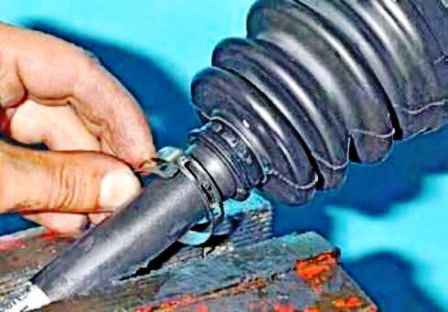
Opening the lock of the clamp, remove the clamp
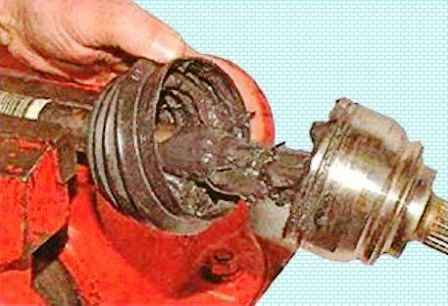
Remove the cover from the body of the outer hinge and move the cover along the shaft towards the inner hinge.
The cage of the outer joint is fixed on the shaft with a retaining ring.
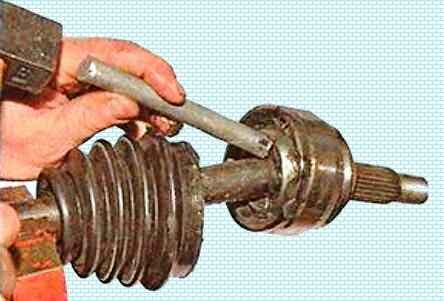
To remove the outer hinge with a soft metal drift, knock the outer hinge off the splines of the drive shaft, striking the end of the cage and at the same time moving the punch along the circumference of the cage.
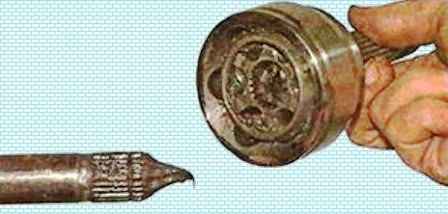
Remove the outer joint from the shaft
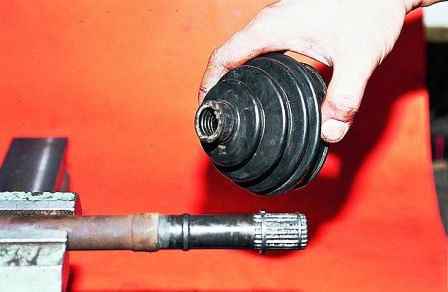
Remove the dirt cover from the shaft
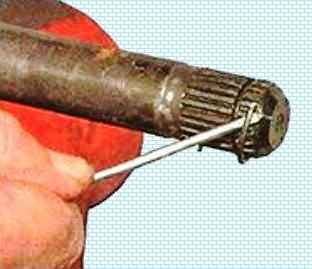
Pry off the retaining ring with a screwdriver
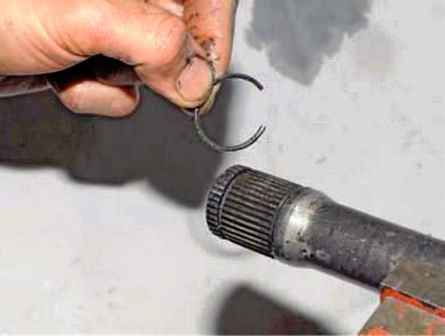
Remove the retaining ring from the groove on the shaft
If the hinge is removed only to replace the boot (when it is known that it was recently damaged and the CV joint has retained its performance), then without disassembling the hinge, remove the old grease from the hinge and wash it in kerosene.
Blow out the hinge with compressed air. We inspect the balls, the separator, the clip and the internal cavity of the body.
Scoring, dents, cracks, traces of corrosion on the hinge elements are not allowed - such a hinge is replaceable.
We clean the shaft of the old grease and apply a thin layer of new grease to it.
We put a new hinge cover on the shaft. We install a new retaining ring in the groove of the shaft.
We put in and evenly distribute the required amount of new grease in the cavities of the hinge body and its cover.
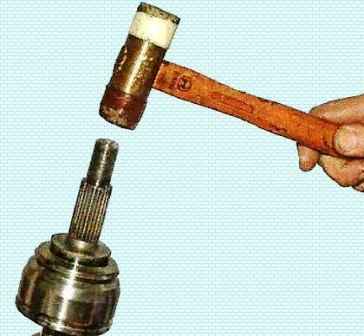
We put the hinge on the shaft and, striking with a soft metal hammer on the splined shank of the hinge, press the hinge onto the shaft.
Check the fixation of the hinge cage with the retaining ring.
Checking the mobility of the hinge - it should move without jamming.
We pull the cover onto the hinge body so that the belts of the cover for the clamps are located in the corresponding places of the shaft and the hinge body.
We fix the hinge cover with new clamps and.
The design of the factory clamps during the installation of the CV joint does not allow them to be installed in a garage, since this requires special equipment.
In this case, for example, you can use commercially available universal clamps with locks for attaching CV joint covers.
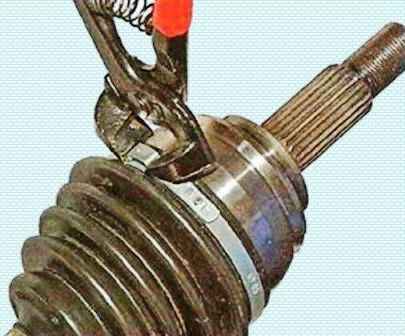
Having installed the clamp in the groove of the cover, and fastening the lock with pliers with blunt edges, we squeeze the clamp lock.
We check the reliability of the fastening of the clamp, trying to move it by the lock along the groove of the cover.
When properly tightened, the clamp should not move.
Install the front wheel drive in reverse order.


