In the article, we will consider the removal and installation of parts and elements of the car's air conditioning and heating system
Condenser replacement
Disconnect the negative battery terminal
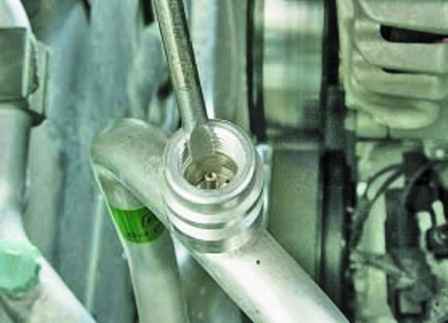
Release the refrigerant from the air conditioning system
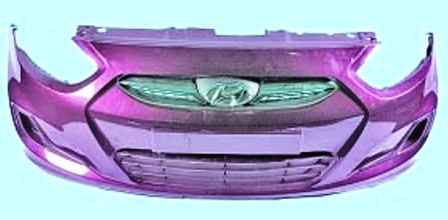
Removing the front bumper as described in the article – Removing the fenders and bumpers of the car Hyundai Solaris
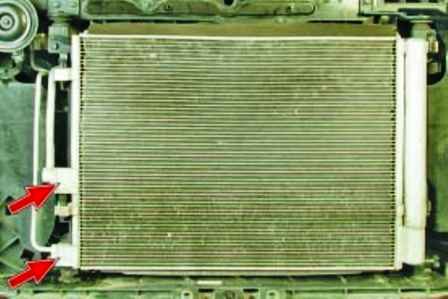
We unscrew the two bolts securing the flanges to the condenser and remove the pipelines from the condenser
After disconnecting, the pipelines must be plugged to prevent dirt and moisture from entering
O-rings of pipelines will definitely need to be replaced
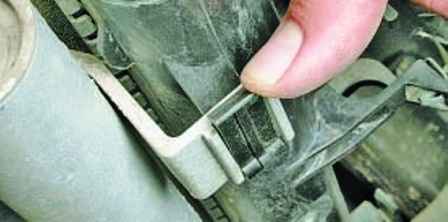
We press the latches securing the condenser to the radiator and bring the condenser up from the latches
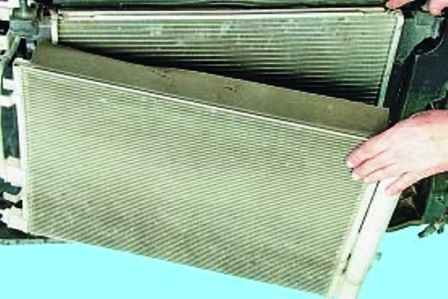
Remove the condenser
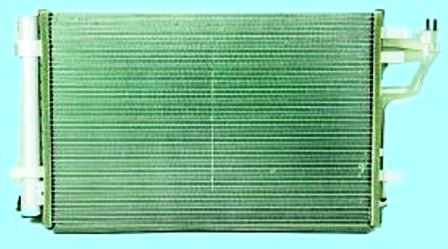
Install the condenser in reverse order
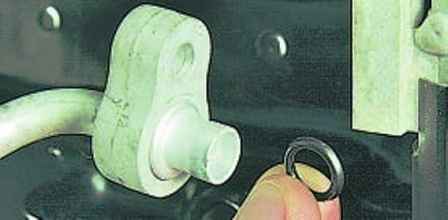
The flange plugs of the new condenser are removed just before the pipes are connected
We lubricate the new O-rings with oil for the air conditioning compressor
Filling the system with refrigerant
Replacing thermostatic valve
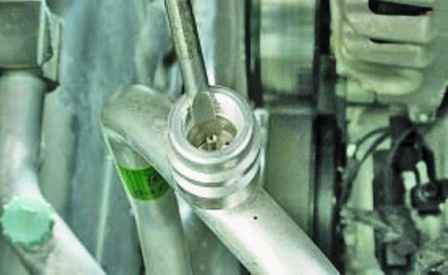
Release the refrigerant from the air conditioning system
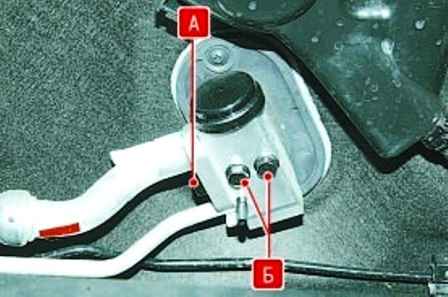
We unscrew the bolt "A" that secures the flanges of the outlet and inlet pipes to the thermostatic valve.
We unscrew the two bolts "B" securing the valve to the evaporator flange
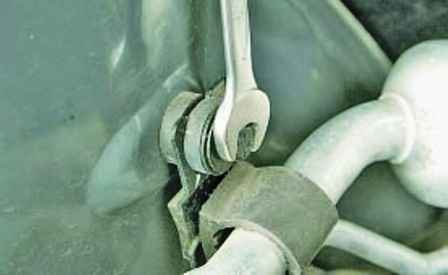
Unscrew the nut and release the tube holder bracket on the right mudguard of the body
We move the pressure plate and remove the tube flanges from the thermostatic valve
Remove the valve from the evaporator flange
If particles of solid sediment (usually in the form of small balls) are found in the throttling hole of the valve, it means that the filter element of the receiver, filled with desiccant (silica gel) granules, has collapsed.
Replacing only the thermostatic valve in this case will not give a positive result.
You will need to replace the receiver cartridge with a system flush.
This rather time-consuming work can only be done in a special cialized service center using special technological equipment.
We install new O-rings on the flange of the evaporator pipelines
Install the thermostatic valve in reverse order
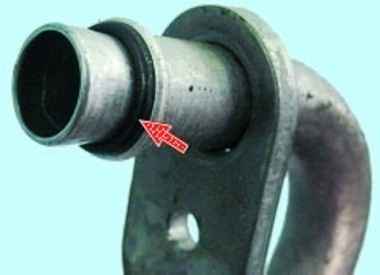
We install new O-rings on the tube flanges and lubricate them with compressor oil
Filling the air conditioning system
Replacing the filter element of the receiver-drier
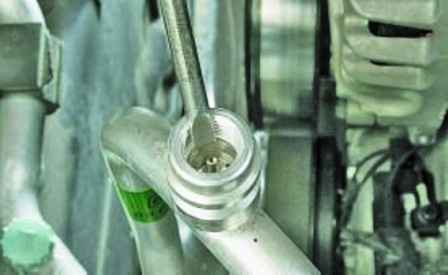
Release the refrigerant from the system
Remove the condenser as described above
On the receiver, the hole for the filter element can be closed with a threaded plug or a plug with a retaining ring
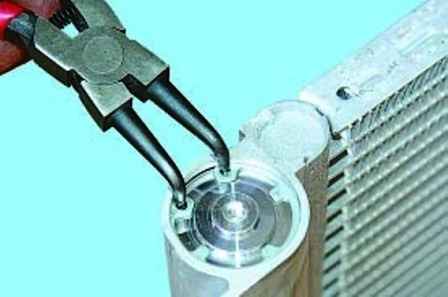
If the hole is closed with a plug with a retaining ring, then use a puller to remove the ring
We take out the plug. Can be removed with compressed air
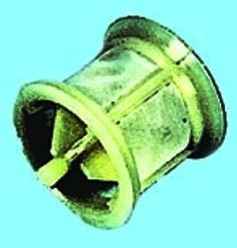
Remove the strainer and the old cartridge from the receiver body
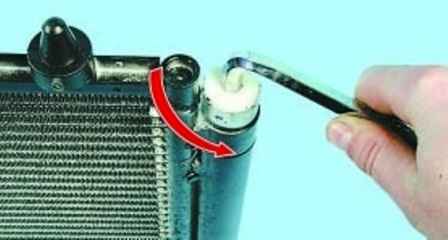
If the hole is closed with a screw plug, then unscrew it with a hex wrench
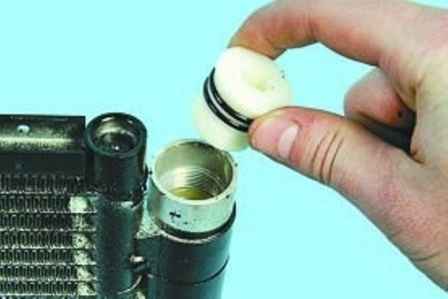
Remove the cork from the receiver
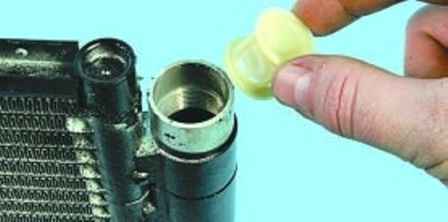
We remove the strainer and the old cartridge from the housing.
If particles of aluminum or plastic are found on the surface of the cartridge, it means that the pump part of the compressor has collapsed.
Replacing only the cartridge in this case will not give a positive result. You will need to replace the compressor with flushing the system.
This rather time-consuming procedure can only be performed at a specialized service center using special technological equipment.
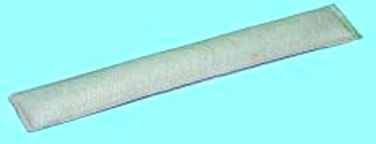
Opening the sealed package and installing a new cartridge
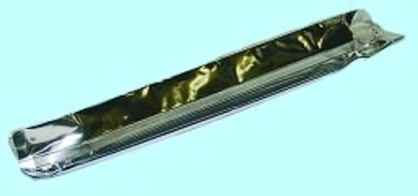
When purchasing a new filter element (cartridge), make sure that it has been stored in a sealed package. A filter element that has been stored unpackaged is unusable, even if it is brand new and clean.
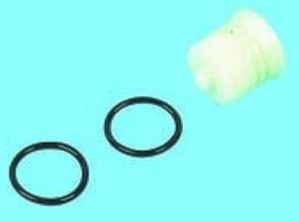
Lubricate the sealing rings of the plug with clean oil for the compressor, and screw the plug into the receiver
If the plug is with a snap ring, then put the plug and snap ring.
Install the condenser in reverse order and charge the system with refrigerant.
Pressure sensor replacement refrigerant
The sensor is screwed into the threaded fitting of the pipeline
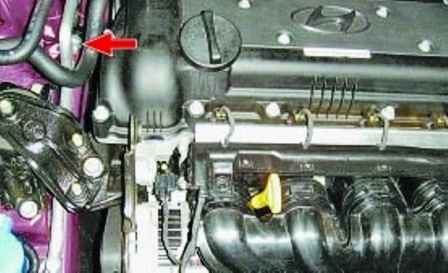
To replace the sensor, we bleed the refrigerant from the air conditioning system
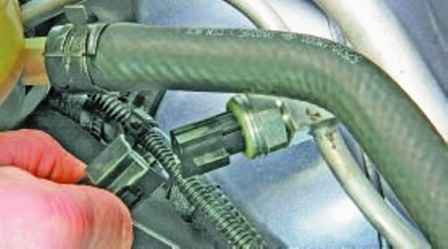
We press the latch and disconnect the block of wires from the sensor
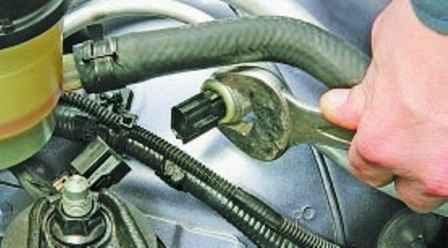
Unscrew the sensor from the threaded fitting on the tube
Install the new sensor in the reverse order and tighten with a torque of 11 Nm.
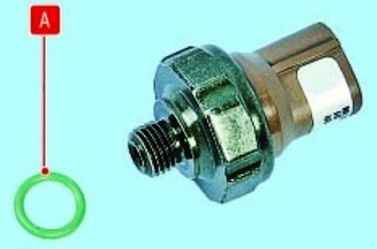
Replace ring "A" on the sensor with a new one and lubricate with oil for the air conditioning compressor
Filling the system with refrigerant
Replacing the outside temperature sensor
The outside temperature sensor, although located at the front of the vehicle behind the bumper in a sun-protected and ventilated area, is affected by factors such as warm air from the engine and radiation from heated asphalt.
Therefore, its readings can sometimes be somewhat overestimated, especially after a long idle time in traffic jams.
The outside temperature can be considered correct when driving at a speed of at least 40 km/h for at least 10 minutes.
To replace the sensor, disconnect the negative battery terminal
Removing the front bumper as described in the article – Removing the fenders and bumpers of the car Hyundai Solaris
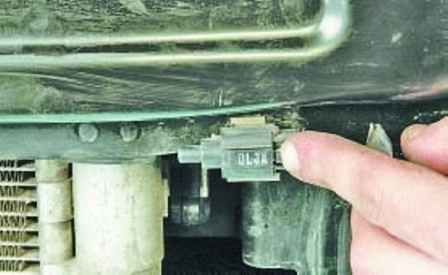
Squeeze the wire block retainer
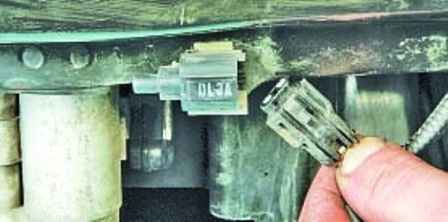
Disconnect the block from the sensor
Remove the sensor by prying it with a screwdriver
Install the sensor in reverse order.
Replacing the light sensor
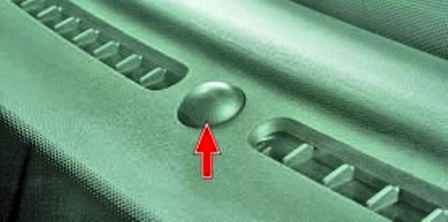
To increase the efficiency of the climate control system and more comfortable distribution of air flows, a solar light sensor is installed on the instrument panel near the windshield glass.
Depending on the degree of heating of the cabin by the sun's rays, according to the signals of the sensor, air flows are directed to the area of \u200b\u200bthe face or legs of the driver and front passenger.
To replace the sensor, disconnect the negative battery terminal
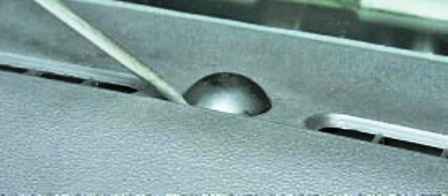
Pry off the sensor with a screwdriver
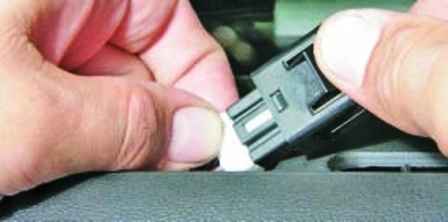
Remove the sensor from the hole in the instrument panel
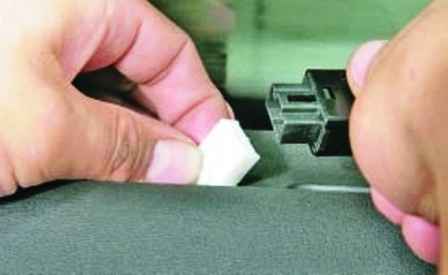
Ots we connect a block of wires from the sensor
Do not loosen the solar sensor wiring harness, otherwise you will have to remove the instrument panel to remove it.
Install the sensor in reverse order
Removing the heating and air conditioning control unit
Disconnect the negative battery terminal
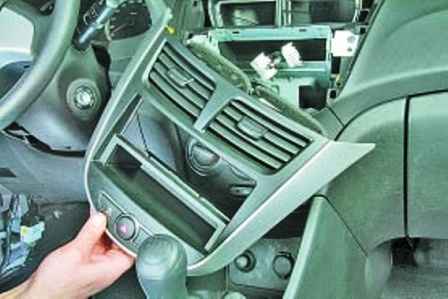
Removing the central overlay of the instrument panel, described in the article - How to remove the dashboard (torpedo) of a Hyundai Solaris car
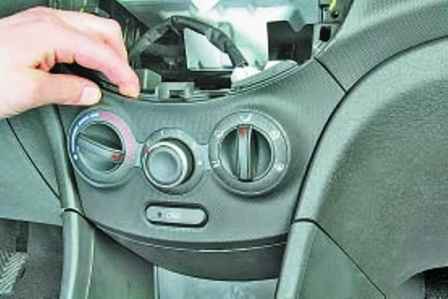
Hook the block with your hand
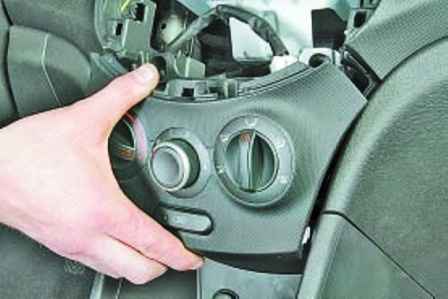
Displaying the block from the dashboard
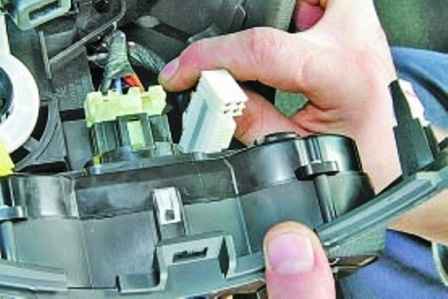
Disconnect the wire blocks from the block
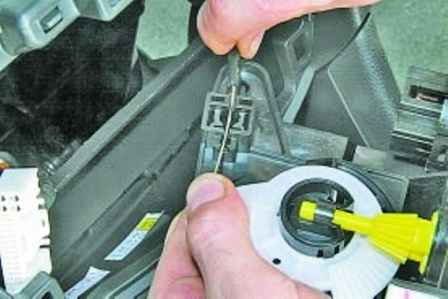
Remove from the holders on the body of the unit the cable for the drive of the damper for adjusting the temperature of the air supplied to the passenger compartment
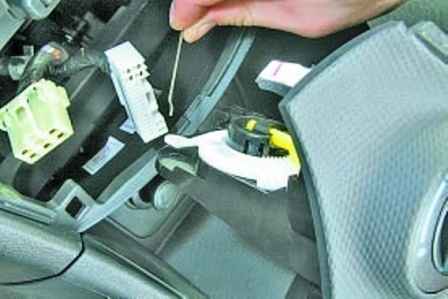
Disconnect the cable from the regulator lever
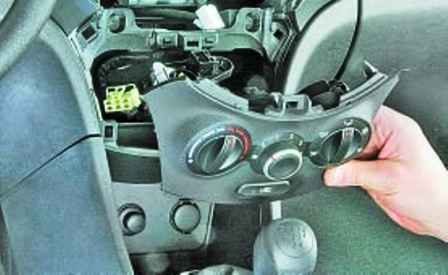
And remove the control unit
Install the control unit in reverse order


