The windshield wiper consists of a gearmotor with rods, levers and brushes
The wiper mechanism is located under the instrument panel
On older soft top vehicles, the mechanism is mounted on top of the windshield frame.
Wiper motor - 3-brush, permanent magnet, 2-speed
To protect against overloads, a thermal bimetal fuse is installed in it
The cleaner has three modes of operation, which are switched on by the right steering column switch.
Intermittent operation is provided by relay 524.3747, installed under the instrument panel on the pedal assembly.
Legacy vehicles used a single or two speed wiper motor that did not have intermittent operation
Power was supplied to the electric motor through the fuse block No. 2.
The wiper switch was combined (it also controlled the washer) and was installed on the instrument panel
The windshield washer consists of a plastic reservoir with an electric pump, nozzles and flexible hoses
The washer is activated by the right steering column switch, while power is supplied to the pump and wiper motors
Removing and disassembling the wiper
Disconnecting the battery
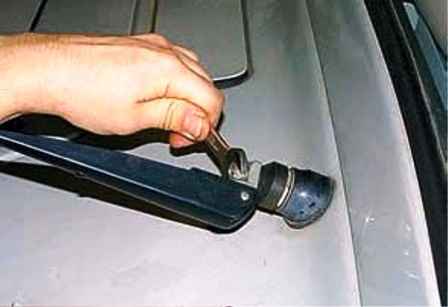
Raise the brush lever and use a 10 key to unscrew the nut of its fastening
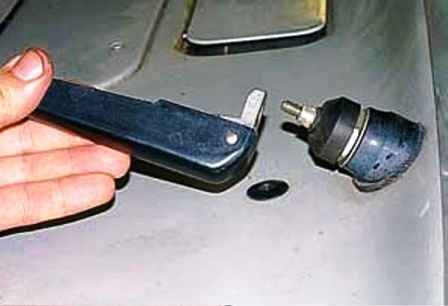
Remove the lever from the slots along with the brush
If the lever is not removable, you can pry it with a wrench
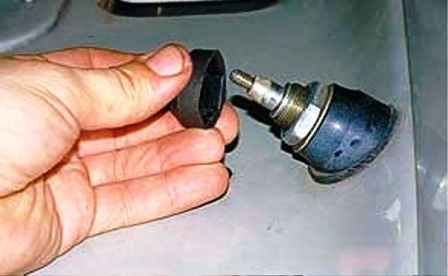
Remove the protective cap
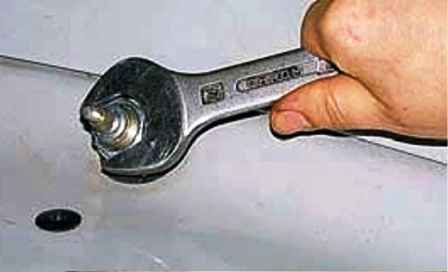
Unscrew the nut with a 24 wrench and remove the sleeve with a rubber gasket
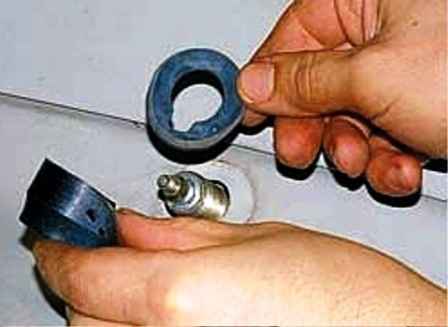
We also release the brush drive on the other side
For convenience, remove the instrument cluster from the panel without disconnecting the wires
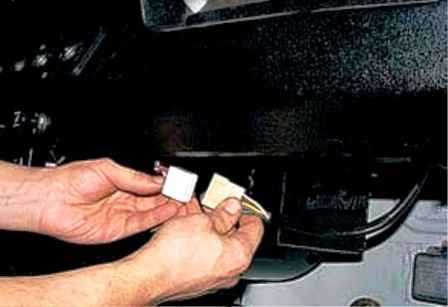
On the right side under the instrument panel, disconnect the cleaner wire block
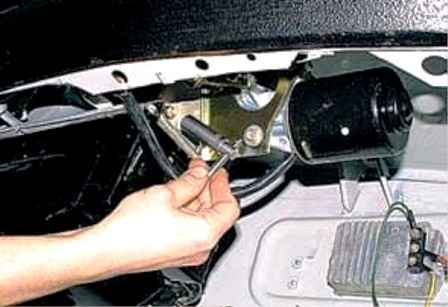
We unscrew the three bolts securing the wiper bracket to the body with a 12 head
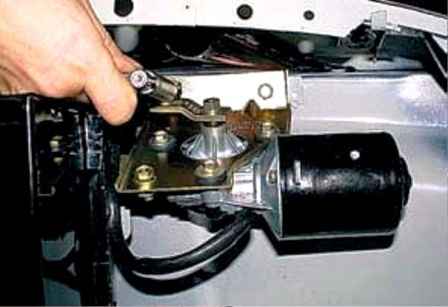
One on the side and two on top
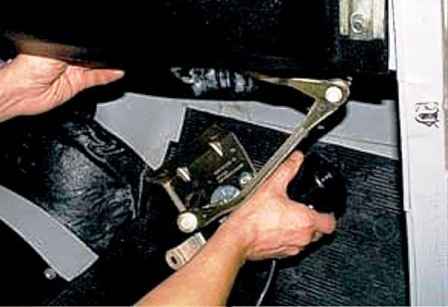
Remove the wiper, carefully removing its rods from under the dashboard
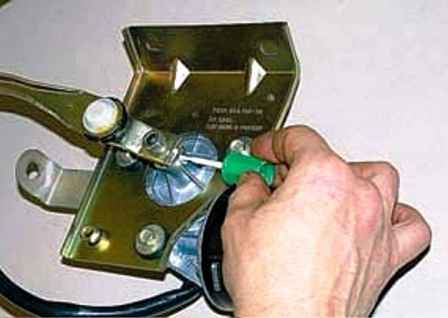
We mark the relative position of the gearmotor and the crank on its shaft
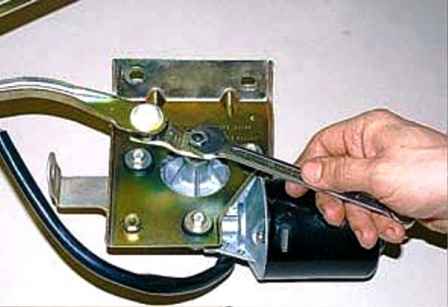
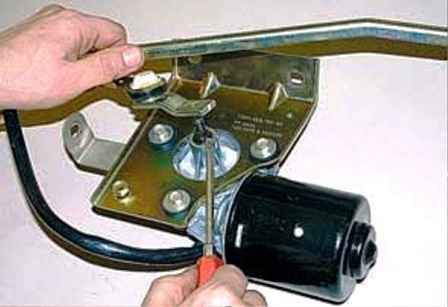
Unscrew the 13 nut with a wrench and, prying with a screwdriver, remove the crank from the shaft splines
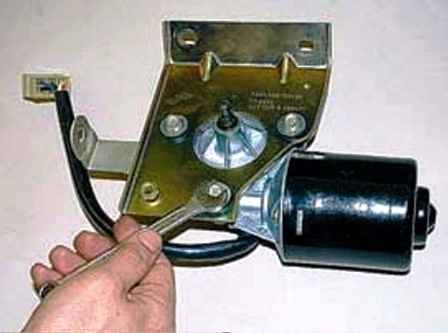
We unscrew the three bolts securing the bracket to the gearmotor with a 10 key and remove the bracket
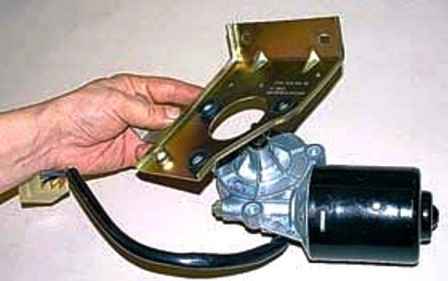
It is recommended to replace a faulty gearmotor as an assembly (cleaning the contacts of the limit switch and replacing the brushes is possible).
We straighten bent rods.
Assemble the windshield wiper in reverse order.
At the same time, we install the crank on the gearbox shaft by the mark
Before assembling the wiper with a new gearmotor, we transfer the label to the new gear
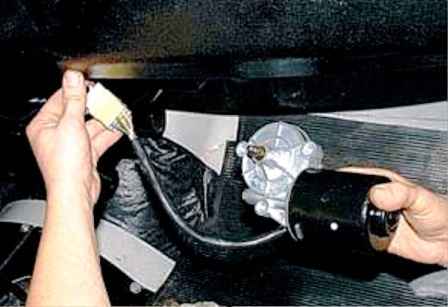
We connect the reducer wiring harness block to the corresponding connection block of the on-board network and turn on the cleaner for a short time.
Only after the electric motor has completely stopped, disconnect the block and assemble the wiper
After installing a new windshield wiper assembly, it is possible that the wiper blades move out of the glass or stop in a non-down position
If it is not possible to eliminate the malfunction by rearranging the brush levers, it is necessary to achieve the correct operation of the cleaner by rearranging the crank on the gearbox shaft
When installing the cleaner under the panel, we check (through the hole in the instrument cluster) that its rods do not touch the wires during operation
Replacing the windshield wiper and washer relay
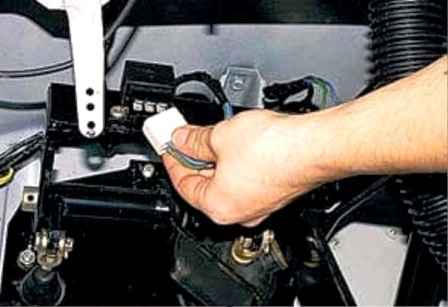
On the right side under the instrument panel, disconnect the wiring harness from the wiper and windshield washer relay
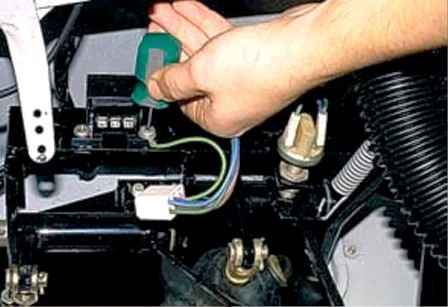
Using a Phillips screwdriver, unscrew the two screws securing the relay to the pedal assembly bracket
The earth wire is fixed with one screw
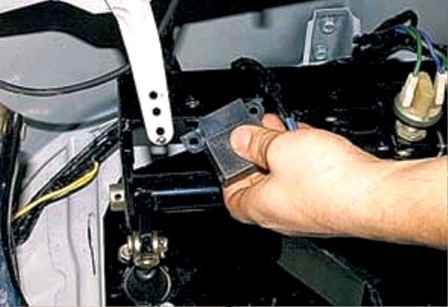
Remove the relay
Install the new relay in reverse order


