We remove the ignition distributor sensor for repair, as well as for replacement
Removing the cover and the runner of the sensor-distributor
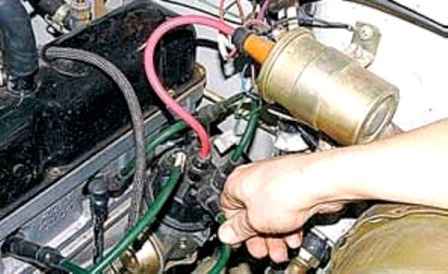
Removing the high-voltage wires from the cover
In order not to confuse, we mark their position. The socket in the cover for the wire of the first cylinder is marked with the number 1
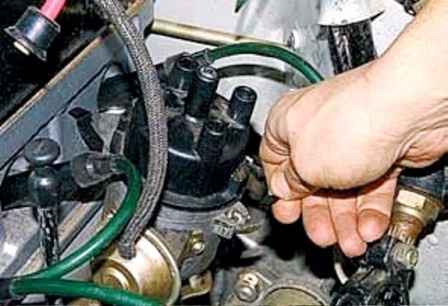
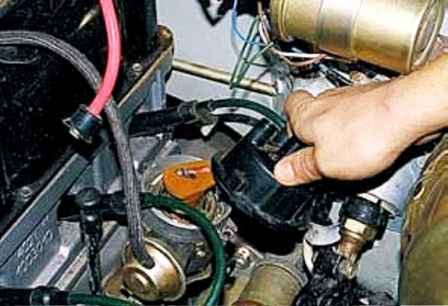
Release the two spring clips and remove the cover
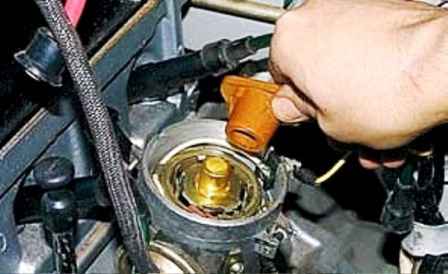
Remove the slider by pulling it up
Install the new slider and cover in place.
We connect the high-voltage wires to the cover, observing the order of operation of cylinders 1-2-4-3, starting from the output "1" counterclockwise.
The lid can only be installed in one position.
When assembling, check the alignment of the protrusion of the cover with the slot on the distributor body.
Lubricating the distributor sensor
Remove the cover and the distributor sensor slider as described above
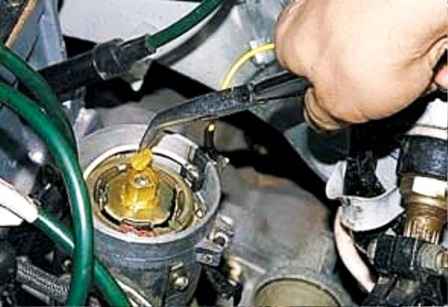
Remove the felt from the rotor hub
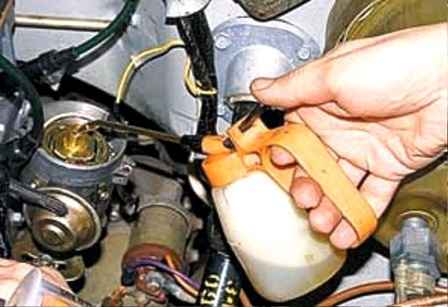
Add four to five drops of engine oil to the rotor hub
Install the filter, slider and cover of the sensor-distributor
Removing the distribution sensor
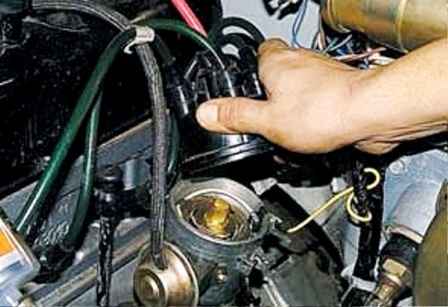
Remove the distributor cap with high-voltage wires
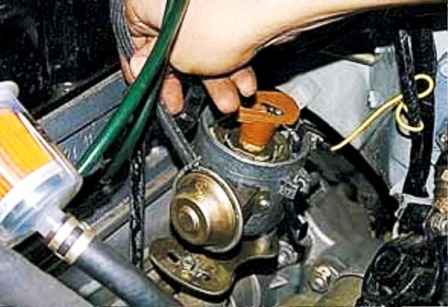
Remove the vacuum regulator hose
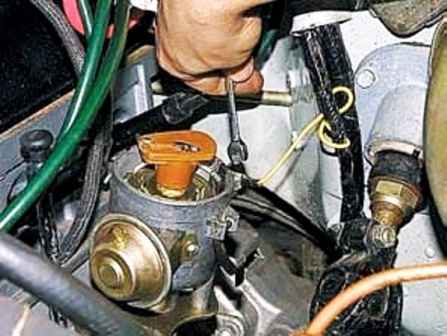
Using a 7 key, unscrew the nut securing the low-voltage wire tip
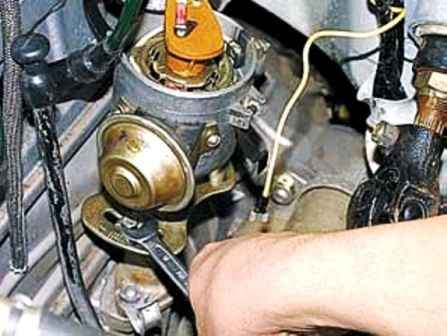
Using a 10 wrench, unscrew the octane corrector mounting bolt
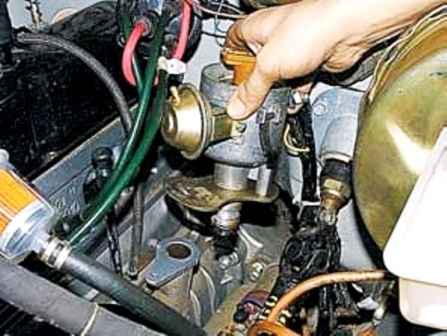
And take out the distributor
Install the distribution sensor in reverse order
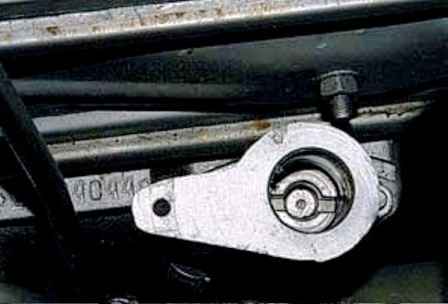
The slot in the thrust bushing of the drive shaft is offset relative to the axis of rotation and is aligned with the coupling of the sensor-distributor in only one position
Disassembling the distributor sensor
Remove the distribution sensor as described above
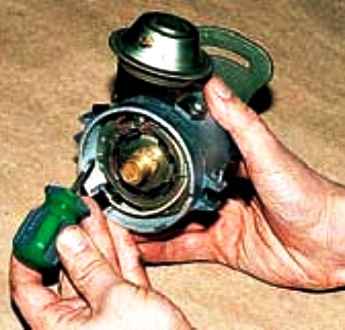
Remove the slider from the distributor sensor, and unscrew the three screws
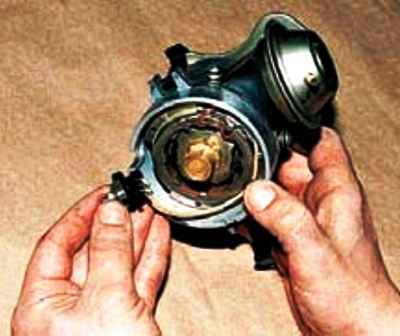
Pull out the insulator from the housing groove
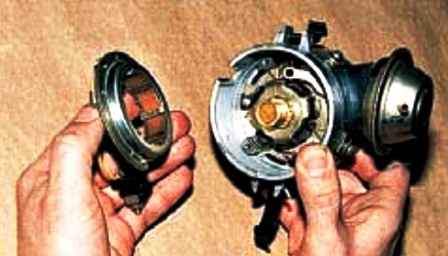
Removing the stator
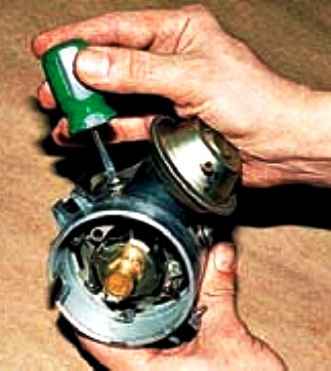
We unscrew the two screws, remove the vacuum regulator
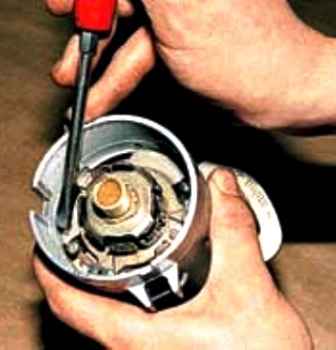
We unscrew the two screws of the stator support
We mark the relative position of the rotor and the clutch on the roller
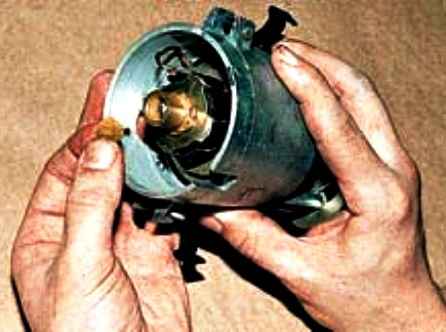
Extract the filter
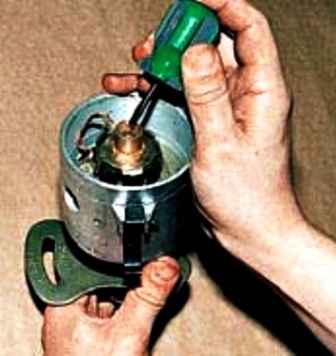
Holding the roller by the drive clutch from turning, unscrew the screw
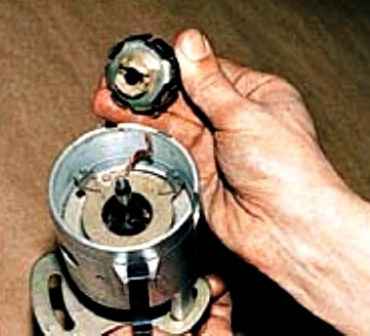
Remove the rotor from the roller
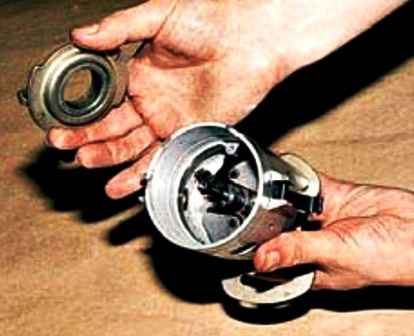
Remove the stator support assembly with the bearing
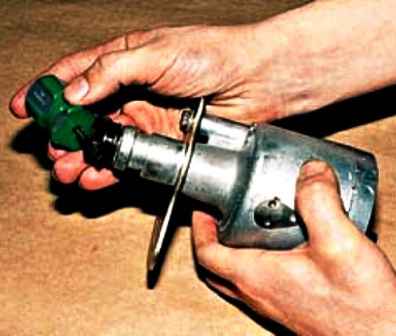
Pry off with a screwdriver and remove the spring ring
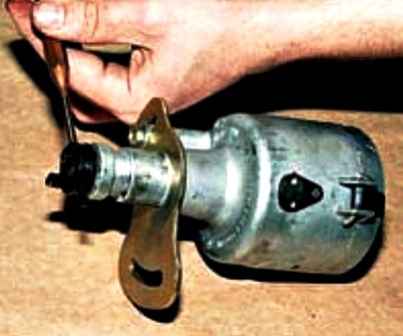
Using a beard, push the pin out of the roller hole
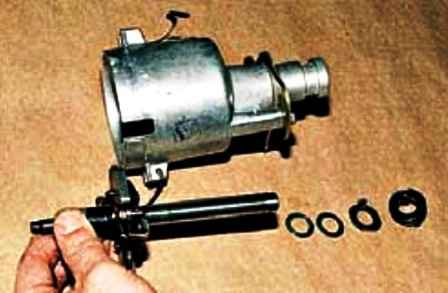
And, having removed the clutch with washers, we take out the roller assembly with the centrifugal regulator
Before assembling the distributor sensor, lubricate the roller and its bearings with CIATIM-201 or No. 158 grease, apply 1–2 drops of engine oil to the filter.
We assemble the sensor in the following order: install the roller and the stator support into the sensor housing.
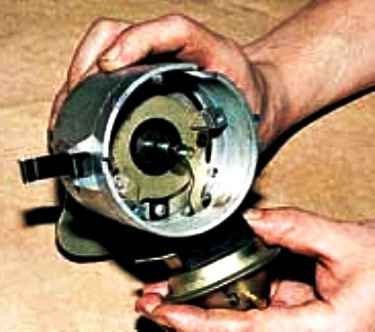
We put the vacuum regulator rod on the support pin
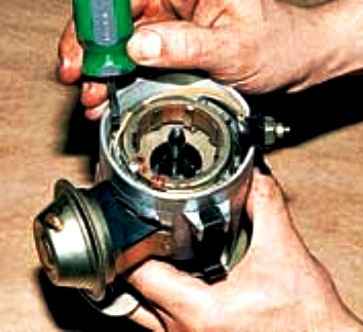
We install the stator and, making sure that the regulator rod does not come off the pin, we tighten the two screws securing the stator
Further assembly is carried out in the reverse order
Check that the marks on the rotor and the coupling match, if necessary, turn the coupling on the roller by 180°
Repair of slider current difference plate
When repairing a worn runner in an ignition distributor by soldering a brass strip onto a current-carrying plate, it is difficult to determine the required size from the axis of the runner to its edge.
If the strip turns out to be shorter, we will not get the effect of the repair, and if it is longer, the plate will touch the cover pins.
To determine this size, before repair, put a piece of plasticine on the end of the current-carrying plate and, after installing the distributor cover, rotate the crankshaft.
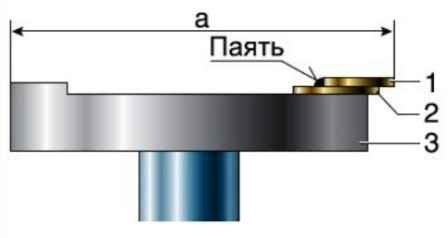
Excess plasticine is cut off with conclusions, after which we measure the size "a".
Having soldered a strip of brass, we process its protruding end to a size 0.1 mm smaller than the “a” value.
Glue the cover of the breaker-distributor
If the cover of the breaker-distributor cracked on the way, and there is no spare (or suitable glue), you can glue it with garlic juice.
Rub the break with a clove of garlic and squeeze the lid together for one to two minutes, as you would with regular glue.
Garlic "glue" is not afraid of high temperatures in the engine compartment and has good electrical insulating properties.
You can drive with such a cover for quite a long time - with good bonding quality, up to several hundred kilometers.


