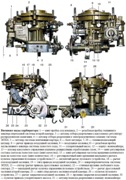
We prepare the car and remove the engine, as indicated in the previous article
Flushing the outside of the engine
We install and fix the engine on the stand for the studs of the right support bracket
Remove the generator, starter, ignition distribution sensor, oil pump drive and viscous fan clutch together with the impeller
Engine disassembly
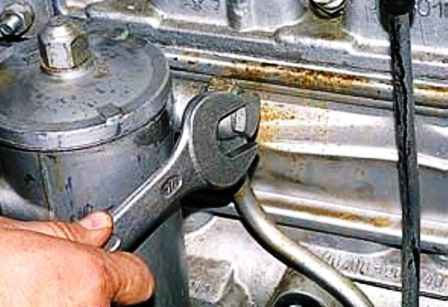
Using a 24 wrench, unscrew the bolt fitting for supplying oil to the filter
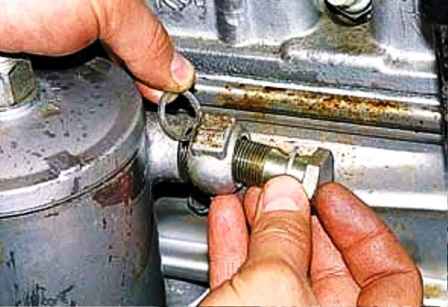
Remove two aluminum washers
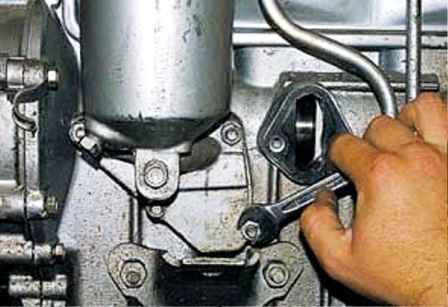
Using a 13 wrench, unscrew the four nuts securing the oil filter housing to the cylinder block
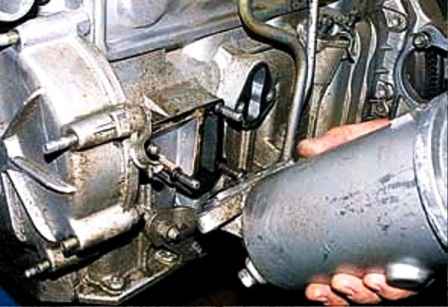
Remove the filter housing
Remove the dipstick
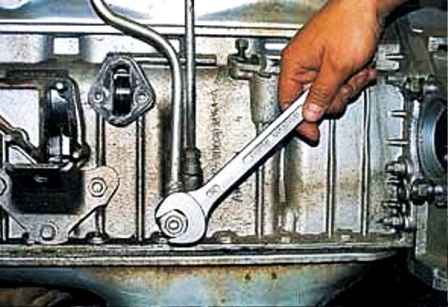
Use a 24 key to unscrew the lower bolt-fitting
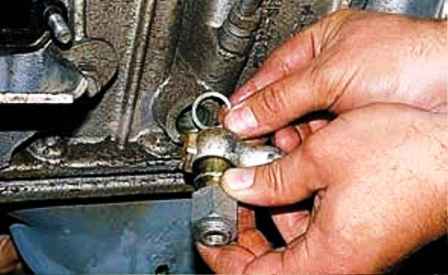
Remove aluminum washers
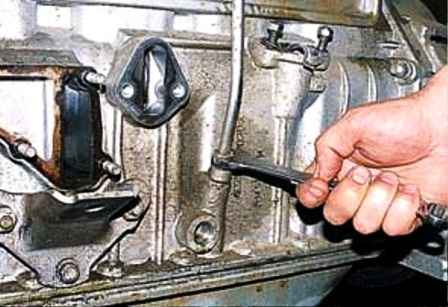
We unscrew the fitting of the oil dipstick tube with a 17 key and remove it
Remove the cylinder head as described in the article " Removal and repair of the cylinder head of the UAZ-3151, -31512, -31514, -31519 engine
Turn the engine upside down
We remove the oil pan, as indicated in the article "Removal and installation of oil system elements UAZ-3151, -31512, -31514, -31519"
Remove the oil pump
Remove the front cover of the cylinder block
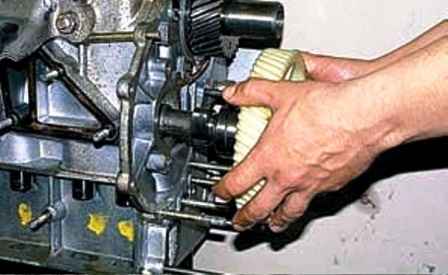
Remove the cover of the pusher box and take out the camshaft
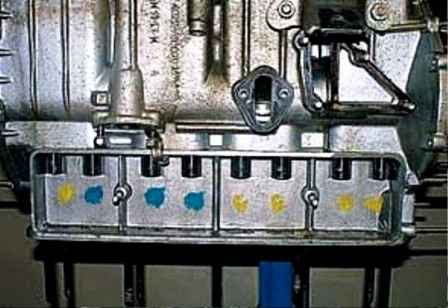
On the cylinder block, paint indicates the maximum deviations in the dimensions of the holes for the pushers
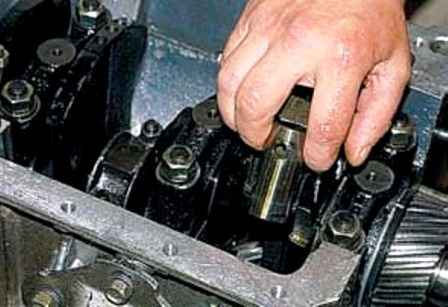
We remove the pushers from the cylinder block and number them or put them in order

Pushers according to the outer diameter, and holes in the cylinder block according to the inner diameter are divided into groups and matched to each other (see table. 1), therefore, when assembling the engine, we install the pushers in their original places.
Remove the coolant pump
Remove the clutch components from the flywheel
Turn the engine front down
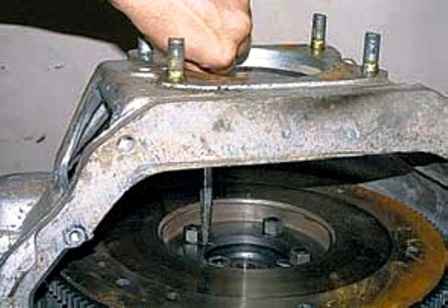
Unbend the locking plates of the flywheel nuts
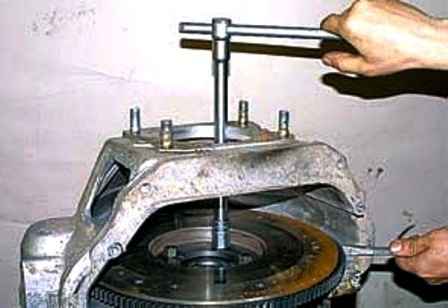
With a 17 head, unscrew the four nuts of the flywheel mounting bolts, holding the flywheel with a large screwdriver from turning
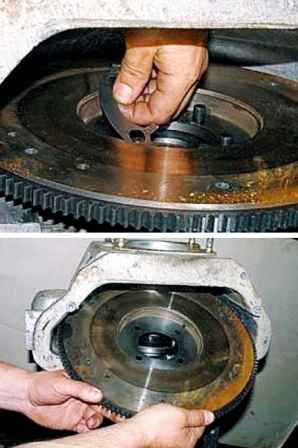
Remove the locking plates and remove the flywheel from the crankshaft
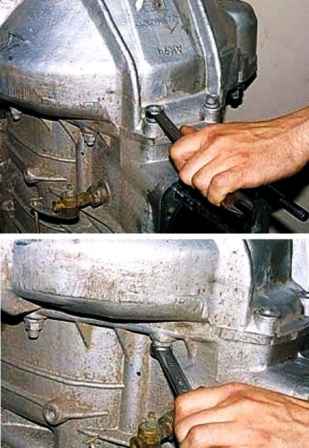
With a 14 key, unscrew the two bolts and six nuts securing the clutch housing
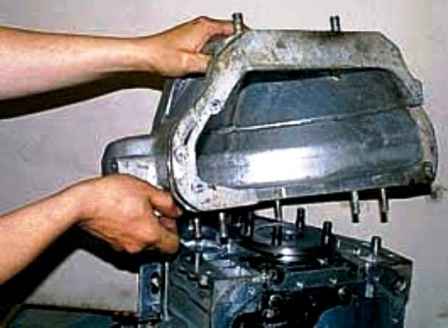
Remove the clutch housing
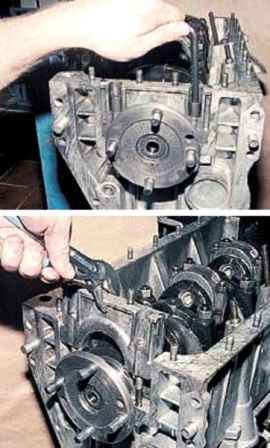
Unscrew the two nuts with an 8 hexagon and remove the crankshaft oil seal holder
Removing the connecting rod and piston group is described in the article " Removing the connecting rod and piston group of the UAZ-3151, -31512, -31514, -31519"
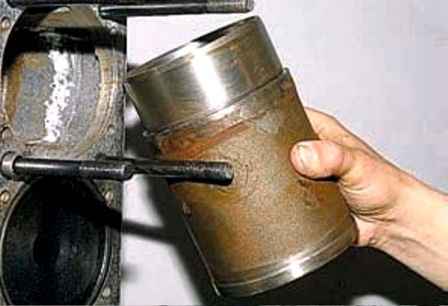
Remove the liners from the cylinder block
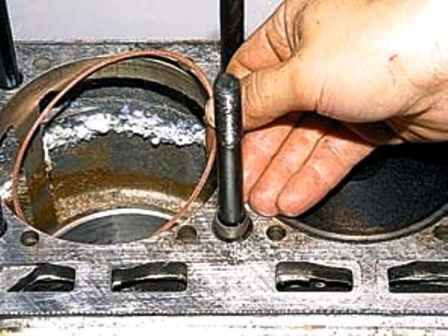
If the replacement of the sleeves is not necessary, then it is not recommended to remove them from the block
Copper sealing washers installed under the sleeves
After disassembly, we wash the cylinder block and the removed parts in kerosene or diesel fuel
Engine assembly
Before installing the crankshaft, we thoroughly clean the bearing beds and liners from chips, oil and deposits (we wash all parts in kerosene and blow with compressed air).
We carefully blow out all the oil channels.
We replace the inserts and thrust washers with new ones.
Lubricate the necks and liners with engine oil.
The locks of the liners must fit into the slots of the block and the covers.
Cut off two packings of the crankshaft rear main bearing oil seal 120 mm long from the cord and put them into the oil seal holder and the cylinder block bed.
We assemble and install the crankshaft in the reverse order of disassembly.
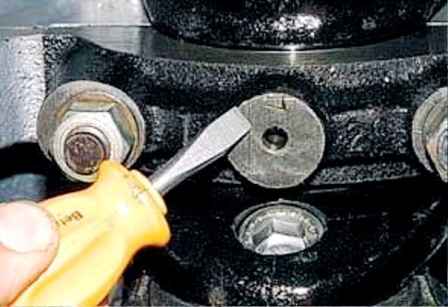
On the main bearing caps of the crankshaft (except for the first and fifth), their serial numbers are stamped, starting from the side of the front cover of the cylinder block
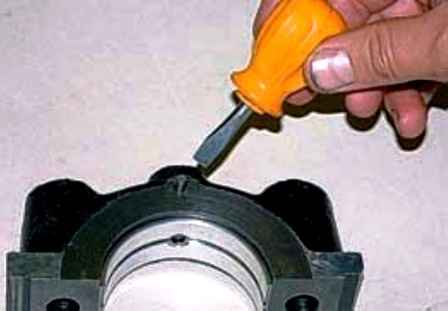
A pin is installed on the front side of the first bearing cover
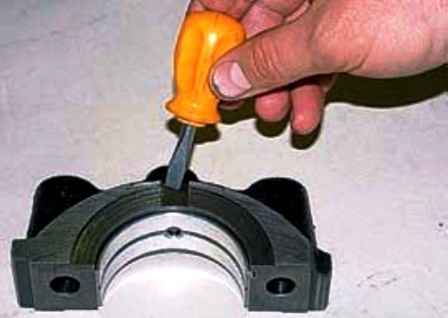
A groove is made on the back cover to keep the crankshaft thrust washers from turning
The transverse grooves on the rings should face the cheeks of the crankshaft
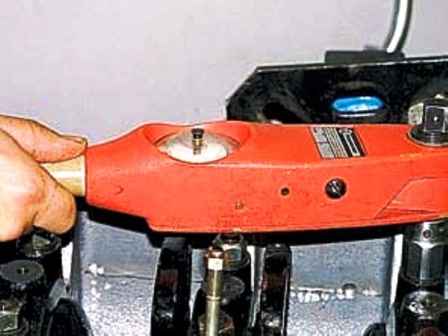
Finally tighten the nuts of the main bearings with a torque wrench (torque 10–11 kgf•m).
Temporarily install the flywheel on the crankshaft and fix it to twoi nuts. We turn the shaft by the flywheel.
Rotation should be free and uniform without jamming with little effort, and axial play should not be felt.
Before installing the piston assembly (see " Assembling the connecting rod and piston group of the ZMZ UAZ-3151, -31512, -31514, -31519 "), put the liners into the connecting rod and its cover
Lubricate piston rings, liners, cylinder surfaces with engine oil.
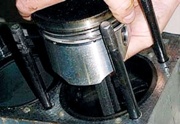
Before installing the pistons in the cylinder, we separate the joints of the piston rings at an angle of 120 degrees to each other
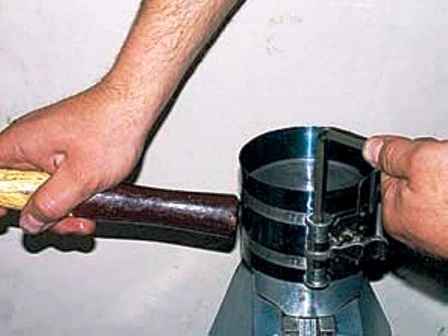
We put a tool on the piston and crimp the rings
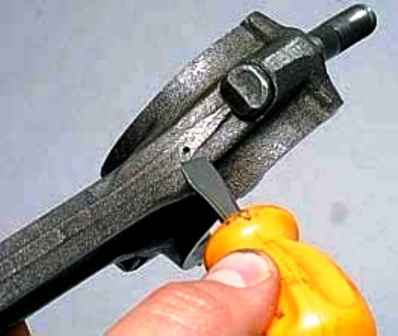
We insert the piston into the cylinder so that the inscription "Front" is facing the front of the block, and the hole for lubricating the cylinder mirror in the lower connecting rod head is facing the opposite side of the camshaft
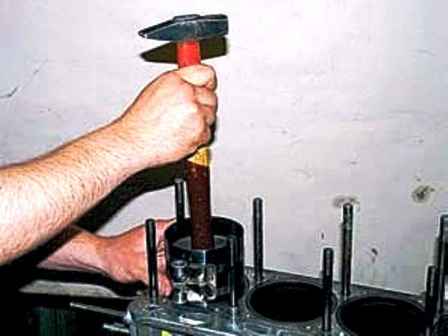
By tapping the wooden handle of the hammer on the bottom of the piston, we sink it all the way, controlling the movement of the connecting rod to the crankshaft journal.
Connecting rod caps are installed in the same way as main bearing caps.
Turn the crankshaft by the flywheel. The rotation should be free of sticking.
We install the camshaft so that the marks on its gear and the gear of the crankshaft match
Before installing the oil pan, for reliability, we cover the gasket with sealant.
Further assembly is carried out in the reverse order of engine disassembly.


