


Usually, the coolant pump is removed from the engine because of noise during its operation or excessive radial play of the pump shaft.
Conventionally, all operations are carried out on the removed engine.
Removal of the coolant pump from the engine
To remove the pump, the pump drive belt must be slackened and removed.
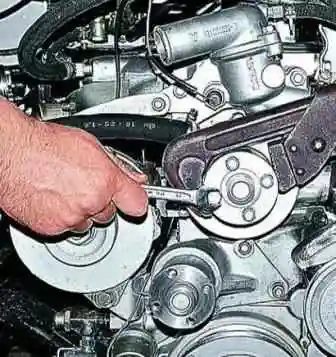
Holding the pump pulley with a "gas" wrench, using a 12 mm spanner we unscrew the four pulley mounting bolts.
The pulley can also be held with a mounting pry bar inserted as a support between two bolts.
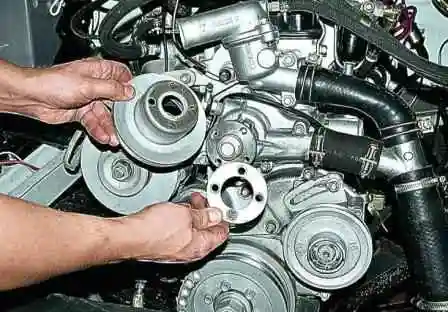
We remove the pulley and the plate.
If a fan is mounted on the pump hub, we unscrew the bolts while holding the fan blades.
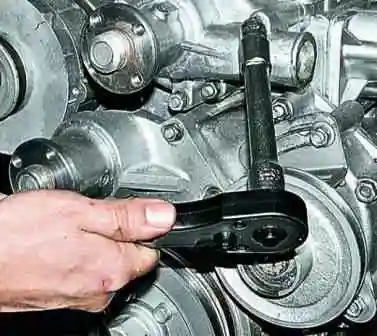
Using a 13 mm socket, we unscrew the five nuts securing the pump to the cylinder block.
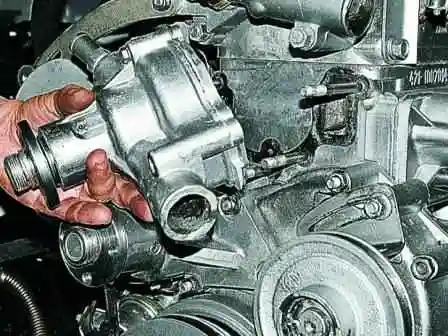
We remove the coolant pump.
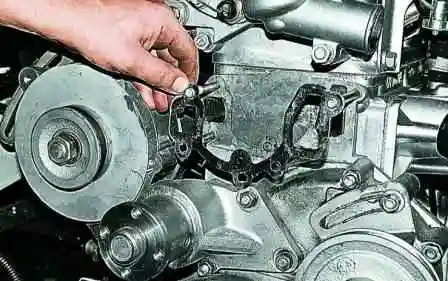
We remove the gasket, carefully prising it off with a knife.
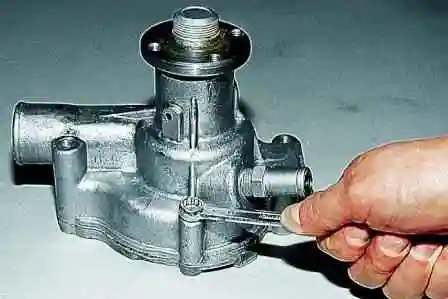
Using a 10 mm spanner or socket, we unscrew the pump cover mounting bolt.
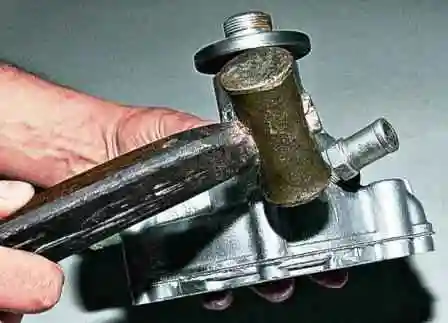
Tapping carefully with a copper hammer, we remove the pump cover.
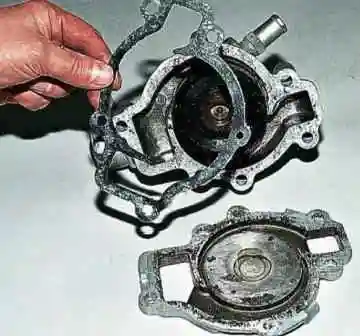
We remove the gasket.
Dismantling of the coolant pump
On the pump of the mod. 402 engine, two bolts must first be unscrewed and the pump cover with gasket removed.

Using a puller, remove the pump impeller 1.

The impeller is cast from plastic but has a metal hub in which the puller thread is cut.
Using the puller, press off the pump pulley hub 1.
Unscrew the bearing retainer 2 and press out the bearing together with the pump shaft towards the pulley side.
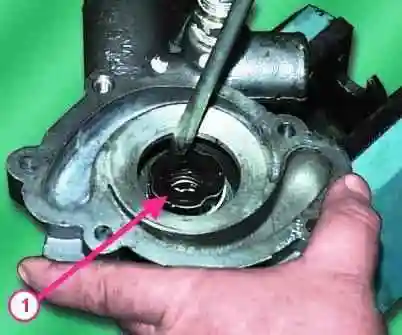
Press out the pump seal 1.
Wash and clean the pump parts from deposits.
Inspection of the coolant pump
The bearing on the pump shaft must rotate freely, without jamming; otherwise, replace the bearing together with the shaft as an assembly.
If a large play is felt in the bearing, traces of lubricant leakage from under the protective rings are noticeable, or the balls roll over when the bearing rotates, it must be replaced as an assembly with the shaft.
Inspect the impeller.
If it has cracks, chips, etc., replace it.
Inspect the seal.
If it has tears, cracks, the rubber has lost its elasticity, or the pressure spring is broken, replace the seal.
Assembling the pump
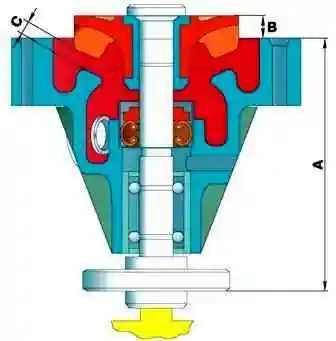
The pump is assembled in the reverse order to dismantling.
When assembling the pump, inspect the gaskets; if they have tears or are heavily crushed, they must be replaced.
When pressing in the impeller and hub, the support must be on the pump shaft.
When assembling the pump, maintain the dimensions given in the figure.
After screwing in the bearing retainer, the edges of the hole must be staked so that part of the metal enters the retainer slot, to prevent self-unscrewing.
Installation is carried out in the reverse order to removal.
Tightening torques of the parts:
- Water pump pulley mounting bolts 22-27 N·m (2.2-2.7 kgf·m)
- Water pump mounting bolts 22-27 N·m (2.2-2.7 kgf·m)


