


The removal of the cylinder head was covered in the article “Cylinder head removal”.
We install the head on the workbench and dismantle the cylinder head.
Important! After dismantling, the cylinder head parts must be marked or laid out in order.
Removal of the cooling system pipes
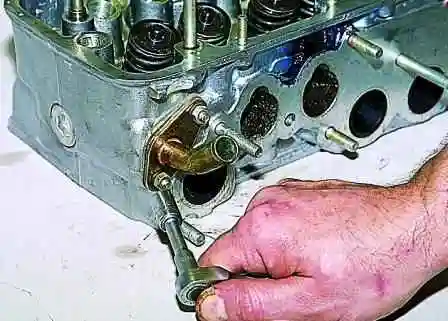
- Using a 10 mm socket, we unscrew the two nuts securing the heater radiator inlet pipe to the cylinder head.
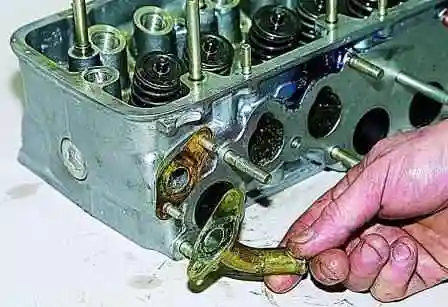
- We remove the heater pipe.
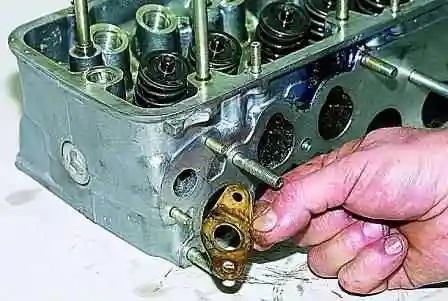
- We remove the heater pipe gasket.
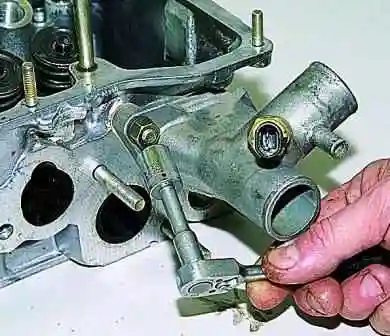
- We unscrew the two nuts securing the cooling jacket pipe using a 13 mm socket.
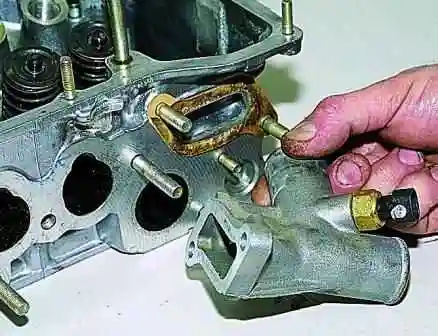
- We remove the pipe with the coolant temperature sensor of the injection system.
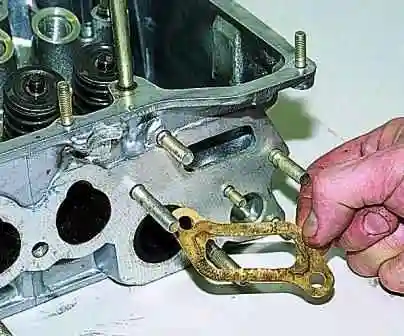
- We remove the pipe sealing gasket.
Dismantling of the valve mechanism
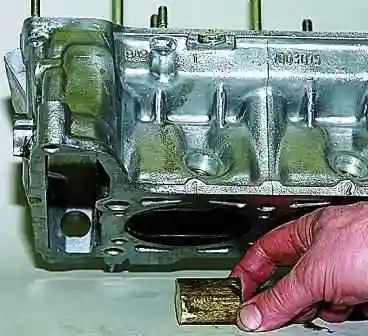
- To release the valve collets, we place a support (wooden or rubber block) under the valve head.
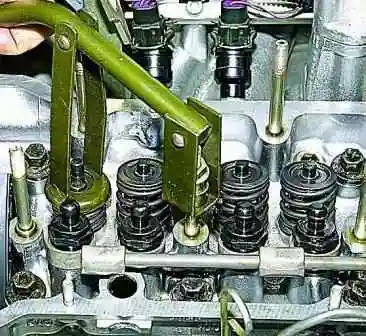
- We compress the valve springs with the tool. The tool pad is rested against the valve head, and the hook lever is hooked behind the nut screwed onto the stud securing the camshaft bearing housing.
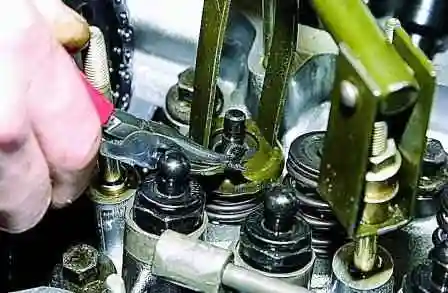
- We extract the two collets with pliers or tweezers.
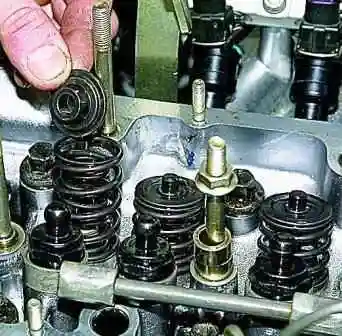
- We gradually release the lever of tool А.60311R. We remove the valve head and the valve springs.
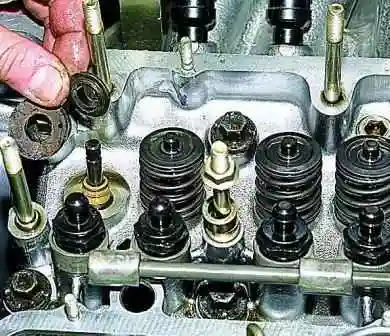
- We remove the upper and lower support washers of the springs.
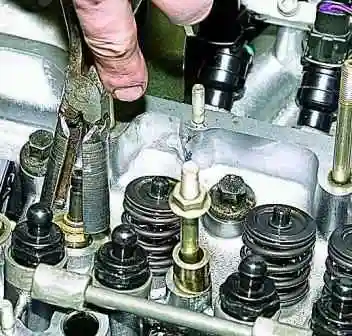
- With special pliers we remove the oil deflector cap from the valve guide.
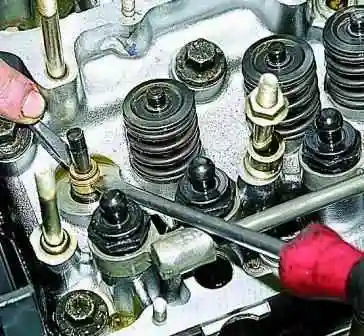
Note: If there is no special tool, you can carefully prise off and remove the valve stem seal with two screwdrivers (everything must be done carefully, the guide is very fragile).
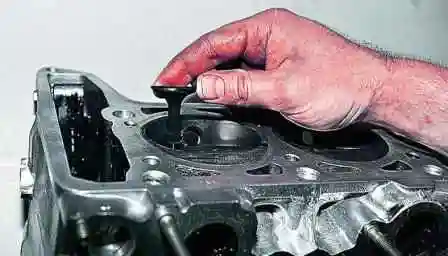
- We remove the valve from the guide.
- In the same way we extract all the valves and oil deflector caps.
We thoroughly wash the cylinder head, remove carbon deposits from the combustion chambers and from the surface of the exhaust valves with a wire brush.
We prepare the head and the parts for inspection and reassembly. The reassembly will be covered in the next article.


