Adjusting the parking brake, replacing the cables and the parking brake lever
To complete the task, we install the car on a viewing ditch or lift
Handbrake actuator adjustment
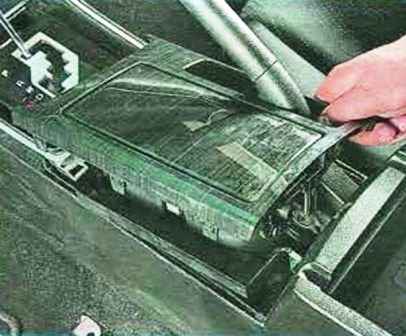
In the passenger compartment, remove the cup holder block located in the lining of the floor tunnel
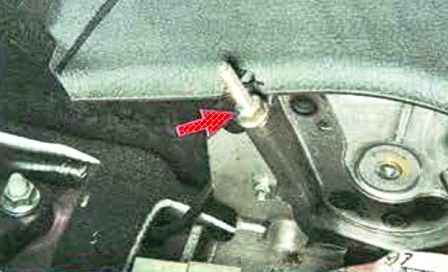
The arrow shows the adjusting nut of the parking brake actuator
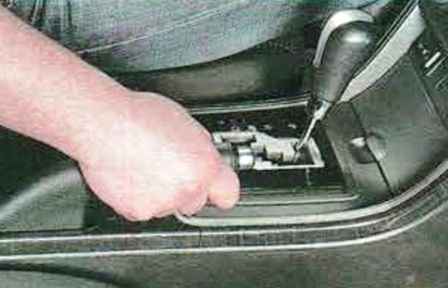
We lower the drive lever all the way down and unscrew the adjusting nut to the very end of the threaded lug of the front cable
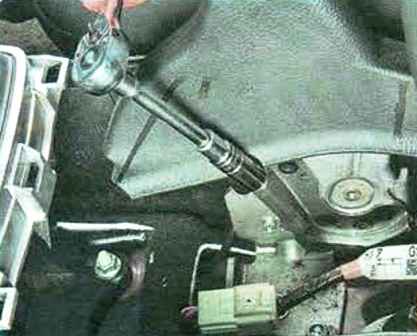
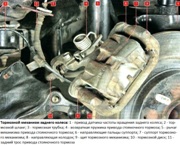
Insert a 1.0 mm thick flat feeler gauge between the parking brake release levers and the supports on the calipers of both rear wheel brakes
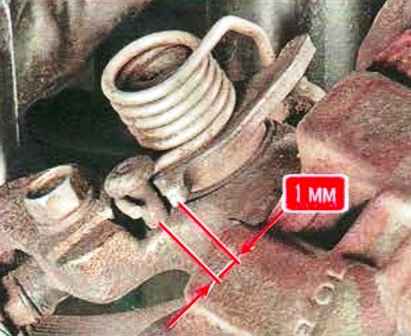
Turn the adjusting nut clockwise, screwing it onto the threaded tip of the front cable until any of the expanding levers starts to move
This is best done by two people with a helper, as you need to turn the adjusting nut and watch the expansion levers
We take out the probes and check if the wheels rotate freely
If you feel the braking of any wheel, you need to repeat the adjustment, each time replacing the probe of a smaller thickness (every 0.2 mm)
You can adjust the handbrake using a simplified method:
We turn the adjusting nut clockwise, screwing it onto the tip of the cable until a well-perceptible resistance to its rotation appears, periodically checking the ease of rotation of the rear wheels
Unscrew the adjusting nut until the rear wheels are completely released
We install the car on wheels, brake with a parking brake. The gearshift lever must be in the neutral position.
Trying to roll the car. If this fails, the drive is adjusted correctly.
Replacing the front parking brake cable

In the car interior, we remove the lining of the floor tunnel
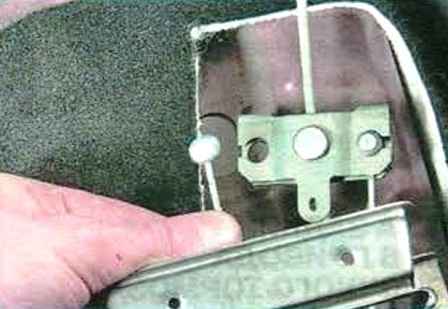
Remove the ends of the rear parking brake cables from the equalizer
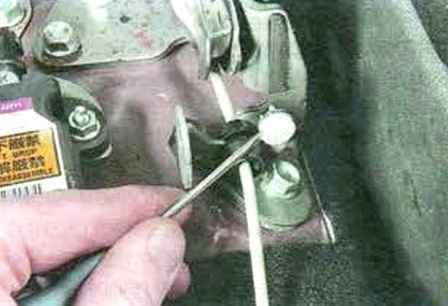
Pry off with a screwdriver, remove the front cable bushing retainer from the parking brake lever bracket
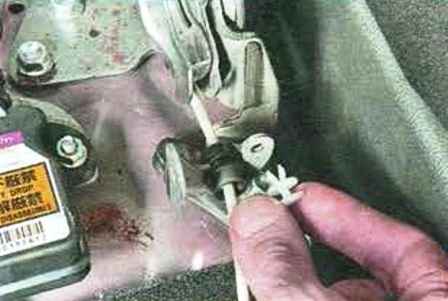
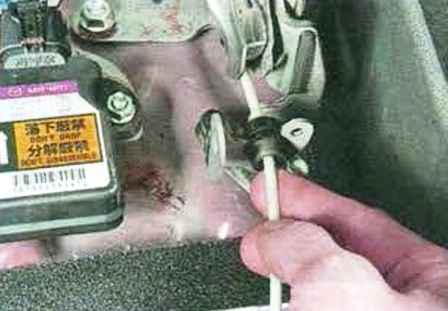
And we remove the cable with the sleeve from the lever bracket
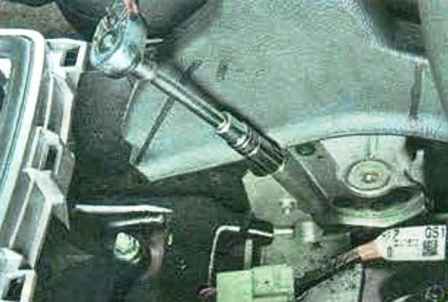
Unscrew the adjusting nut and remove the stop drive cable full-time brake assembly with equalizer
Install the front handbrake cable and all removed parts in reverse order
Replacing the rear handbrake cables
We replace the rear cables if they are pulled out or mechanically damaged
Putting the car on a lift
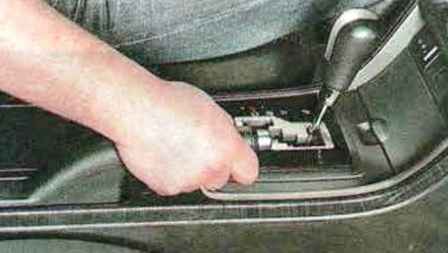
Lower the parking brake lever down to the stop

And remove the lining of the floor tunnel

We completely loosen the tension of the parking brake cables, for which we unscrew the adjusting nut to the very end of the threaded tip of the front cable, but do not unscrew it completely

Pulling the rear cables forward, remove the tips from the equalizer slots
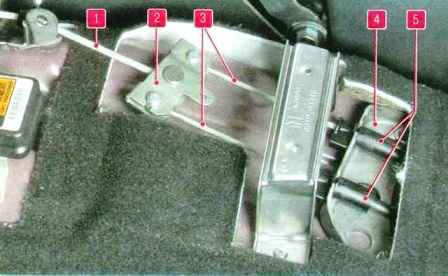
Remove stops 5 from the bracket on the body
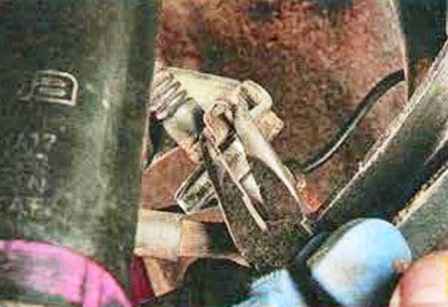
Remove the locking bracket of the rear cable attached to the rear wheel brake caliper bracket
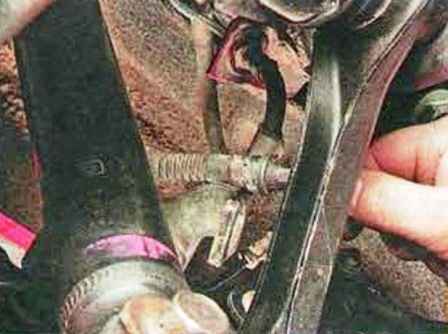
We remove the bushing of the rear cable end from the bracket
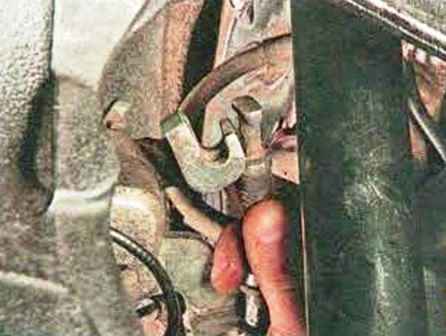
We remove the tip of the rear cable from the slot of the lever of the parking brake drive mechanism
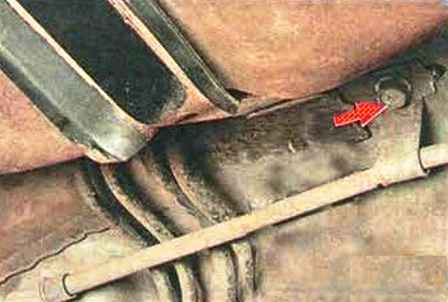
We unscrew the two bolts securing the cable sheath brackets to the bottom of the body and to the trailing arm of the rear suspension, then remove the cable
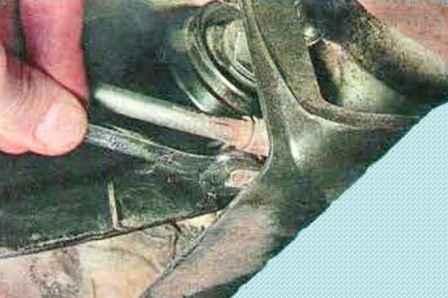
In the same way, remove the second rear handbrake cable
Install the cables in reverse order and adjust the parking brake drive as described above
Removing and installing the parking brake lever
Remove the lever for replacement when the gear sector is worn
Disconnect the negative battery terminal
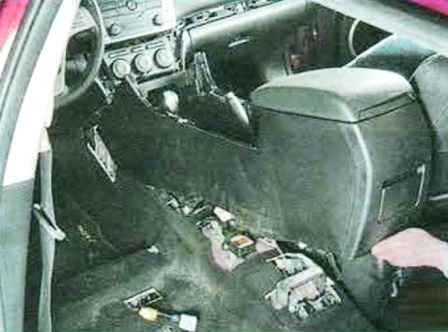
Removing the lining of the floor tunnel
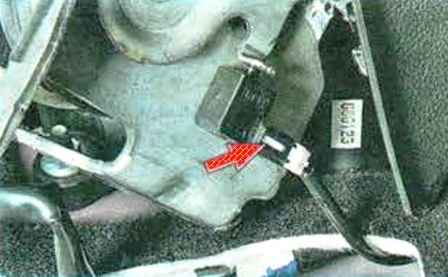
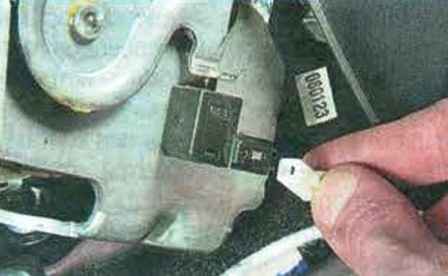
We press the lock with a screwdriver and disconnect the wire block from the switch of the parking brake indicator
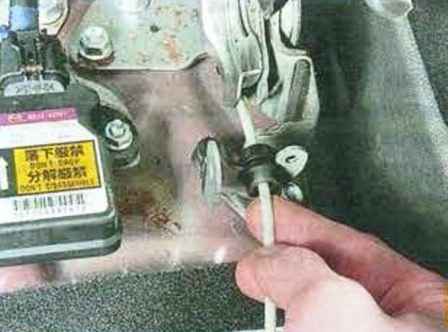
Remove the front drive cable
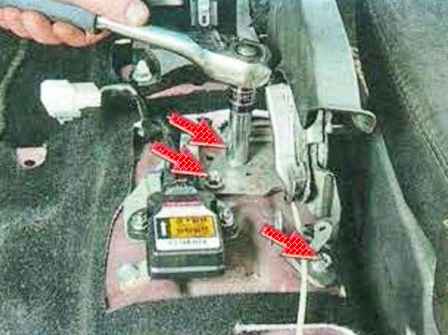
We unscrew the three bolts securing the parking brake lever to the base of the body
Remove the lever
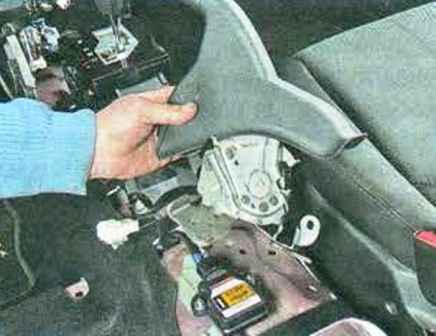
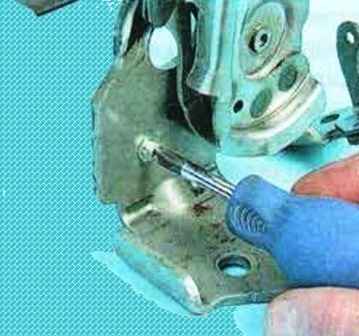
If the new lever does not have a parking brake indicator switch, remove the switch and install it on the new lever
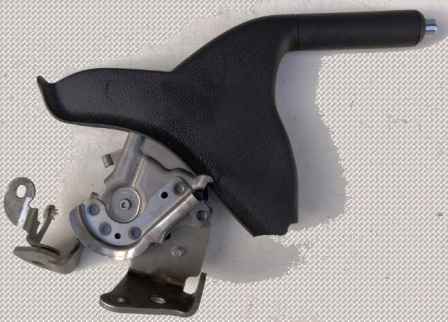
Install the lever in reverse order
Before installing the lever on the car, grease the gear sector of the lever with grease
Check the adjustment of the adjusting brake drive and adjust if necessary


