The air conditioner compressor is a rather complex, high-tech unit.
Some components of the pump part of the compressor are made using selective assembly.
Therefore, component manufacturers do not supply retail parts for the repair of the pumping part of compressors.
The only repairable compressor unit in a garage is the electromagnetic drive clutch.
During the operation of the car, the failure of the compressor clutch is a very common malfunction.
As a rule, the pulley bearing begins to break down first.
The reason may be the incorrect tension of the drive belt, the ingress of water when driving through a deep puddle, slippage of the pressure plate and, consequently, overheating of the bearing, etc.
As the bearing fails, pulley play begins to appear.
When the backlash reaches a critical value, the inner surface of the pulley during rotation begins to rub against the surface of the electromagnet coil body.
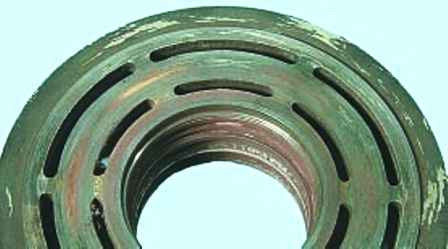
As a result of friction, the parts heat up, the insulation of the coil winding begins to burn out, an electrical circuit occurs - the electromagnet fails.
In the most advanced cases, the bearing jams and the inner race of the bearing rotates on the landing neck of the compressor cover.
After that, the compressor has to be replaced, which is very expensive.
In order not to expose yourself to unnecessary expenses, when inspecting the car, pay attention to uncharacteristic noises during the operation of the air conditioning compressor.
If you suspect a problem with the pulley bearing, remove the drive belt and rotate the pulley by hand.
The pulley should rotate on the bearing evenly, silently, without jamming.
There must be no axial and radial play.
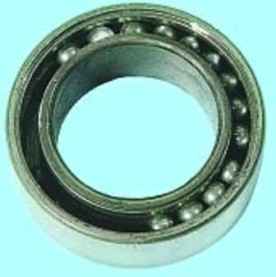
If necessary, replace the bearing without waiting for its complete destruction.
Removing the air conditioning compressor
Release the refrigerant from the air conditioning system, as described in the previous article
We install the car on a lift or a viewing ditch
Disconnect the negative battery terminal
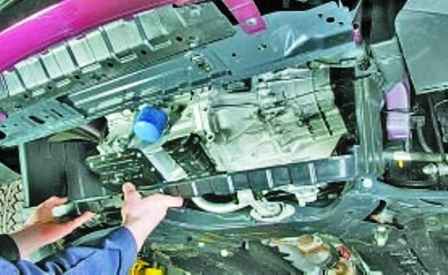
Removing the engine mudguard, described in the article - Removing and installing the Hyundai engine mudguard Solaris
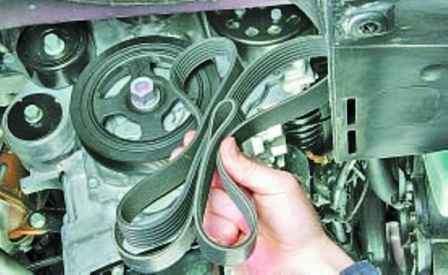
Remove the accessory drive belt
Replace the belt if, upon inspection, you find:
- - signs of wear of the serrated surface, cracks, undercuts, folds or peeling of the fabric from the rubber;
- - cracks, folds, depressions or bulges on the outer surface of the belt;
- - fraying or delamination on the end surfaces of the belt;
- - traces of oil on the surface of the belt.
A belt with traces of engine oil on any of its surfaces must be replaced, as oil quickly destroys rubber.
The cause of the hit (usually due to a leak in the engine shaft seals) must be eliminated immediately.
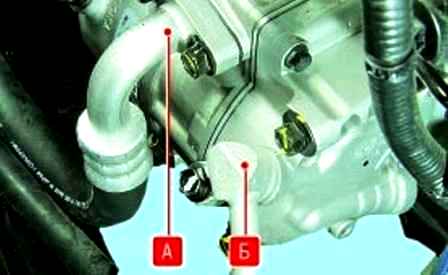
Low "A" and high "B" pressure pipes are connected to the compressor using flange connections
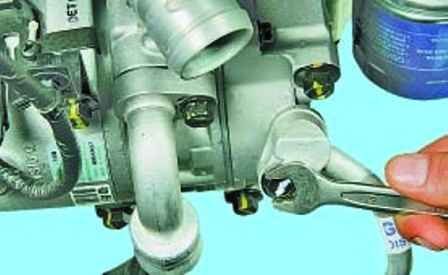
We unscrew the bolt securing the flange of the high-pressure pipe to the compressor housing
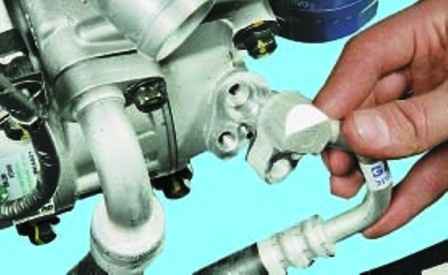
Disconnecting the pipeline
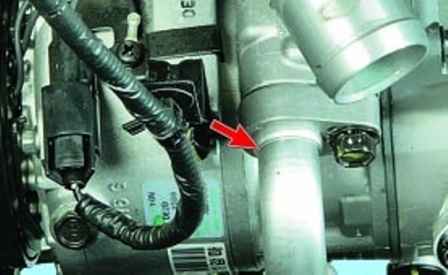
In the same way, disconnect the low pressure tube
After disconnecting the pipes, plug the holes immediately so that dirt and moisture do not get into the pipes and the compressor.
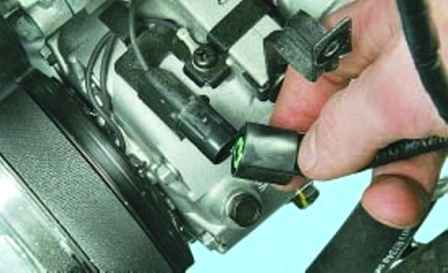
Disconnect the electromagnet coil electrical connector
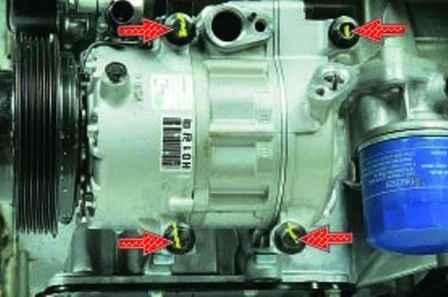
We unscrew the four bolts securing the air conditioning compressor to the engine block and remove them from the mounting holes.
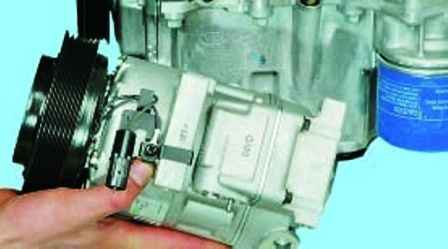
Remove the air conditioning compressor
Install the compressor in reverse order.
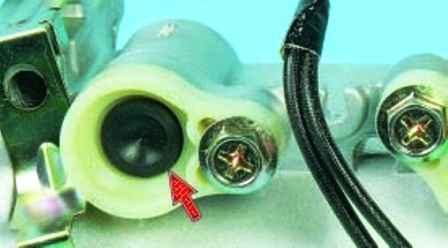
Technological plugs of the flanges of the new compressor should only be opened before connecting the pipelines
Lubricate new O-rings with compressor oil
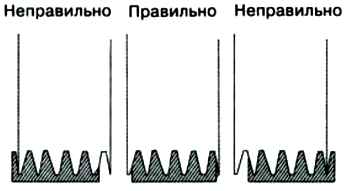
When installing the compressor drive belt, make sure that the wedge tracks match the grooves of the pulleys.
When buying a new compressor, you need to ask the seller how much oil is filled into the compressor and the type of oil.
Replacing the drive pulley bearing
You will need a 10 wrench, a pulley puller, a snap ring puller
Remove the refrigerant from the air conditioning system
Disconnect the negative battery cable
Remove the compressor as described above
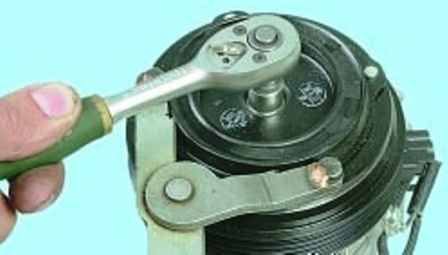
Unscrew the fastening bolt, keeping the pressure plate from turning
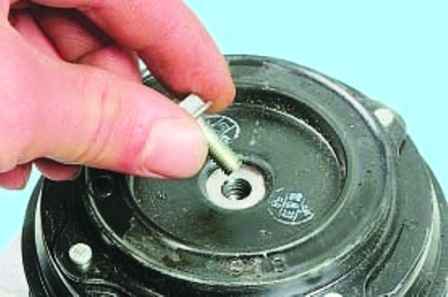
Removing the bolt
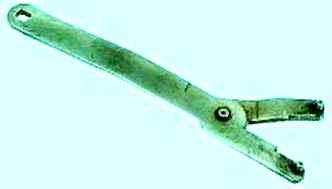
In the photo there is a special device for holding the compressor rotor
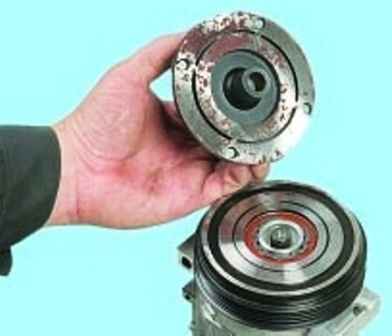
Remove the pressure plate from the splines of the compressor shaft
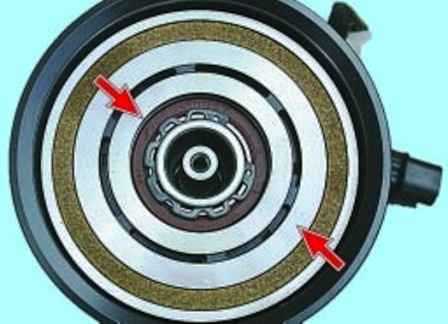
Inspecting the working surface of the pulley friction
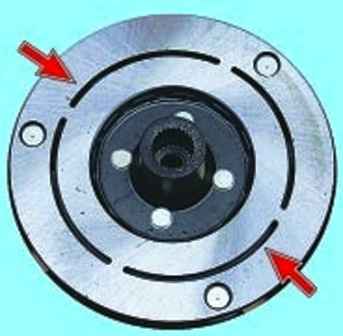
We inspect the pressure plate so that there are no deep scratches, scratches, obvious signs of wear and overheating
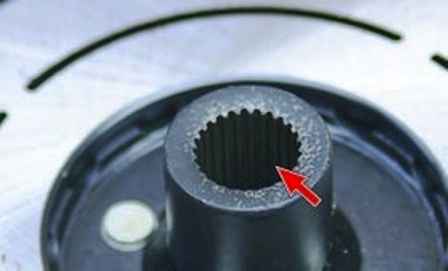
We also inspect the slots of the pressure plate
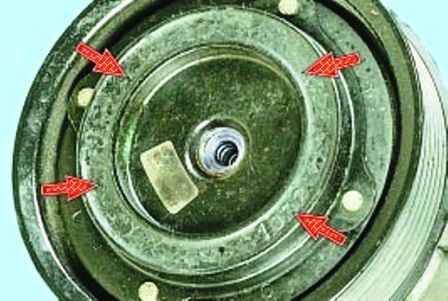
Pay attention to the pressure plate damper.
There should be no traces of rubber buckling, cracks, breaks on the rubber massif of the damper
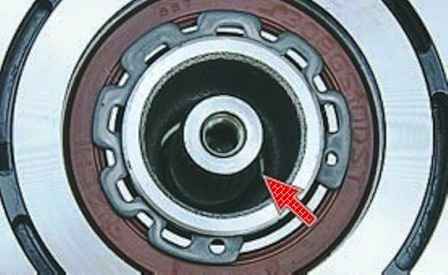
We examine the surface of the shaft. If there are signs of oil leakage through the shaft seal, the compressor must be replaced
If you replace the oil seal, then, as a rule, this is not for long, since the working surface of the shaft, or the bearing, has probably already worn out.
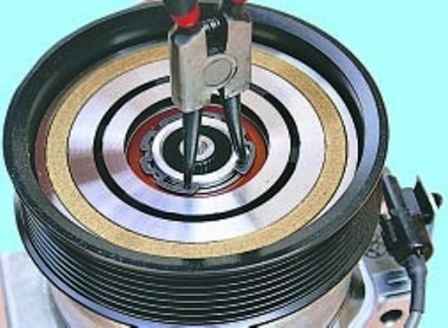
Remove the pulley bearing circlip with a puller
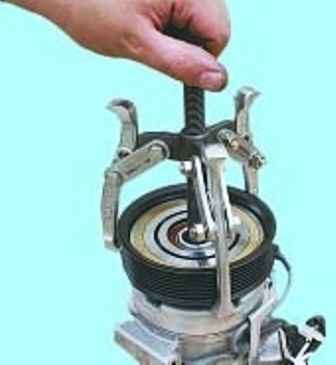
Installing the puller
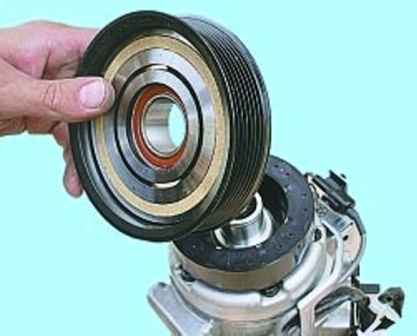
And we press the pulley from the landing neck of the front cover of the compressor
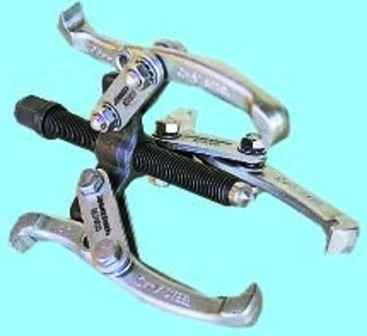
It is convenient to use a three-legged puller to compress the pulley
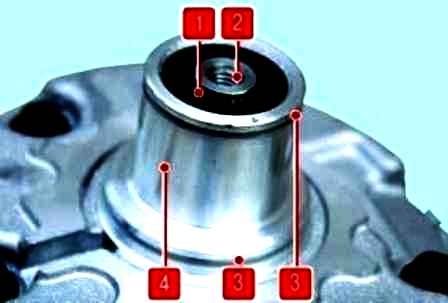
After removing the pulley, you need to inspect the splines 1 and the threaded hole 2 of the shaft, the grooves 3 for the retaining rings and the seating surface 4 of the bearing neck.
If there is wear, then the compressor needs to be replaced
Cut off on a lathe the rolling of the bearing fixation
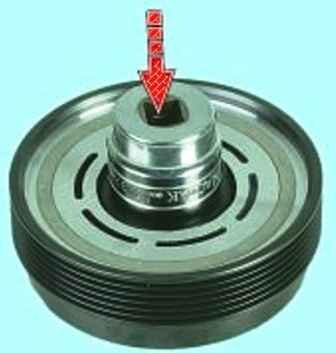
We press out the old bearing from the pulley with a mandrel of a suitable diameter
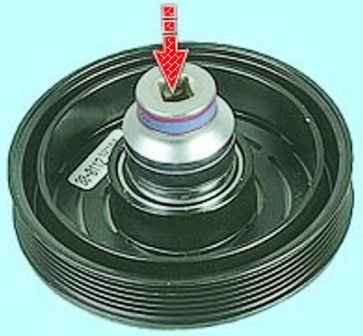
We press in a new bearing. When pressing, you need to apply force to the outer ring of the bearing
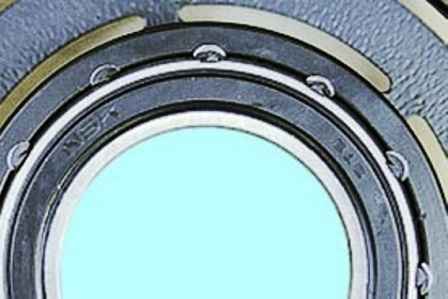
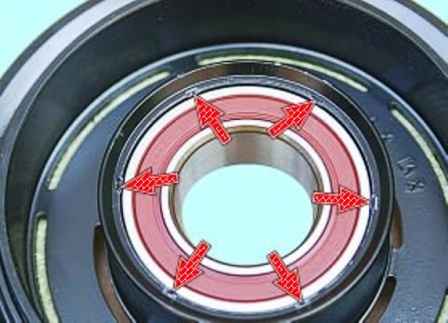
We fix the bearing along the edges of the mounting hole with a core
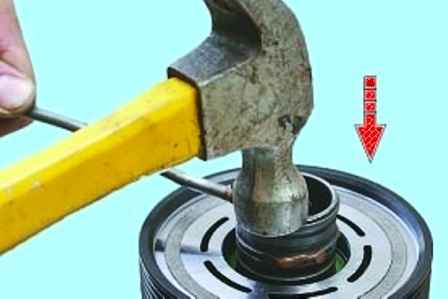
We press the pulley onto the landing neck of the compressor front cover.
When pressing, you need to apply force to the inner ring of the bearing
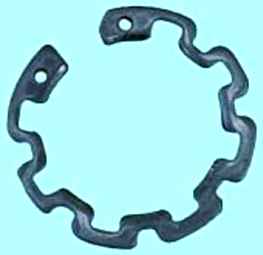
Installing the retaining ring
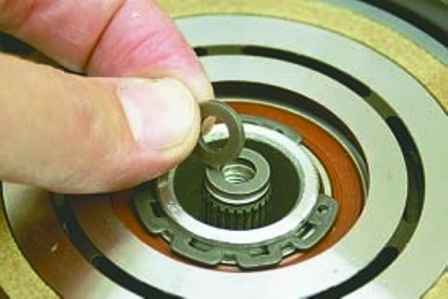
We put a pressure plate on the shaft and screw in the fixing bolt
Installing the compressor in a vise
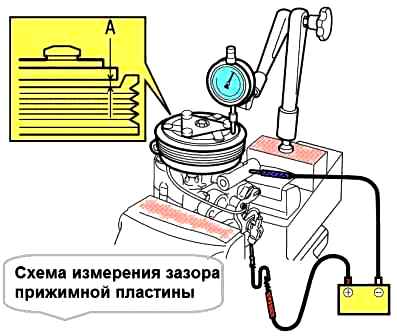
Install the arrow indicator as shown in the figure.
We connect the plus of the battery to the coil winding connector, and the minus of the battery to the compressor housing.
Measure the gap "A" between the friction surfaces of the pressure plate and the pulley.
If the gap is not the same at different points on the circle, then the pressure plate is deformed and needs to be replaced.
The nominal gap is 0.35-0.60 mm.
If the gap is different, remove the plate again.
With the help of shims mounted on the rotor shaft, we adjust the gap.
Then we put on the pressure plate and check the gap obtained.
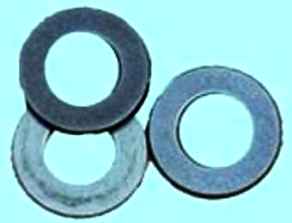
For adjustment, you need to use special calibration washers
Compressor clutch solenoid replacement
Remove the compressor as described above
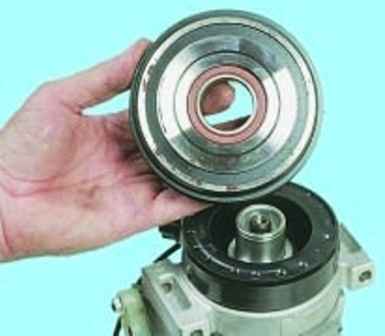
Remove the drive pulley
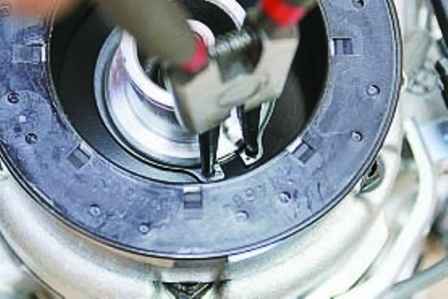
Remove the retaining ring of the compressor clutch electromagnet with a puller
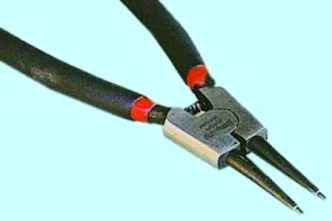
We use such an expanding puller to remove the retaining ring
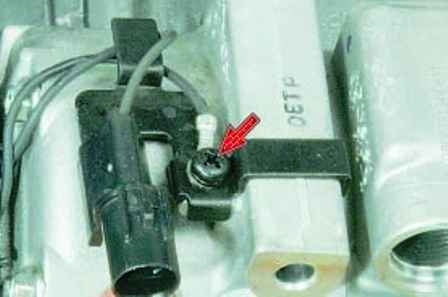
We unscrew the screw securing the holder of the electromagnet coil connector pad
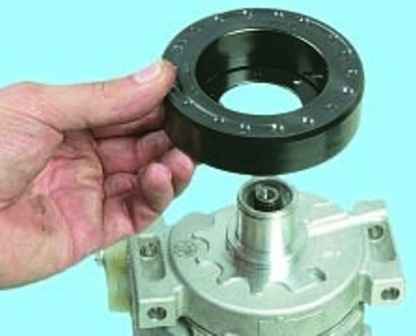
We move the electromagnet from the landing belt of the front cover of the compressor and remove it
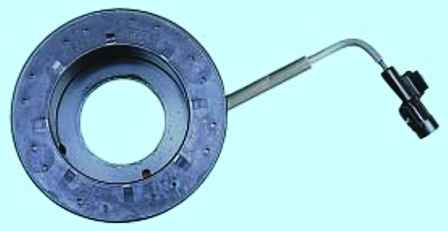
We check with a tester in ohmmeter mode the resistance of the winding of the electromagnet coil and the absence of a short circuit to the case. The coil resistance should be 3.6-3.8 ohms.
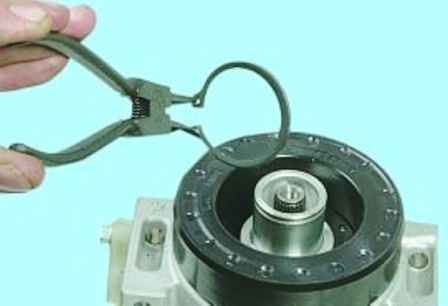
Install the electromagnet on the compressor cover and insert the retaining ring
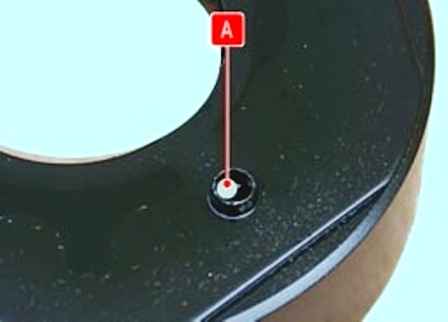
When installing the coil on the compressor, the protrusion "A" on the rear surface of the coil housing must fit into the recess "B" on the compressor cover
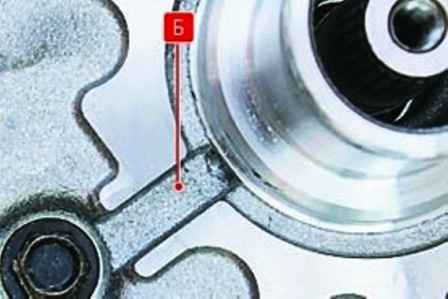
After that, we collect all the details in reverse order.
Fill the air conditioning system with refrigerant.


