We remove the fuel tank of the car for washing, as well as for repair.
The car's fuel tank is made of plastic and if there is a fuel tank leak, it can be soldered
To remove the tank, you need keys for 10, 14, pliers and a screwdriver
It is advisable to remove the fuel tank with a minimum amount of fuel.
If there is a lot of fuel in the tank, it is better to first pump out the fuel through the hole for the fuel module
We install the car on a lift or a viewing ditch
We reduce the fuel pressure, as described in the article - Design features of the Hyundai Solaris power system
Disconnect the negative battery terminal
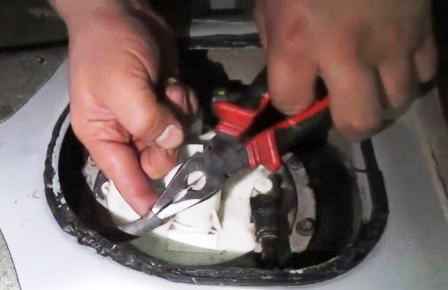
Disconnect the fuel lines and the wiring harness from the fuel module
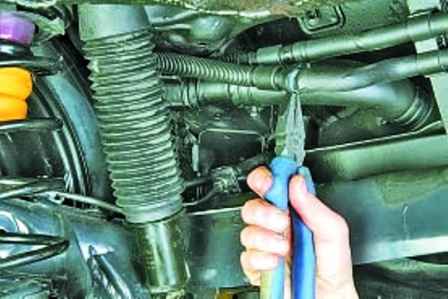
We compress the ears of the hose clamp of the fuel vapor recovery system with pliers
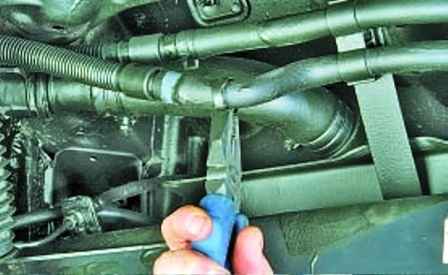
Slide the clamp along the hose
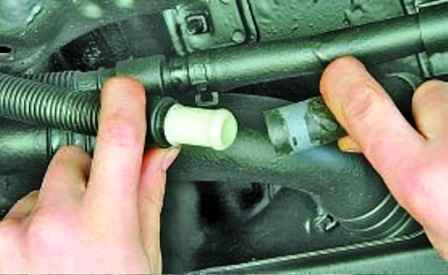
Remove the hose from the nozzle
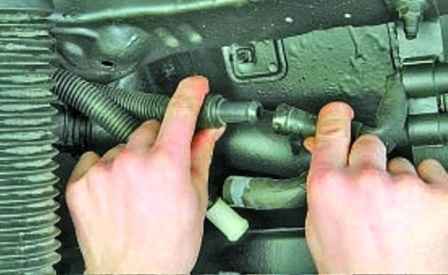
In the same way, we disconnect the other hose of the fuel vapor recovery system
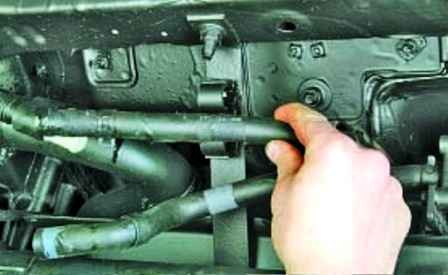
We press the latches and remove the vapor recovery system hoses from the bracket on the fuel tank
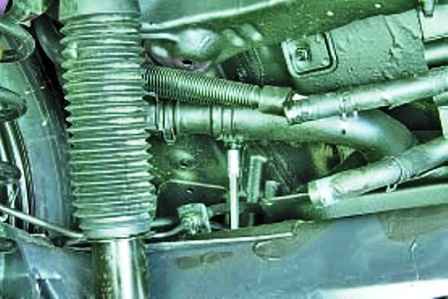
Loosen the fuel tank hose clamp
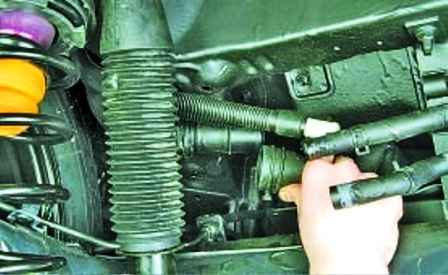
Disconnect the hose from the filling pipe
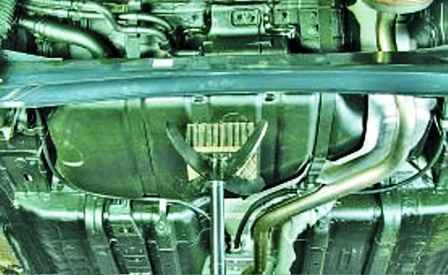
Installing a support under the fuel tank
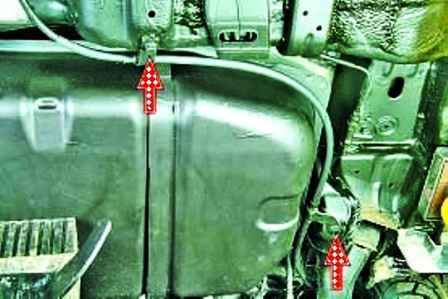
We unscrew the two bolts securing the parking brake cable brackets to the body
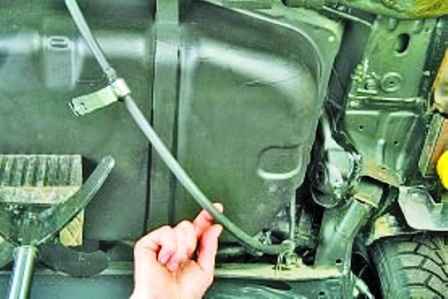
Leave the cable to the side
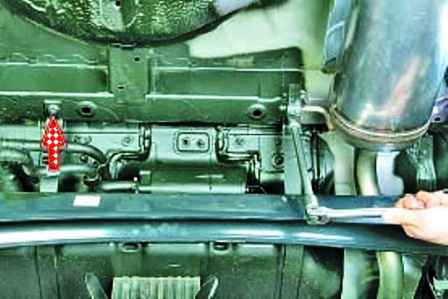
We unscrew the two nuts securing the front fuel tank clamps
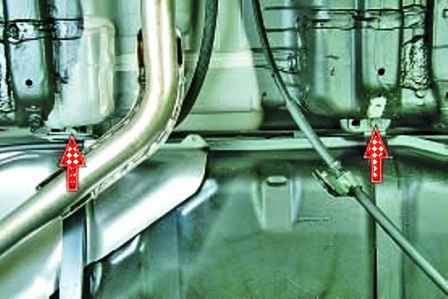
We unscrew the two bolts securing the fuel tank clamps at the back
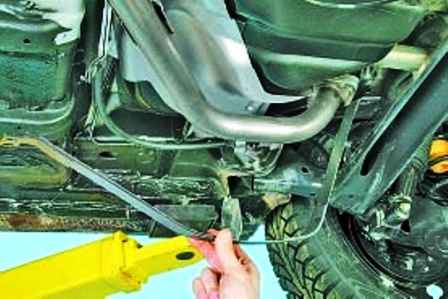
Remove the fuel tank clamps
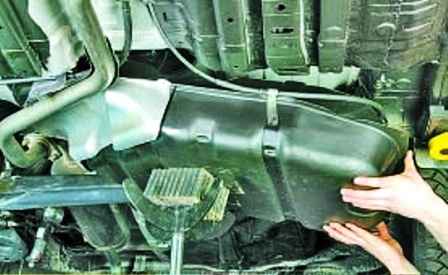
Tilting and removing the fuel tank from the car
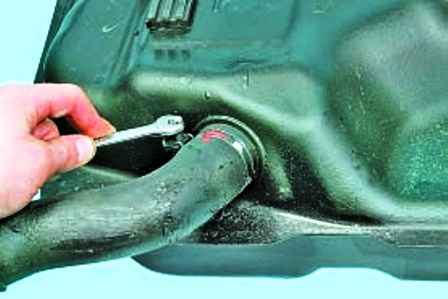
Loosen the clamp securing the hose to the fuel tank
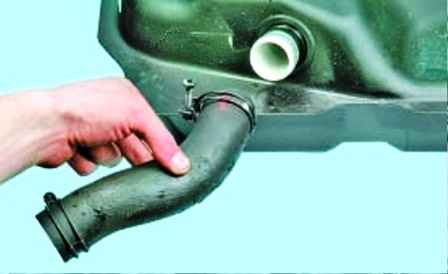
Disconnecting the hose
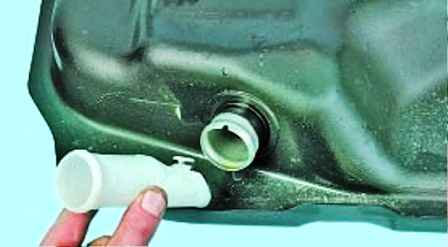
Remove the tube with the check valve from the fuel tank
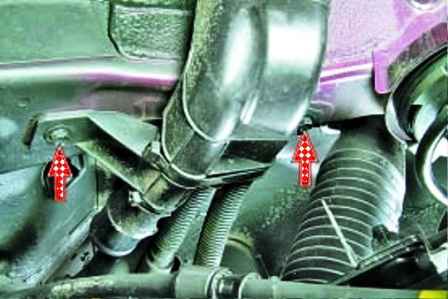
To remove the fuel tank filler pipe, unscrew the two bolts securing the filler pipe bracket to the body side member
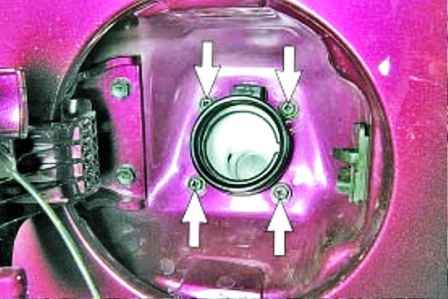
We unscrew the four screws securing the filler neck to the body
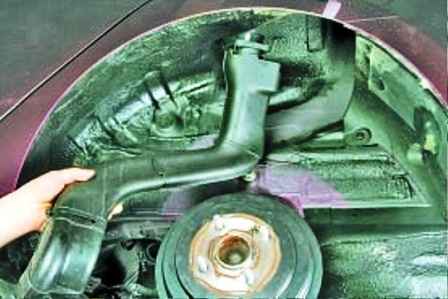
Remove the filler neck by bringing it through the niche of the left rear wheel
Install the filler neck and the fuel tank in reverse order
Pour fuel into the tank, start the engine and check the tightness of the connections.


