Steering tips and rods are replaced when worn and deformed
To replace the tie rod end, you will need a ball joint puller
When replacing tie rod ends, it must be taken into account that the right end has a left-hand thread, and the left end has a right-hand thread
We install the car on a lift or use a jack and reliable supports.
We brake the car with a parking brake and install shoes under the rear wheels
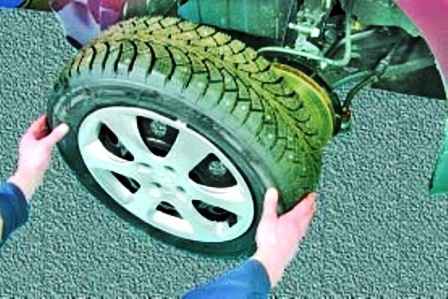
Remove the wheel
We clean the ball joint nut and the tip itself and treat it with a light-penetrating lubricant like WD-40
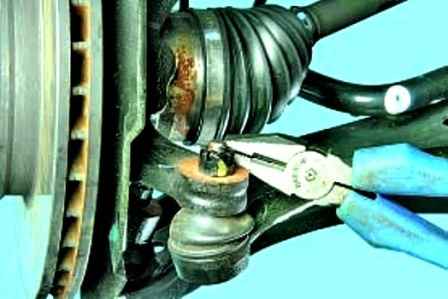
With pliers we straighten the antennae of the cotter pin of the nut of the tie rod end pin
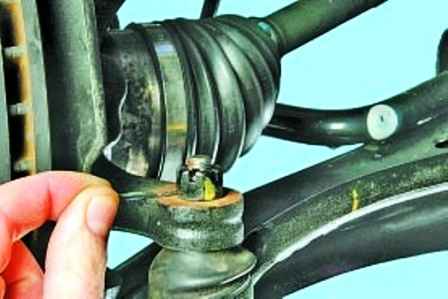
Remove the cotter pin from the hole of the finger
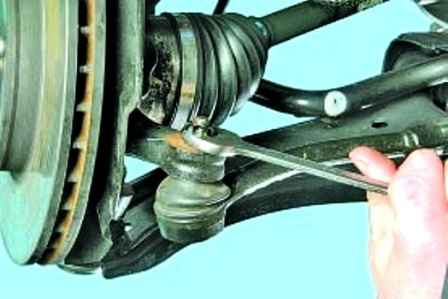
Unscrew the nut that secures the ball pin of the tip to the steering knuckle of the front suspension
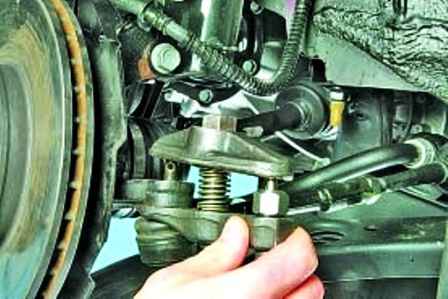
Installing the ball joint puller
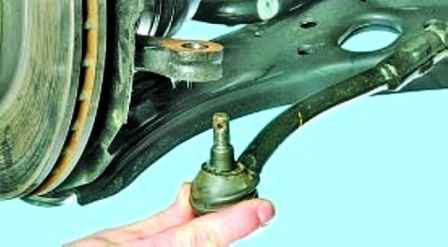
We press the pin out of the front suspension steering knuckle arm
We measure and remember the length of the free part of the thread of the steering rod, so as not to disturb the toe angle during assembly.
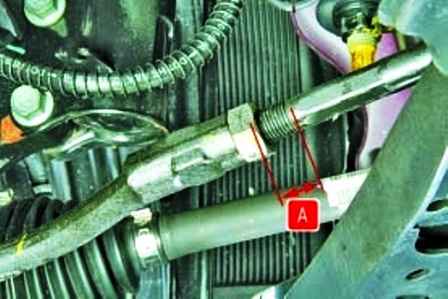
The difference in the values of the length "A" of the free threaded parts of the steering rods should be no more than 3 mm
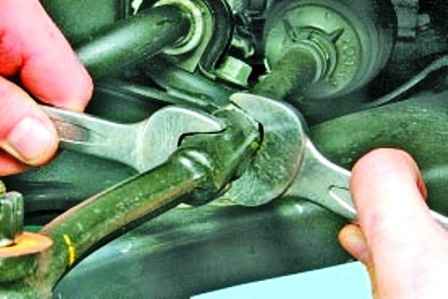
Loosen the tie rod end locknut
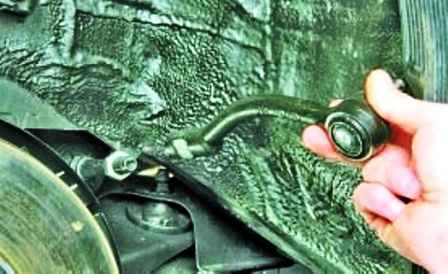
We unscrew the tip from the steering rod, counting the number of revolutions, so as not to knock down the toe during installation
Install the new tip in reverse order
Re-measure the length of the free part of the tie rod thread.
After installing the tie rod, check the toe-in
Replacing the tie rod
Tie rods are usually rarely replaced. If damage or thread stripping occurs, it is recommended to remove the steering gear
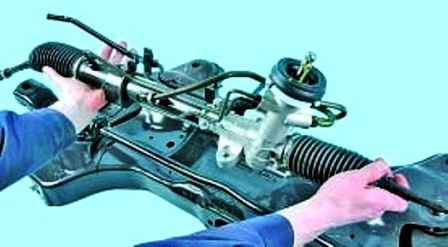
Remove the steering gear
We measure and remember the length of the free part of the thread of the steering rod, so as not to disturb the toe-in during assembly
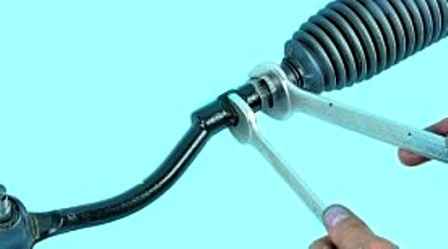
Loosen the tie rod end locknut
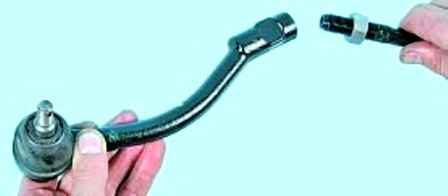
We unscrew the tip from the steering rod, counting the number of revolutions so that when installing a new tip, the toe-in does not change
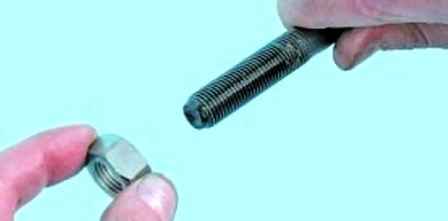
Unscrew the locknut
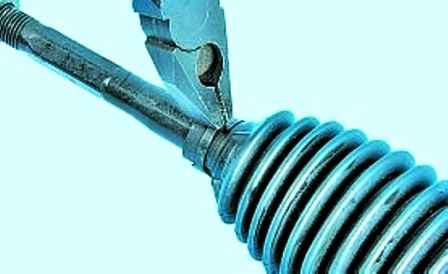
Weaken the outer clamp of the thrust cover, squeezing its bent ears, and remove the clamp from the cover
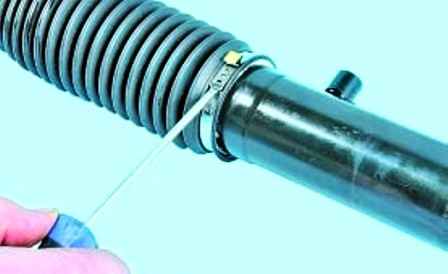
Loosen the lock of the inner clamp of the thrust cover
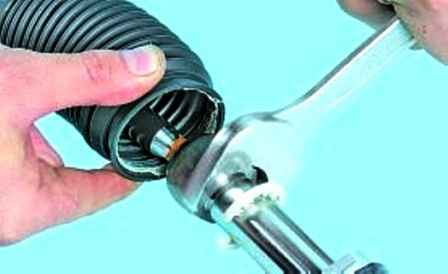
We shift the cover along the rod and unscrew the inner ball joint of the steering rod
When unscrewing the steering rack, for convenience, we clamp it in a vise with soft sponges
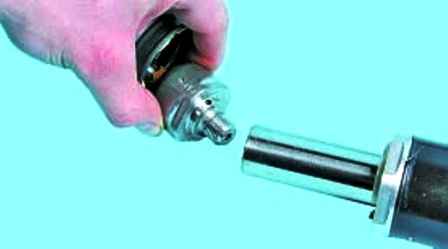
Disconnect the tie rod from the rack
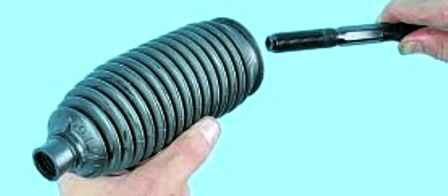
Remove the cover from the steering rod
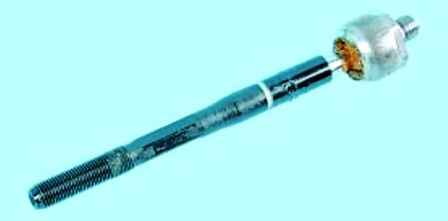
Install the tie rod and all parts in reverse order
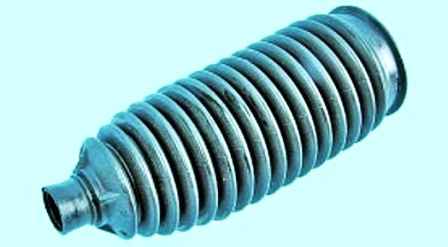
During installation, we check the protective cover for ruptures and cracks.
After installation, you need to check the alignment of the front wheels.


