Adjustment of the wheel bearings is required after replacing the bearings and when the play increases
We prepare the car and hang the front wheel from the side of the work being done
Remove the wheel off clutch, for this:
- we clean the surface of the hub and the coupling cap from dirt
By turning the switch to the “4x2” position, we turn off the wheel drive
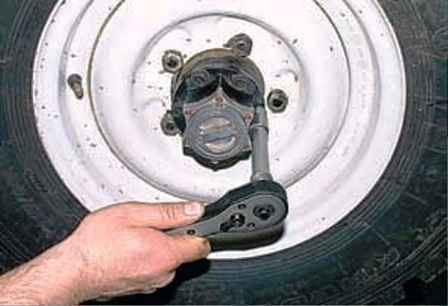
We unscrew the head for 14 six bolts securing the drive flange to the hub
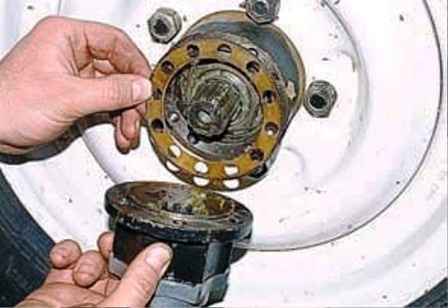
Pull it towards you and remove the coupling with gasket and flange from the splines of the shaft
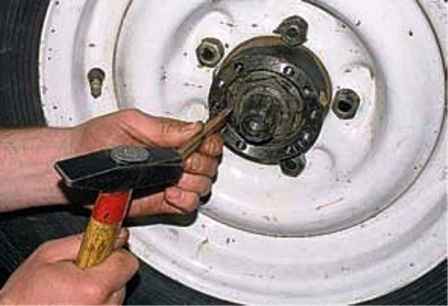
Bend the edge of the lock washer with a chisel
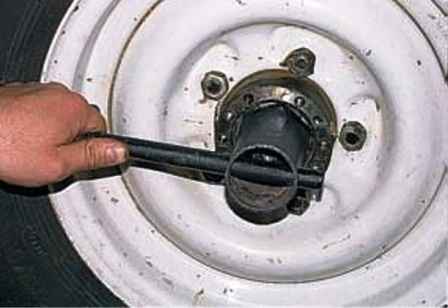
Using a 55 mm tubular wrench, unscrew the bearing locknut and remove it
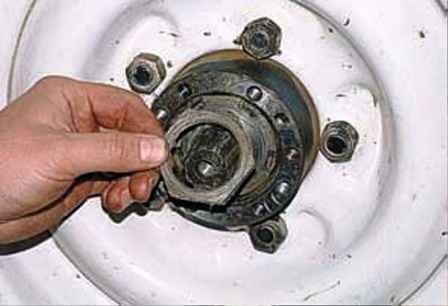
Pry off with a screwdriver and take out the lock washer.
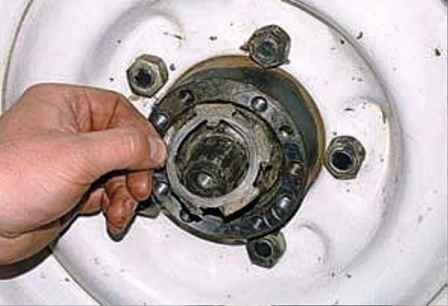
The washer is installed with the folded mustache outward
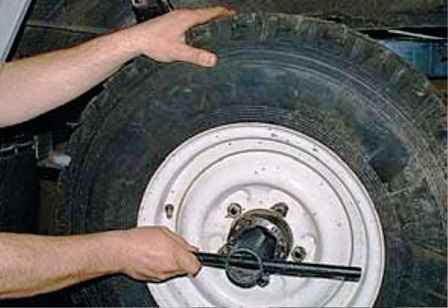
Using a 55mm tubular wrench, we tighten the adjusting nut of the hub until it stops, constantly turning the wheel by hand to self-align the rollers in the bearings
Unscrew the adjusting nut 1/4–1/3 turn.
Install the lock washer, screw on and tighten the locknut
Check the bearing adjustment by rotating the hub by hand.
It should rotate freely without jamming, clicking or play
With a chisel, we bend the edge of the lock washer onto the edge of the locknut and install the wheel off clutch
We finally check the correctness of the bearing adjustment by driving 5–10 km without heavy braking
If the hub gets very hot (the hand does not tolerate), loosen the adjusting nut by 1/6 turn, as indicated above
If the hub continues to heat up while driving, the bearings may be damaged or lacking lubrication
Checking and adjusting the axial clearance of the pivots
Turn on the parking brake or put stops under the rear wheels
Raise the right side of the front axle with a jack and remove the wheel
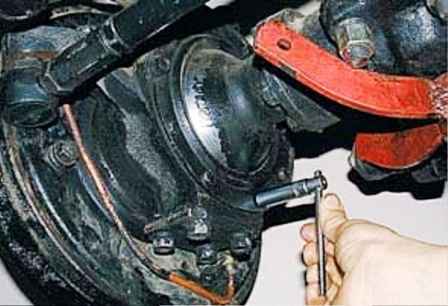
We unscrew the bolts securing the ball joint seal and the rotation limiter bolt
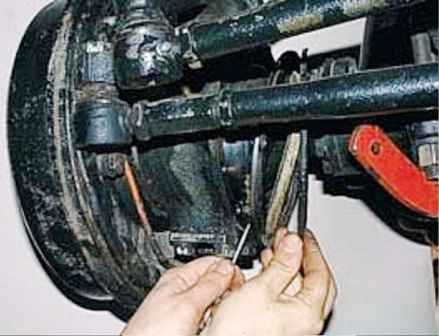
Move the gland
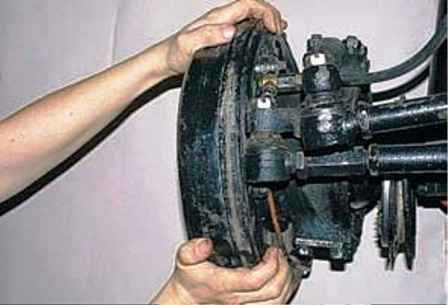
Check the axial clearance of the pivots by shaking the steering knuckle housing up and down with your hands
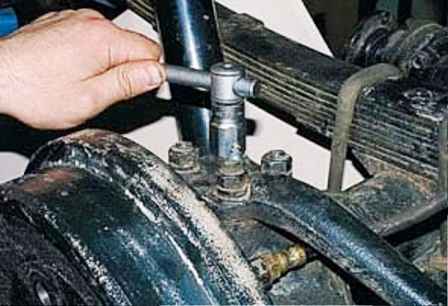
If there is a gap, then with a 19 head we unscrew the four nuts securing the steering knuckle lever
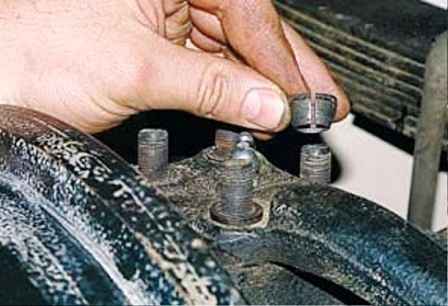
Remove spring washers and tapered split bushings
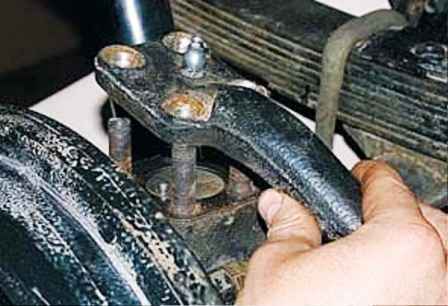
Remove the lever from the steering knuckle and move it along with the tie rod bipod to the side
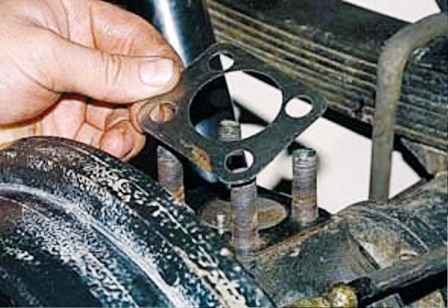
Remove one kingpin shim
In order to maintain the alignment of the hinge parts, gaskets of the same thickness should be removed from above and below (the difference is not more than 0.1 mm, measured with a micrometer)
Put the lever back in place by aligning the hole in it with the pin
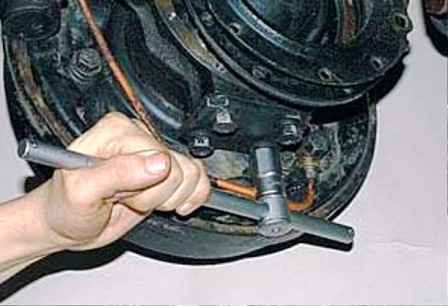
We unscrew the four mounting bolts with a 17 head and remove the lower kingpin lining and the lower kingpin gasket of the same thickness
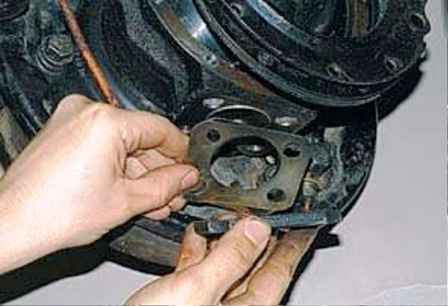
Installing the overlay in place, aligning the hole in it with the pin
Checking the axial clearance of the pivots.
If it is noticeable, take out one more gasket from above and below
Having eliminated the axial play, we install the removed parts in place
We also check and eliminate the axial play in the kingpin of the left steering knuckle, with the difference that to remove the upper shim we remove the upper kingpin pad


