Disassembling the transfer case to replace worn parts
We install the car on a viewing ditch or lift
Remove the transfer case as described in the previous article
Cleaning the transfer case from the outside
Pour about 0.5 l of kerosene or diesel fuel into the transfer case crankcase and wash the box by rotating the shafts
Drain the liquid and remove the speedometer drive
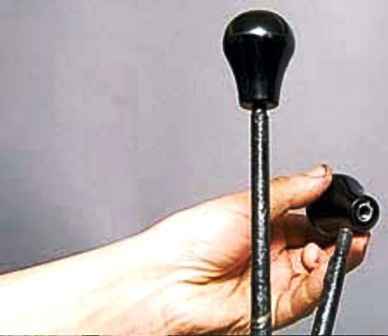
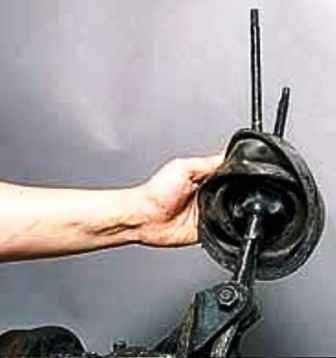
Unscrew the handles of both levers and move the rubber protective cover
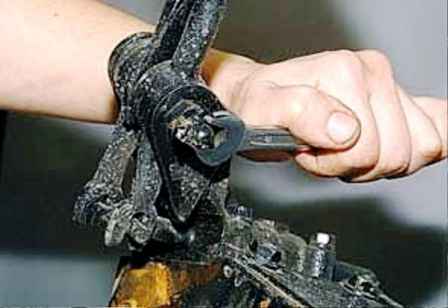
We unscrew the grease fitting of the axis of the levers with a key to 12 and remove it
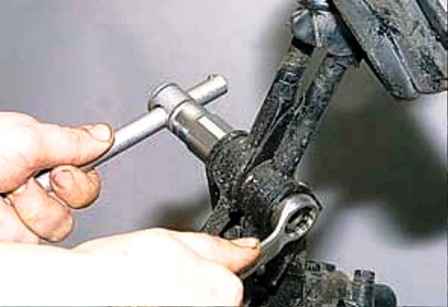
Using a 19 key, unscrew the axle nut, holding the lever axle with the same key
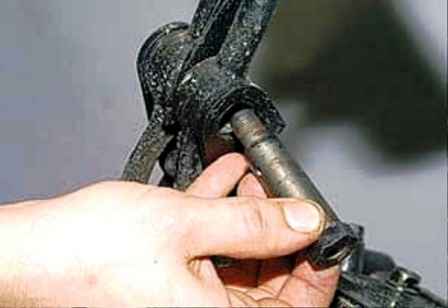
Removing the axle
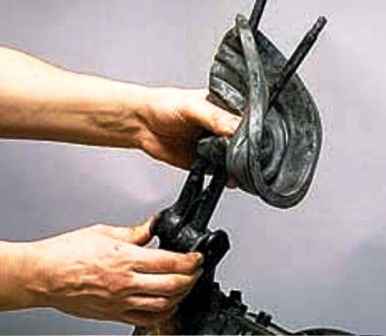
Holding the plastic washers, remove the levers from the bracket
Remove the protective cover and washers
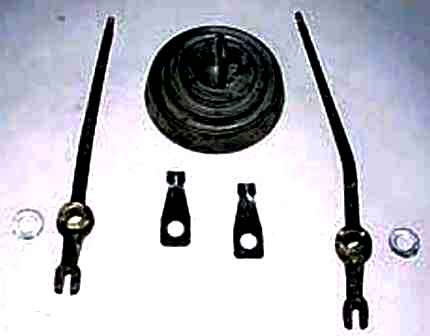
Shorter lever mounted closer to the driver
Removing the parking brake parts
Replacing oil seals
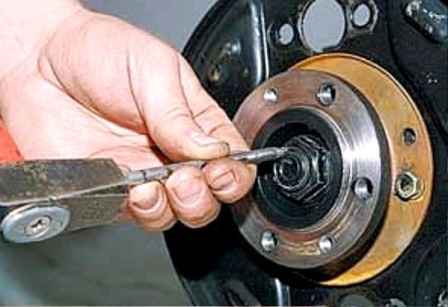
Unbend the locking nut of the rear axle drive shaft with a beard
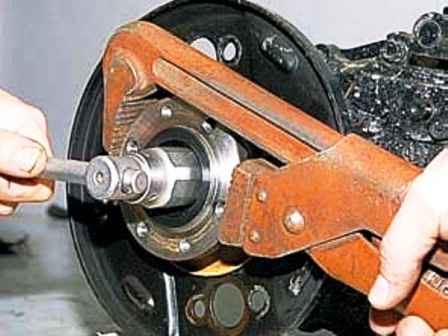
Using a 27 socket and a tubular wrench, unscrew the nut
There is a washer under the nut
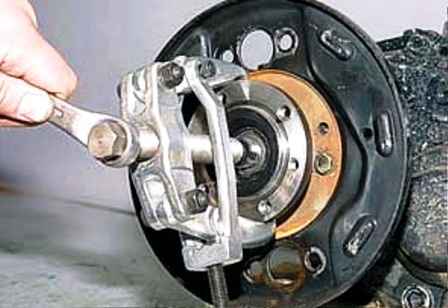
Compress the flange with a puller
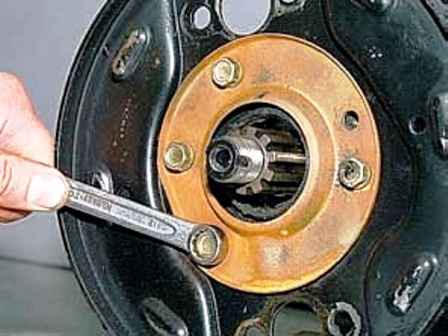
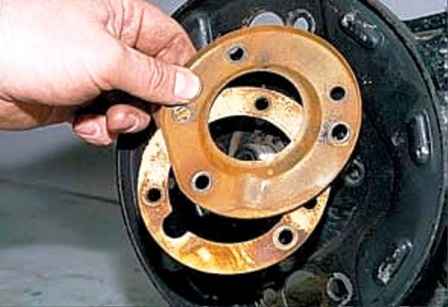
Using a 12 key, unscrew the four bolts securing the mudguard, and remove the mudguard and gasket
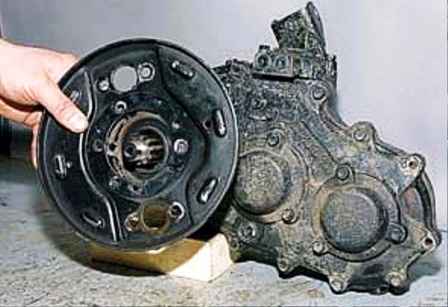
Remove the brake shield
The mud deflector and brake shield are installed only in one position
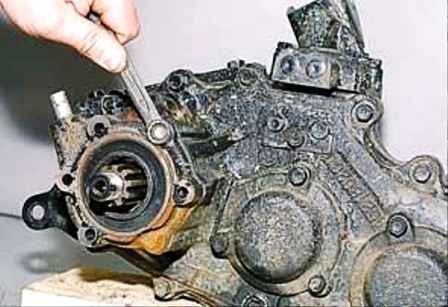
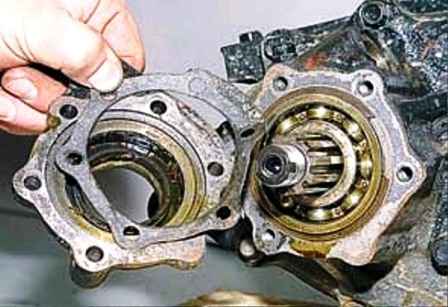
We unscrew the bolt of the bearing cover with a 12 key and remove the cover with the gasket
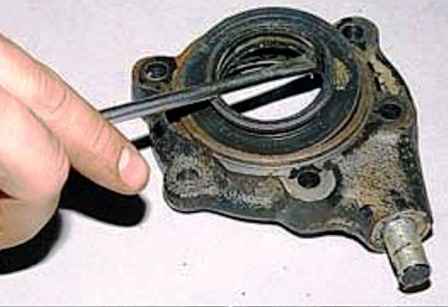
Use a screwdriver to pry off and remove the gland
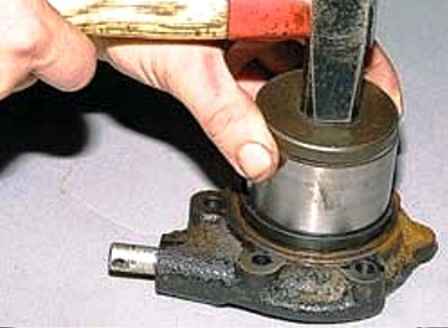
Using a piece of pipe or a mandrel with a diameter of 65 mm, we press in a new cuff
To replace the front axle drive shaft seal:
- unscrew and remove the front axle drive flange nut
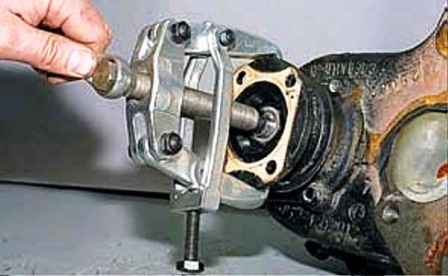
Compress the flange with a puller
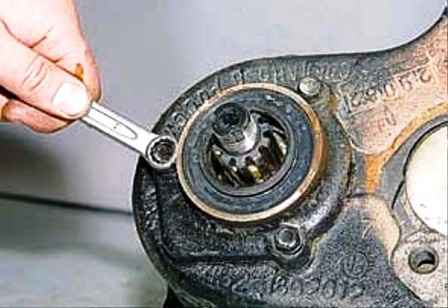
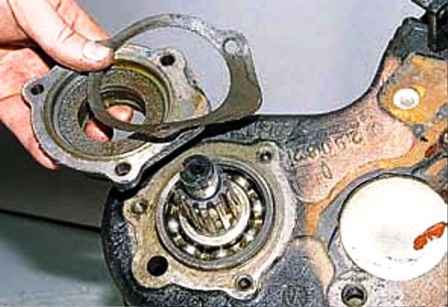
We unscrew the three bolts securing the cover with a 12 key and remove the cover with the gasket
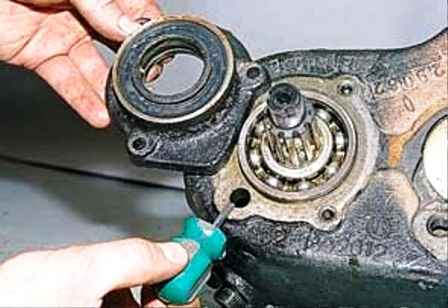
The cover is installed so that the tide on it closes the hole in the crankcase
We replace the seal in the same way as the seal of the rear axle drive flange
Removing shafts
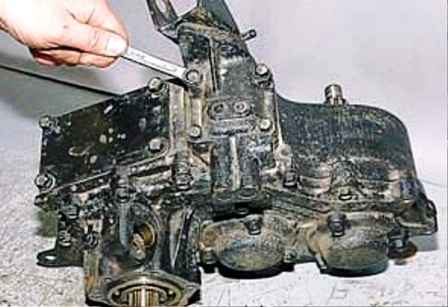
We unscrew the four bolts of the control mechanism cover with a 12 key
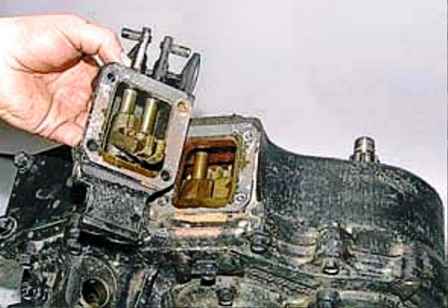
Removing the control mechanism
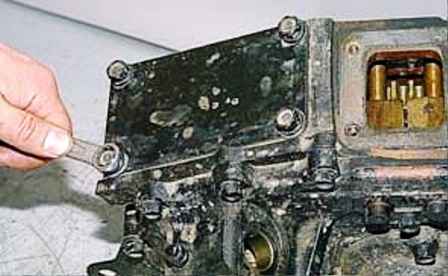
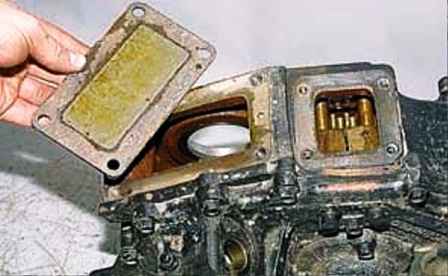
We unscrew the four bolts securing the hatch cover with a 14 key and remove the cover with the gasket
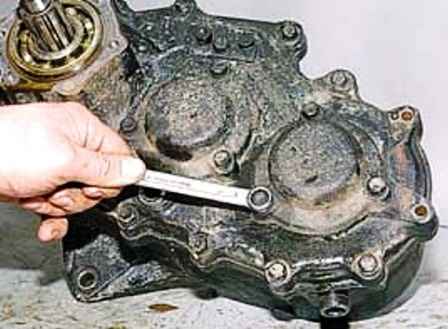
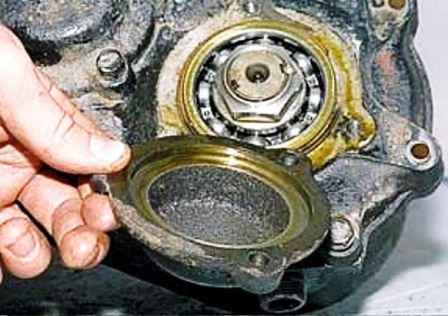
We unscrew the three bolts securing the front axle drive shaft rear bearing cover with a 12 wrench, and remove the cover
Also remove the cover from intermediate shaft rear bearing
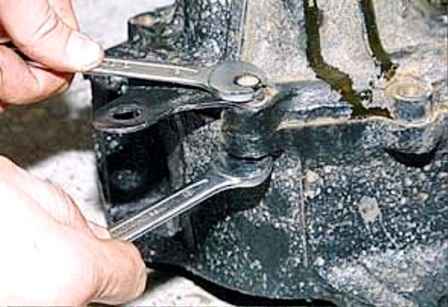
Using a 12 wrench, we unscrew the twelve bolts securing the crankcase cover, while holding the nuts of two bolts with a 13 wrench
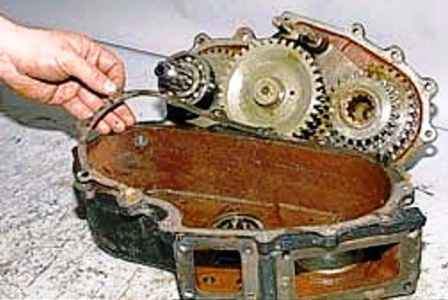
Remove the cover with shafts and gasket
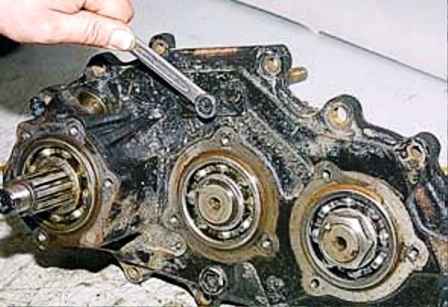
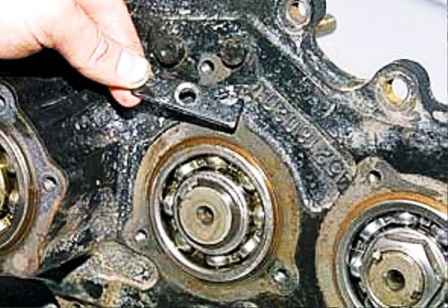
We unscrew the bolt securing the locking plate of the fork rods with a key to 12 and remove the plate
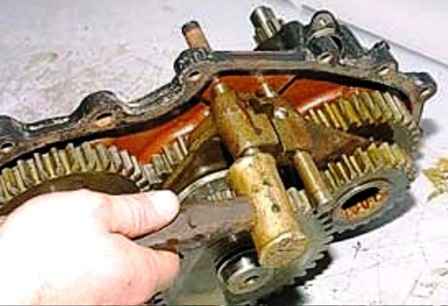
Using a hammer with a soft metal head, we knock out the stems of the forks
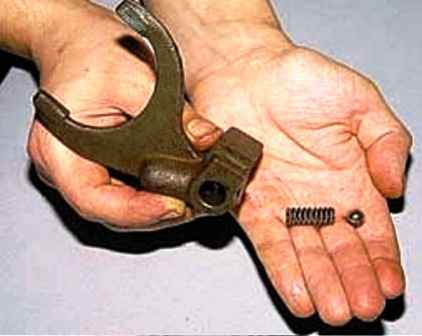
Remove the forks, remove the balls and springs from them
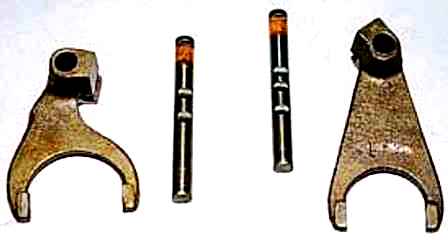
The front axle shift fork stem has two holes and the underdrive shift stem has three holes
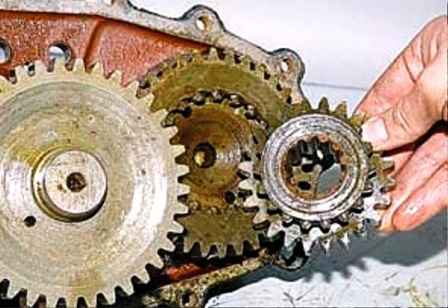
Removing the drive gear
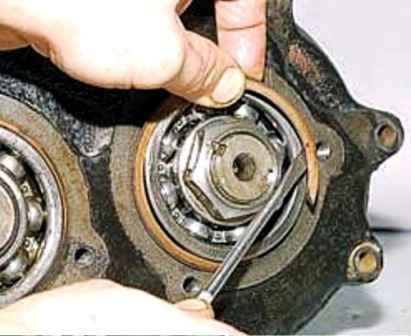
Use a screwdriver to pry and remove the retaining rings of the three bearings
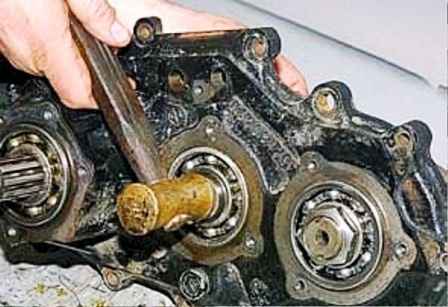
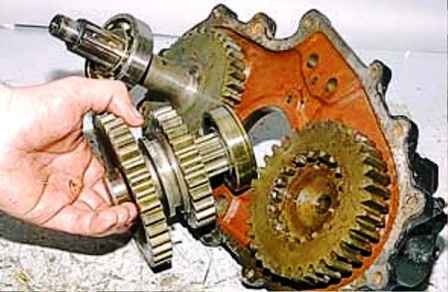
Using a soft metal hammer, we knock out the intermediate shaft with the bearing and take it out
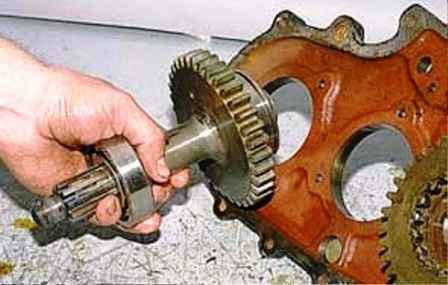
We also knock out and remove the front axle drive shaft
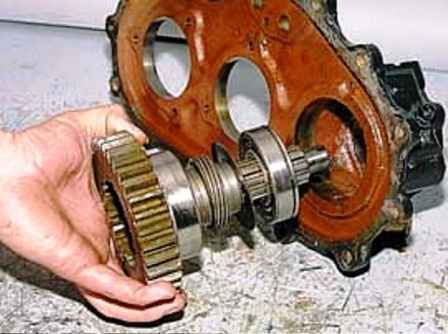
We also remove the rear axle drive shaft
Sequentially remove from the rear axle drive shaft:
- bearing;
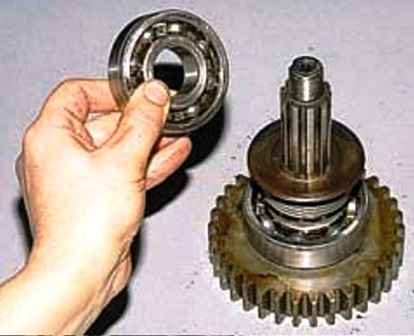
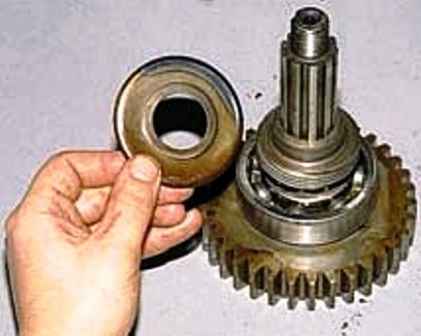
- an oil slinger (the washer is installed with a cavity to the gear);
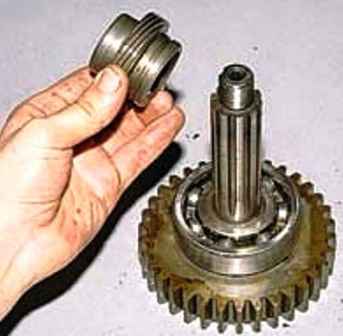
- speedometer drive gear.
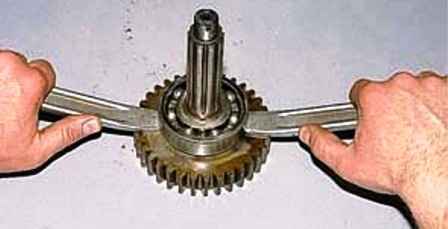
Compress the inner bearing with two mounting blades or a puller
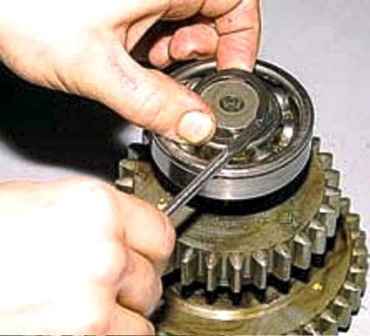
Pry off with a screwdriver and remove the retaining ring from the intermediate shaft
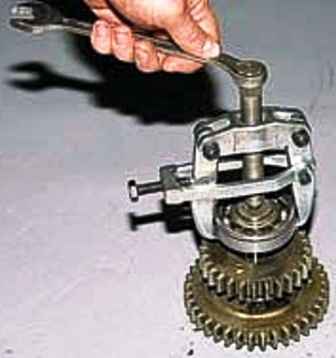
We press the ball bearing from the intermediate shaft with a puller
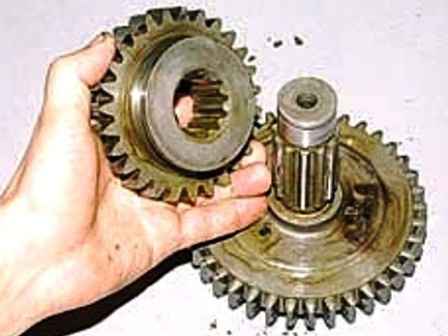
Remove the front axle engagement gear
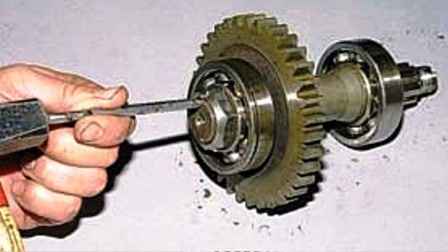
With a beard we unbend the locking nut of the front axle drive shaft
Clamp the shaft in a vise with soft metal jaws, unscrew the nut with a 36 wrench
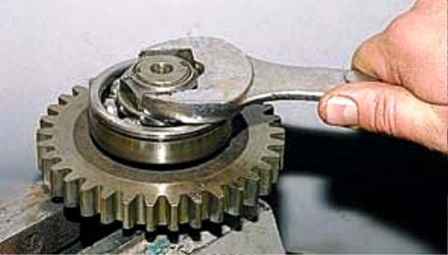
We press the bearing with mounting blades
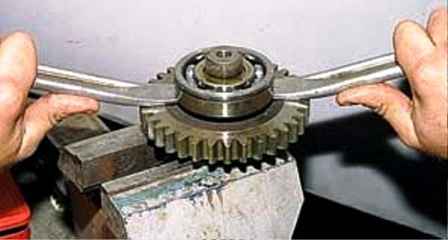
It is more convenient to press the second bearing with a puller.
It is better not to press the intermediate shaft roller bearing out of the crankcase unnecessarily, but if the bearing is badly worn or damaged, we remove it by hooking it on the rollers with a puller.
We cannot remove the bearing cap, as it is difficult to install it securely.
Before assembling, thoroughly wash all parts in kerosene or diesel fuel and inspect them.
Cracks of any shape and length are unacceptable on the parts of the crankcase and cover.
The crankcase with cover is replaced only as an assembly.
Bearing seats and shift rod holes must be smooth, free of nicks, scoring marks and noticeable wear.
The bearings should fit tightly into the sockets with the force of the hand or with light tapping through the spacer.
Gaskets must be intact, without tears, delaminations and breaks.
We check the shafts and rods for the absence of cracks, noticeable signs of wear, scuffing and metal enveloping.
This also applies to the splined parts of the shafts, the mating parts should move easily on the shafts, without noticeable backlash and jamming.
Insignificant traces of scuffing, as well as possible corrosion (on the splines) are eliminated with a needle file or very fine emery cloth.
On the teeth of gears and couplings, chips, traces of jamming and chipping are unacceptable. Damaged parts are replaced.
Rolling bearings must be in perfect condition: their rotation must be easy without jamming, clicks and play.
Fatigue spalling (pitting), noticeable wear and chips are not allowed on the raceways, balls and rollers.
The cages of ball bearings must not touch the rings, have cracks and breaks.
After a run of about 100 thousand km, it is better to replace all bearings, regardless of their condition. Cuffs are also replaceable.
Before assembling, we cover all parts of the transfer case except for the crankcase and the cover with gear oil, apply a thin layer of sealant to the gaskets.
We degrease the bolts for fastening the bearing caps and the holes for them with acetone and apply sealant to the thread during assembly.
We assemble the transfer case in the reverse order of disassembly.
When installing the rods in the forks, we sink the ball with a slotted screwdriver, compressing its spring.
To simplify the installation of the cover on the body, we do not fix the rods with a locking plate, leaving them free to move.
First, we combine the bearings and shafts with their seats.
After that, we tighten the cover and the body with bolts and only then push the rods into the crankcase holes and fix them with a locking plate.
Before tightening the bolts for fastening the shaft covers with collars, we center them by installing flanges on the shafts.


