In the article, we will consider replacing the steering rods and lubricating the steering rod joints, as well as adjusting the toe of the front wheels
Lubricating the tie rod joints
We clean the grease fitting of the steering rod joint from dirt
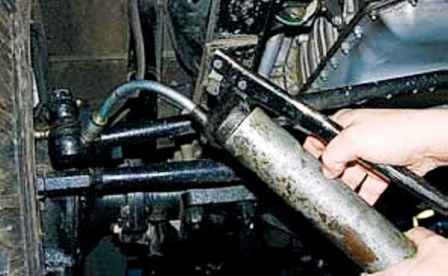
Using a syringe, we inject Litol-24 or ShRB-4 grease into the steering rod joint until the grease comes out from under the seals
Lubricate the other three hinges in the same way
If the grease fitting is clogged, then:
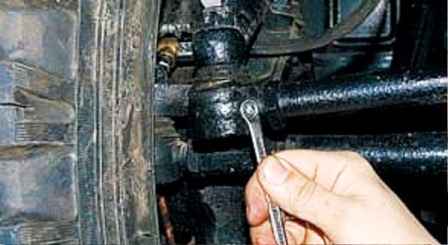
Using an 8 wrench, unscrew the grease fitting, wash it in kerosene and check the mobility of its ball by pressing it with an awl
Replace a defective grease fitting
Removing the tie rods
We install the car on a lift or a viewing ditch
We clean the rods from dirt and apply penetrating liquid WD-40 to the nuts of the steering rods
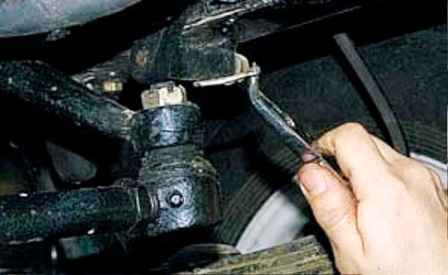
Unpin the nut securing the steering pin to the bipod
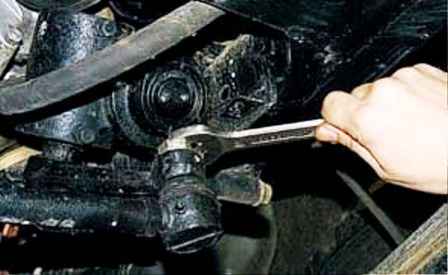
Unscrew the steering pin nut with a key 22
The nut should turn easily by hand. To do this, we “drive” the nut along the thread several times
We bait the nut on two turns of thread by hand
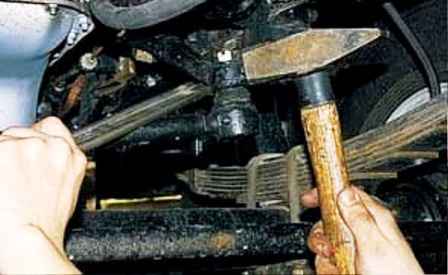
With a mounting spatula, pressing the rod down, with hammer blows on the steering arm, we knock out the steering finger from it
In the same way, we knock out the second tie rod pin
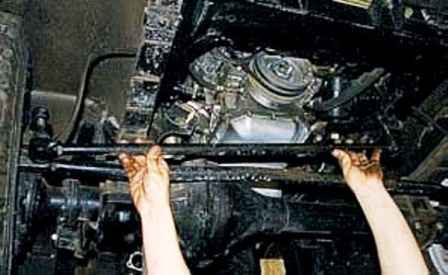
We unscrew the nuts and remove the bipod rod from the car
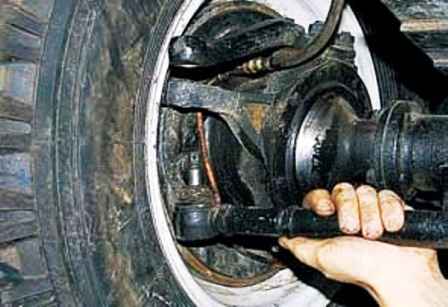
We also remove the trapezoid rod
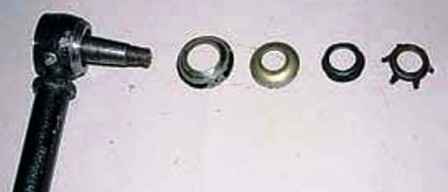
We remove the sealing elements from the rod fingers: spring cap, protective ring, upper and lower spherical washers
Install the rods in reverse order
We set the bipod rod with oilers forward along the vehicle, and the trapezoid rod with oilers back
Replacing tie rod joints
Remove the bipod tie rod as above
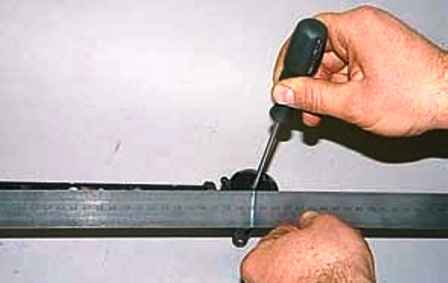
Measure the distance between the axes of the steering joints
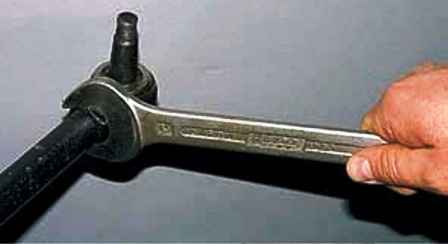
Using a 27 key, unscrew the hinge lock nut, holding the hexagon rod with a 27 key
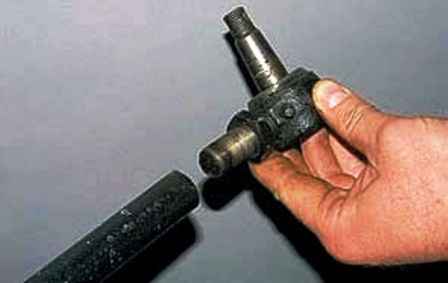
Unscrew the hinge with a locknut from the rod
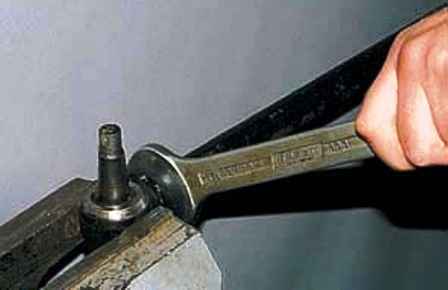
We clamp the second hinge in a vise, with a 27 key we unscrew the rod
When assembling the rod, we wrap the hinge into the rod from the side of the hexagon to the stop and, having moved the lock nut to the new hinge, we wrap it on the other side of the rod, setting the required distance between the axes of the hinges, and then tighten the lock nut.
In this case, the axes of the hinge pins must be in the same plane.
We replace the tie rod joints of the trapezoid in the same way, after which we adjust the toe-in
Adjusting the toe of the front wheels
We install the car on a viewing ditch with a flat floor
We bring the tire pressure to normal
With a special rod with a movable ruler, we measure the distance between the inner side surfaces of the tires of the front wheels in front at the level of the center of the wheel
We mark the measurement points on the tires with chalk
Roll the car forward or backward so that the marks are at the rear at the height of the centers of the wheels
Repeat the measurement at the new position of the marks
The distance at the front should be 1.5-3.0 mm less than at the back
If there is no measuring rod, you can use the rail, fixing a caliper with a depth gauge on it with insulating tape
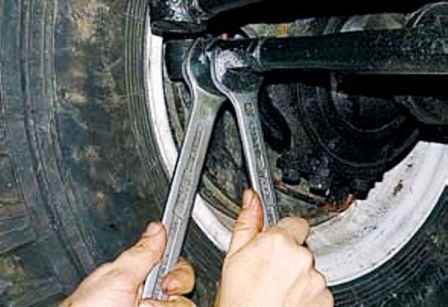
If it is necessary to adjust, use a 27 key to loosen the tie rod joint locknut, holding the adjusting sleeve with a 24 key
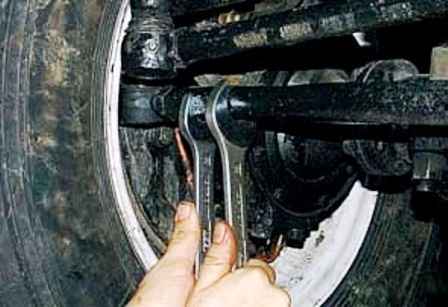
Loosen the locknut of the left-hand threaded coupling
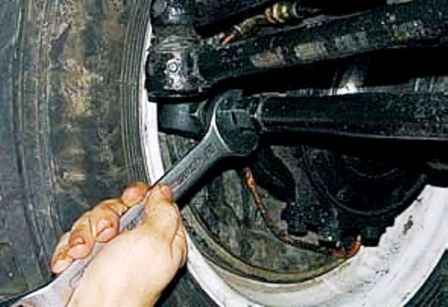
Turning the adjusting sleeve with a key to 24, we achieve the required convergence of the wheels and tighten the locknuts


