We discussed the removal and disassembly of the UMP engine in previous articles
In this article, we will consider the stages of assembling the UMP engine
After we have selected all the parts, washed them and checked them, we proceed directly to the assembly
We assemble the crankshaft in the reverse order of disassembly
When installing thrust washers, do not mix them up
Two pins keep the front washer from turning
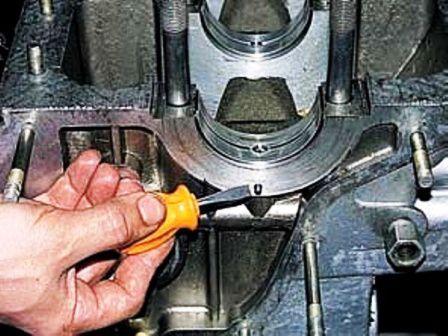
One pin installed in block
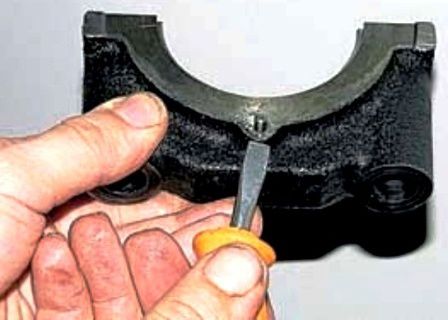
Second pin mounted on first main bearing cap
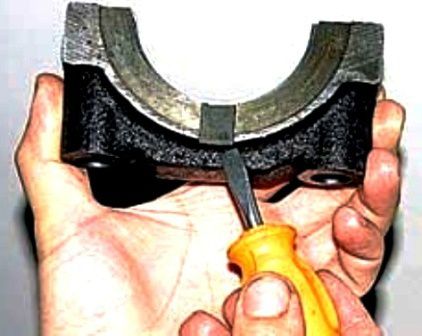
The rectangular ledge of the rear washer is installed in the groove on the other side of the cover of the first main bearing
Before installing the crankshaft, we clean the bearing beds and liners from chips, oil and deposits.
We wash all parts in kerosene and blow with compressed air. Blow out all oil channels
Lubricate the necks and liners with clean engine oil
Install the crankshaft, while:
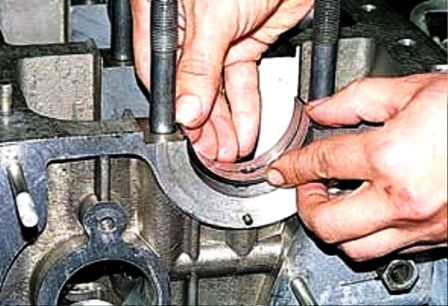
- the locks of the liners must fit into the slots of the block
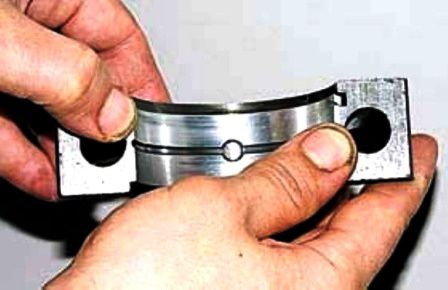
- the locks of the liners must fit into the slots of the covers
Tighten the main bearing bolts with a torque wrench. Tightening torque 12.5-13.6 kgcm
Temporarily install the flywheel on the crankshaft and fix it with two bolts
Turn the shaft by hand on the flywheel.
Rotation should be free and uniform without jamming with little effort, and axial play should not be felt
Before installing the piston assembly, install the liners in the connecting rod and its cover
Lubricate piston rings, liners, cylinder surfaces with engine oil
Turn the rings on the piston so that the locks of the compression rings are on opposite sides
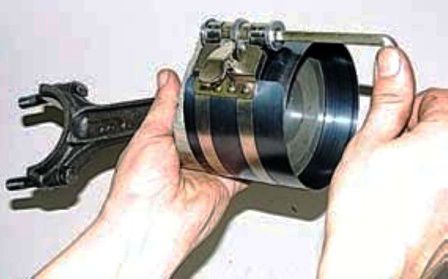
We put a tool on the piston and crimp the rings
The piston is inserted into the cylinder so that the inscription "Front" is facing the front of the block
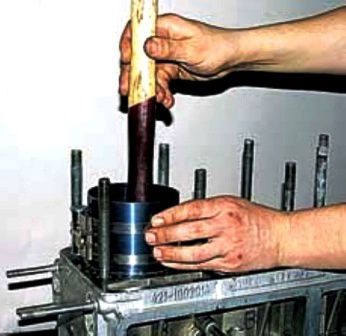
By tapping through the wooden spacer on the bottom of the piston, we sink it all the way, controlling the movement of the connecting rod to the crankshaft journal
Connecting rod caps are installed in the same way as main bearing caps.
Turn the crankshaft by the flywheel. Rotation should be free of sticking and with uniform resistance.
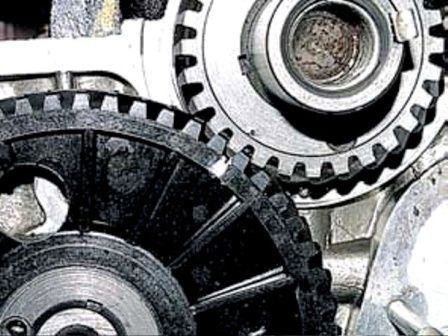
We install the camshaft so that the marks on its gear and the gear of the crankshaft match
Further assembly of the engine is carried out in the reverse order of disassembly
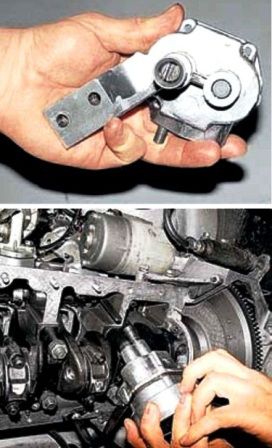
When installing the pump, we combine the slot in the pump roller with the drive roller plate
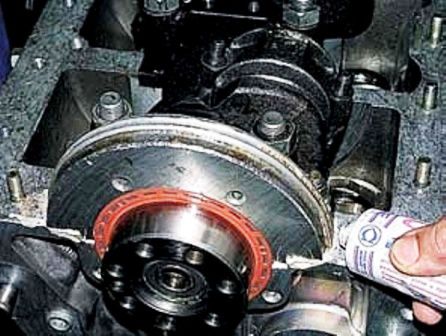
Before installing the oil pan, apply sealant to the joints of the gasket parts
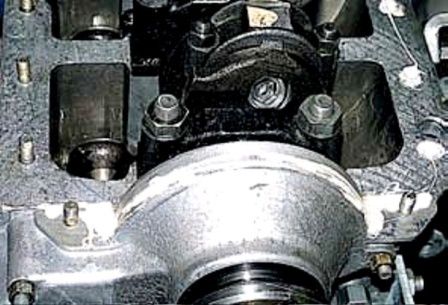
We also seal the surfaces under the cork parts of the gasket along the ends of the engine with sealant
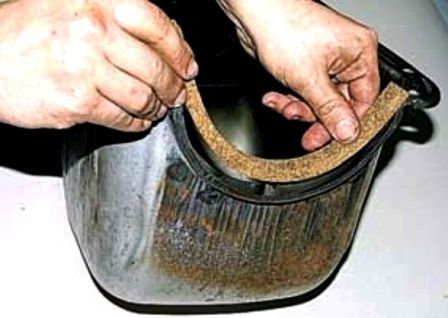
We put the end parts of the gasket into the seats of the oil pan
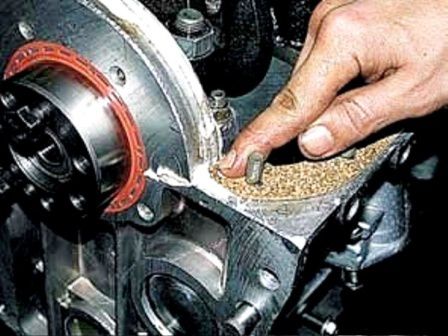
We put the side parts of the gasket on the studs
Further assembly is carried out in the reverse order of engine disassembly


