Preparing the car for the task
We unscrew the nuts securing the main brake cylinder to the vacuum booster and move the cylinder forward, trying not to bend the brake pipes too much
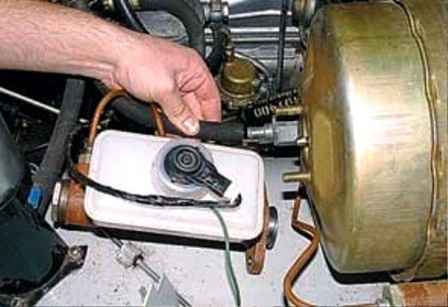
Loosen the vacuum hose clamp and disconnect the hose from the amplifier fitting
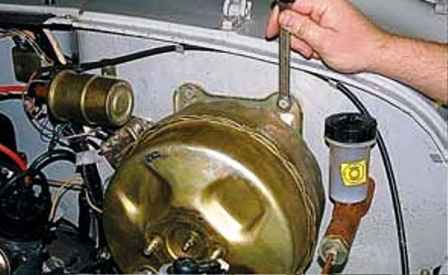
We unscrew the two upper bolts of the amplifier bracket with a 14 key
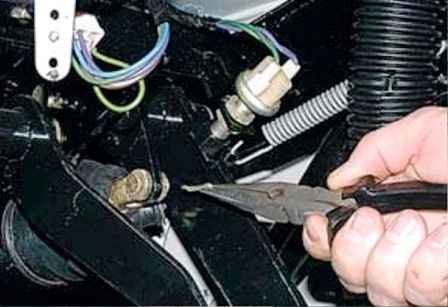
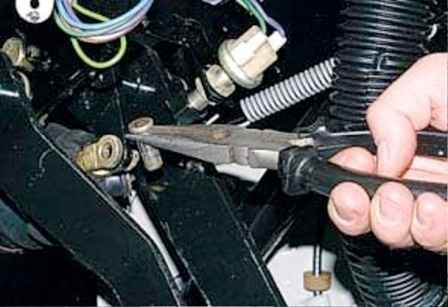
In the cabin, we unpin with pliers and remove the axle from the pusher fork of the amplifier
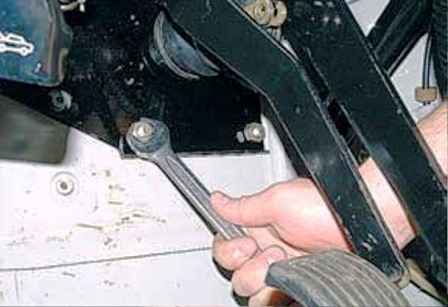
We unscrew the two lower nuts of the amplifier bracket with a 17 wrench
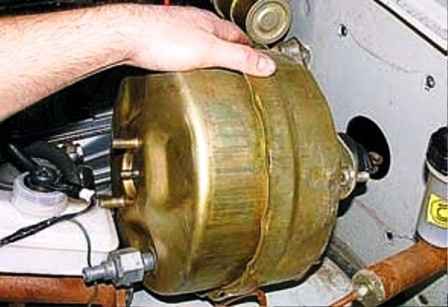
Remove the vacuum booster with the bracket so as not to damage the clutch hydraulic tube
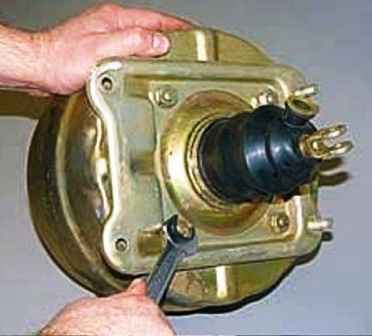
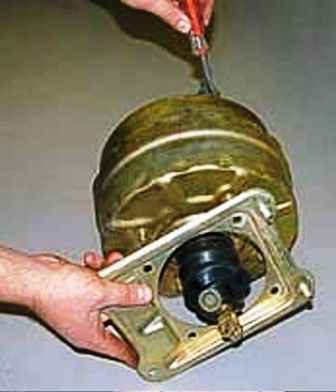
We unscrew the four nuts with a 17 key and remove the bracket from the amplifier
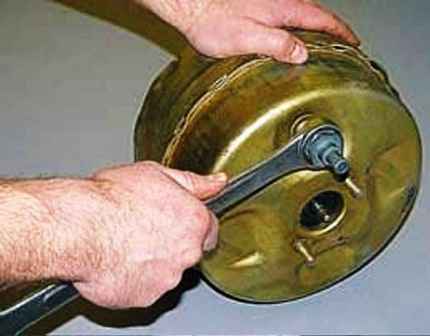
Unscrew the non-return valve with a 30 wrench and remove it
If the amplifier is not replaceable, wash its air filter, for this:
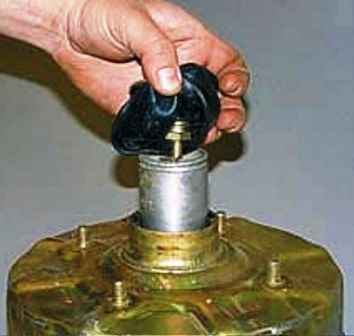
Weaken the clamp and tighten the rubber protective cover
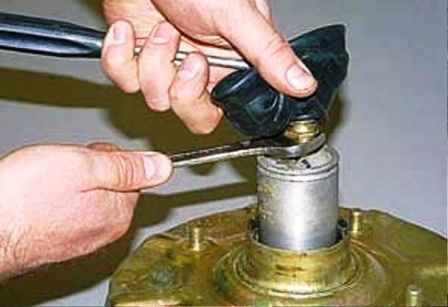
Having inserted a suitable tool into the lugs of the fork, loosen the locknut with a 19 wrench
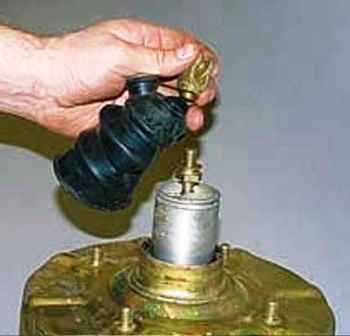
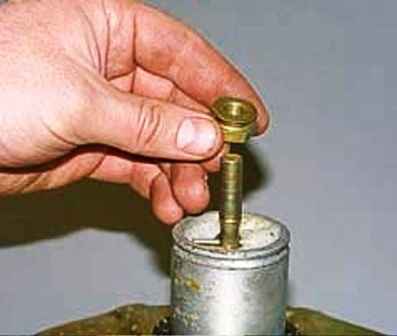
Unscrew and remove the pusher fork with a protective cover and locknut
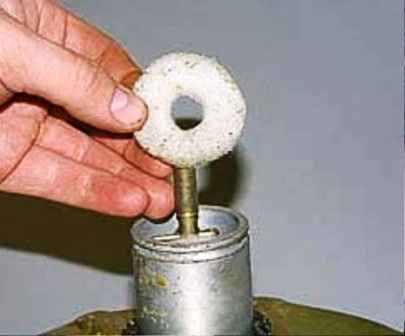
Use tweezers or pliers to remove the three washers of the air filter
We wash the washers in soapy water, dry them and put them in place.
Before installing the vacuum booster, it is necessary to adjust the protrusion of the pusher and a rod from the amplifier housing.
To check the protrusion of the pusher, we install a smooth straight rod with a diameter of 10 mm in the fork eyes.
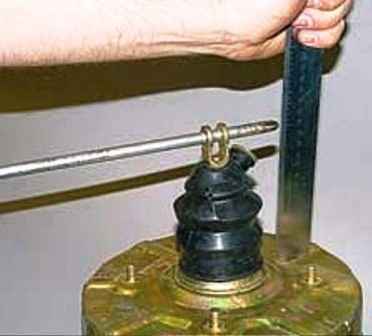
Lightly pressing the rod between the lugs of the fork, select the backlash
With a ruler, we measure the distance from the center of the rod to the plane of the studs of the amplifier housing. It should be between 134.7–136.3 mm.
If this is not the case, then by unscrewing the locknut of the pusher fork with the “19” key and wrapping or unscrewing the fork, we achieve the desired value.
After that, tighten the locknut.
To check the value of the protrusion of the rod until it stops, we sink it into the body
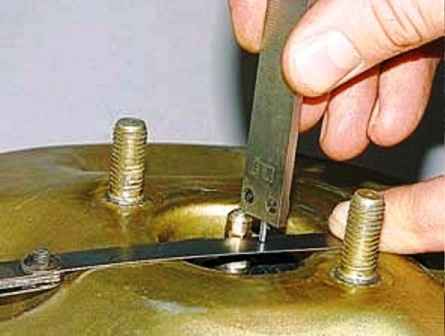
With a vernier caliper depth gauge, placing a rigid plate of known thickness (probe not less than 0.5 mm), we measure the amount of protrusion of the rod above the plane of the end of the amplifier.
It should be between 7.78–8.0 mm
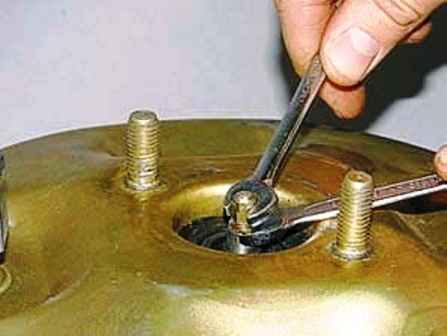
If this is not the case, then holding the stem with a key of 8, rotate the tip of the stem with a key of 7, achieving the desired value
The tip should turn tight. If it rotates easily, then, by unscrewing it, we apply anaerobic sealant to the thread of the rod and adjust the protrusion
We install the vacuum booster in the reverse order, while the studs on the booster bracket should be from below, and the bolts from above
Removing the pedal assembly
Disconnect the pusher of the vacuum booster from the brake pedal, unscrew the two nuts of the lower and two bolts of the upper fastening of the vacuum booster bracket to the pedal assembly
We move the amplifier with the bracket forward so that the studs of the amplifier bracket come out of the holes
Remove the wiper relay
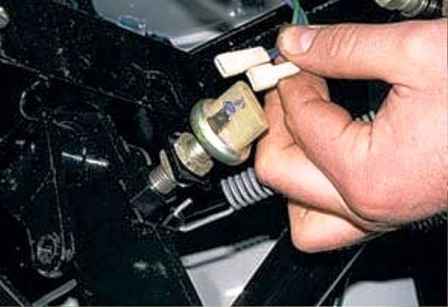
Disconnect the wires from the brake light switch
Disconnect the pusher fork of the clutch master cylinder from the clutch pedal and unscrew the nuts securing the cylinder to the pedal assembly
Move the clutch master cylinder forward so that the studs come out of the holes
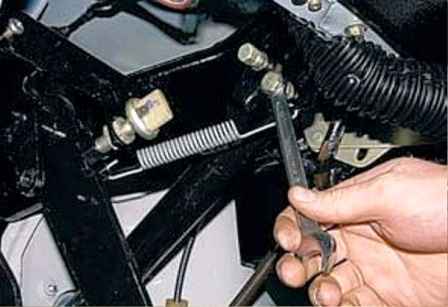
We unscrew the two bolts securing the steering column to the pedal assembly with a 14 key
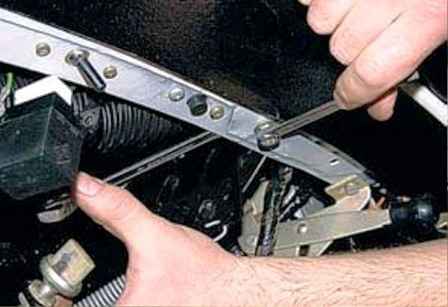
We unscrew the bolt securing the pedal assembly to the cross member of the body with a 12 wrench, holding the nut with a 13 wrench
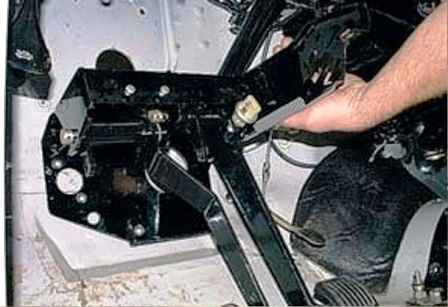
Remove the pedal assembly
Install the pedal assembly in reverse order, lubricating the pedal axles with grease


