To remove the transfer case, install the car on an inspection ditch
Removing the protection of the power plant (article - Removing the engine protection , fender liner and mudguards Renault Duster)
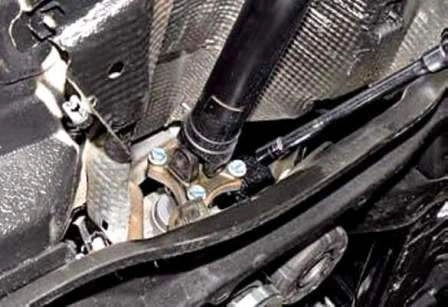
Using a 16-head with an extension, unscrew the bolts securing the front driveshaft hinge yoke to the transfer case output shaft flange
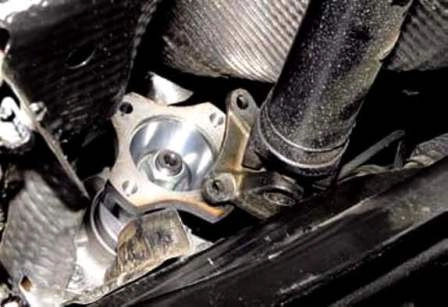
Sliding the cardan shaft back, remove the centering shoulder of the yoke flange from the transfer case output shaft flange.
We remove the right wheel drive (article - Removing and repairing Renault Duster front wheel drives)
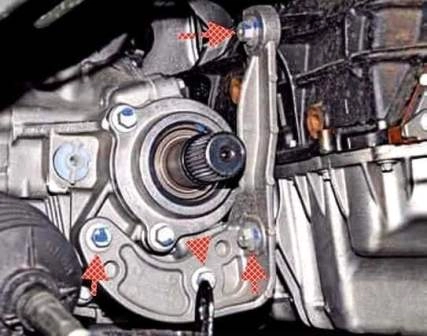
With a 13 head, we unscrew the two bolts securing the bracket to the transfer case and two bolts securing the bracket to the cylinder block and the engine oil pan
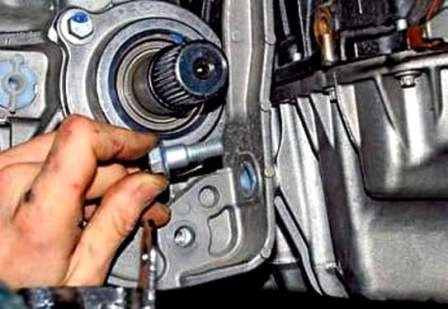
Remove the bolts and remove the bracket
From the side of the flange of the clutch housing with a head of 13 with a cardan shaft and an extension, we unscrew the upper bolt securing the transfer case to the clutch housing
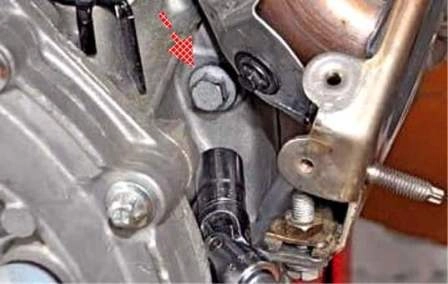
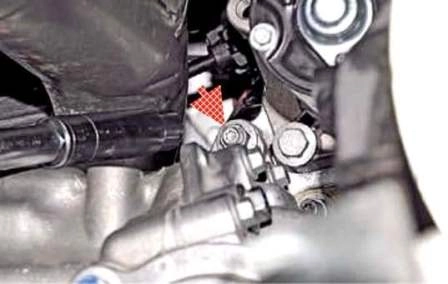
Using a 13 socket with an extension, unscrew the top nut of the stud securing the transfer case to the clutch housing.
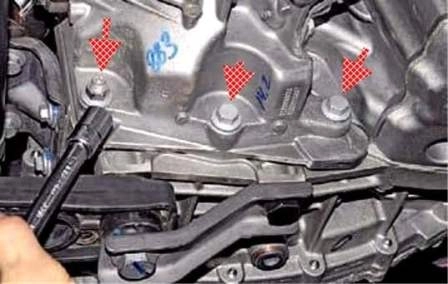
We unscrew the lower nut of the stud securing the transfer case to the clutch housing and the two lower bolts
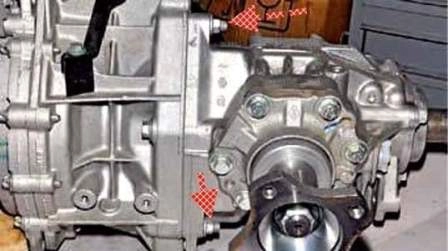
Location of nuts and studs securing the transfer case to the clutch housing
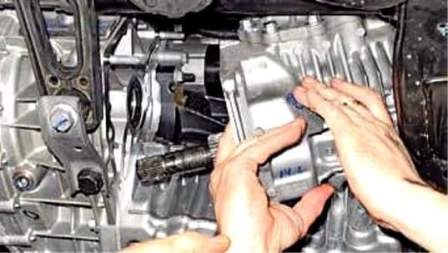
Slide the transfer case along the clutch housing studs
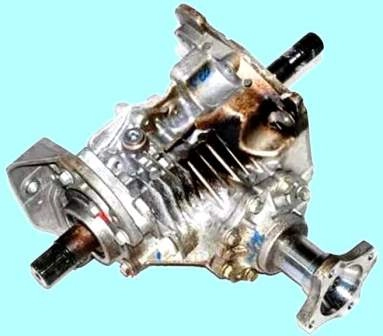
Remove the transfer case
When installing the transfer case, orient it so that the clutch housing studs align with the mounting holes in the transfer case housing.
Then, we insert the through shaft of the transfer case into the splines of the side gear of the differential, and the drive shaft into the splines of the differential box, and in order for the splines of both shafts to match, we slightly rotate the output and through shafts of the transfer case.
After the splines match, we send the transfer case all the way into the clutch housing, while ohm, the transfer case housing will be centered on the locating sleeves pressed into the clutch housing flange.
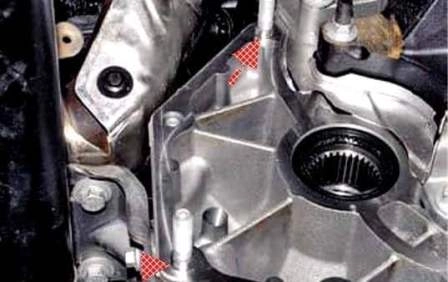
We fix the transfer case housing with three bolts and two nuts.
Then, on the right side, we bait two bolts for fastening the bracket to the transfer case housing and two special bolts for fastening the bracket to the cylinder block and the engine oil pan.
After the bolts are baited, it is necessary to check that the bracket is in a free state.
After that, you can gradually, step by step, alternately tighten the fastening bolts, at the same time checking that there is no distortion of the bracket.
Tightening torques for transfer box fasteners:
- - bolt / nut for fastening the transfer case to the clutch housing - 44 Nm;
- - bolt for fastening the bracket to the engine and transfer case - 44 Nm;
- - drain plug - 25 Nm.
Replacing the transfer box oil seals
Replacing the oil seal of the transfer case drive shaft
We replace the oil seal of the transfer case drive shaft when an oil leak is detected at the junction of the transfer case housings and the clutch housing.
Remove the transfer box and put it on the workbench.
Raise the left side of the transfer case so that when replacing the oil seal, the oil does not leak out of the transfer case.
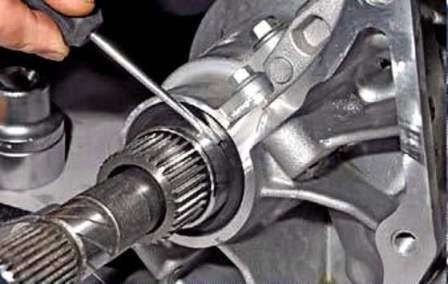
We pry the oil seal of the drive shaft with a screwdriver and remove it from the socket of the transfer case housing.
We apply a thin layer of gear oil to the working edge of the new oil seal and press the oil seal into the socket of the transfer case housing with a mandrel of a suitable size.
The seals of the inner CV joint of the drive of the right front wheel and the driven shaft can be replaced without removing the transfer case from the vehicle.
Replacing the oil seals of the inner CV joint of the right front shaft and the through shaft
To replace the oil seals, drain the oil from the gearbox and transfer case.
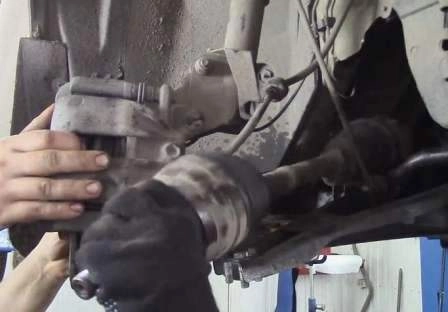
We remove the right wheel drive (article - Removing and repairing Renault Duster front wheel drives)
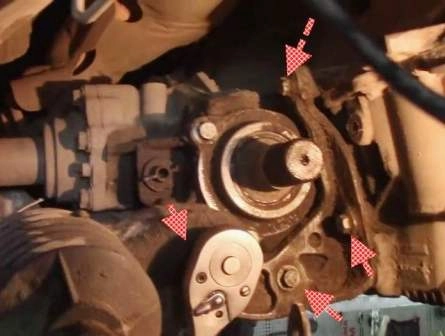
With a 13 head, unscrew the four bracket mounting bolts and remove the bracket
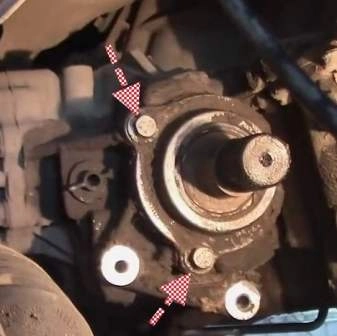
Unscrew the two bearing cap bolts
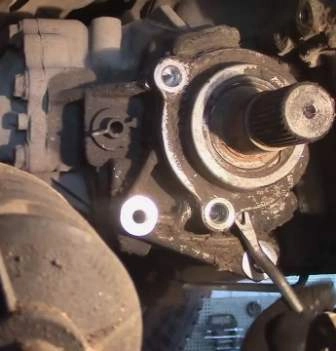
Pry off the bearing cover with a flat screwdriver or a pry tool
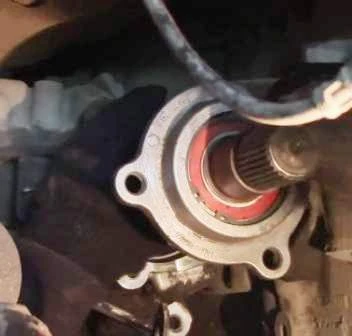
Remove the through shaft assembly with the cover and bearing from the transfer case
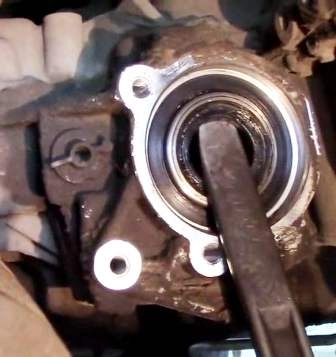
We pry off the right wheel drive oil seal with a mounting spatula or screwdriver, right drive oil seals and through shaft
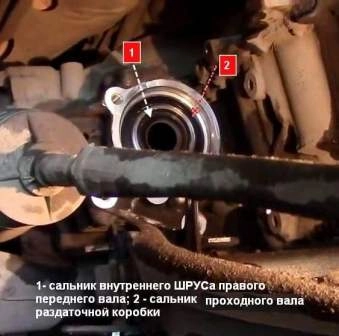
In the same way, we remove the through shaft seal.
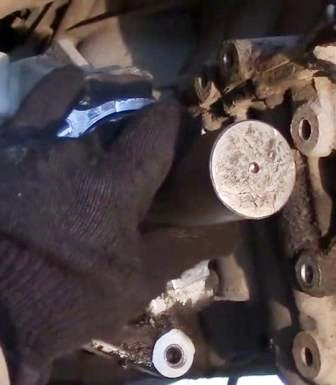
We press the oil seals using suitable mandrels.
Install all parts in reverse order.
Replacing the output shaft seal
Drain the oil from the transfer case

Disconnect the flange yoke of the front universal joint from the flange of the driven shaft by unscrewing the four bolts of its fastening, and take the shaft aside.
It is possible to remove the entire cardan shaft for convenience.
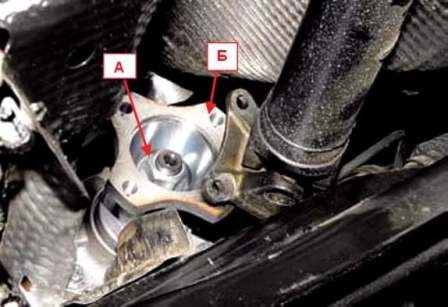
Unscrew the nut "A" of the flange "B" of the output shaft of the transfer case and remove the flange from the shaft shank.
We pry off with a screwdriver or a wire hook and remove the oil seal from the transfer case housing.
Lubricate the working lip of the stuffing box with transmission grease and press it with a mandrel with the working lip inside the transfer case.
You can use an old oil seal as a mandrel.
Replacing the thru-shaft bearing
A sign of a bearing failure is increased noise in the transfer case, the appearance of knocks in the transmission.
Remove the transfer case as described above.

We unscrew and remove, as described above, the through shaft with a cover and a bearing assembly.
We clamp the through shaft with the bearing and cover assembly in a vise.
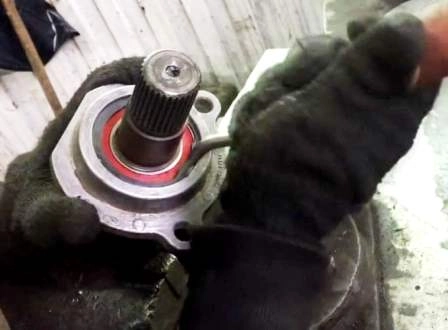
Remove the retaining ring from the bearing cap groove
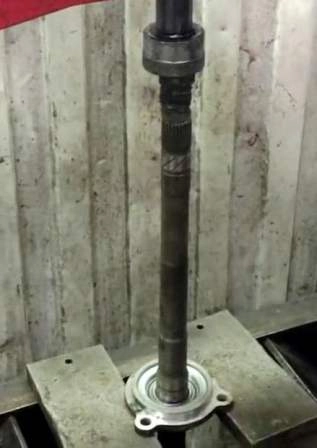
Installing the through shaft in the hydraulic press
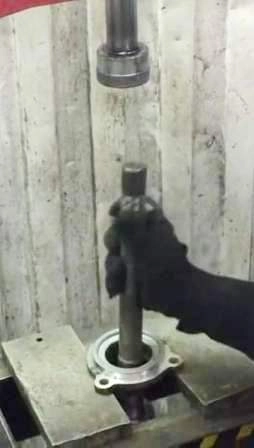
We press the shaft with the bearing out of the bearing cover
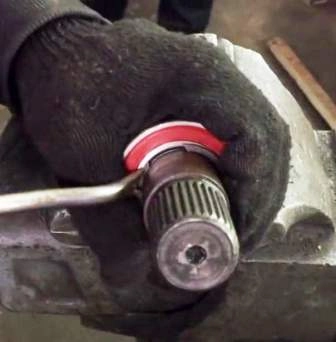
Clamping the through shaft in a vise, remove the retaining ring from the groove of the shaft
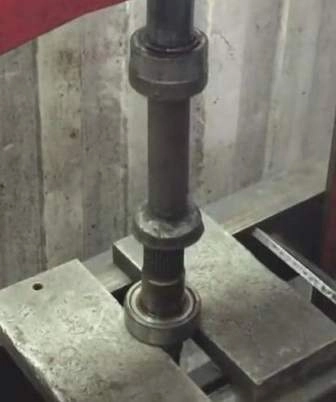
We press the bearing from the through shaft
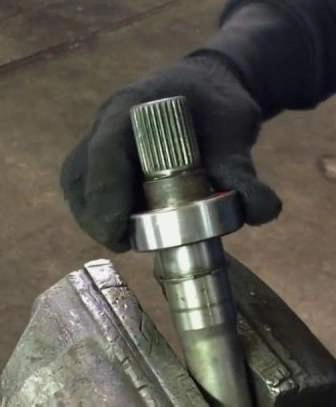
We clamp the through shaft in a vise and fill the new bearing onto the shaft
Having installed the shaft on a wooden stand, press a new bearing onto the shaft through the old bearing and a suitable mandrel.
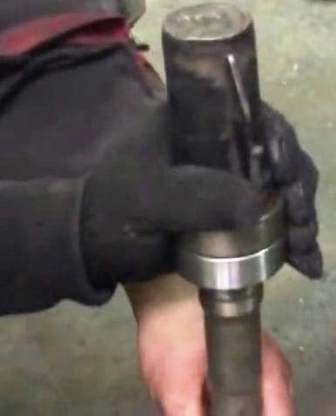
After that, we assemble the through shaft in reverse order with bearing cover and assemble all the parts.
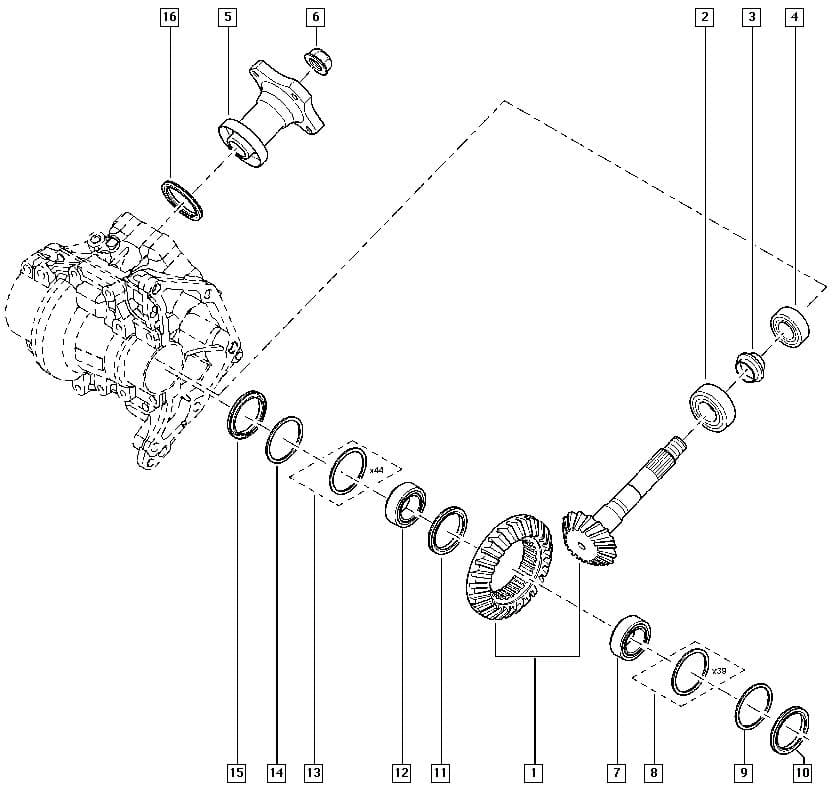
Details of the transfer case


