


Removal and installation of the silencer and catalytic converter
We remove the silencer and catalytic converter in the event of burn-through or when dismantling assemblies that require these parts to be removed.
Tools required: hammer, 10 and 13 mm spanners, pliers, WD-40 penetrating fluid.
We place the vehicle over the inspection pit or on the lift.
Important: we apply WD-40 penetrating fluid or brake fluid to the threaded parts of the bolts and nuts.
Replacement of the exhaust gas catalytic converter
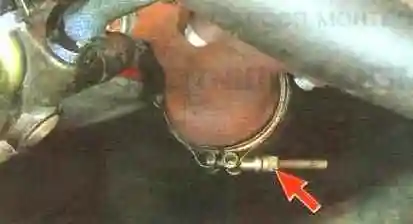
We slacken the nut of the clamp securing the catalytic converter inlet pipe to the turbine pipe adapter.
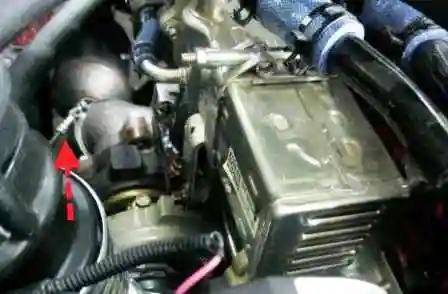
It is more convenient to slacken this nut from the engine bay side.
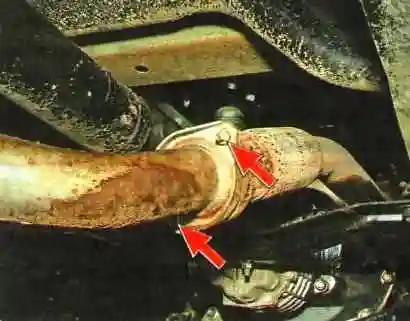
We slacken the two nuts securing the catalytic converter pipe to the silencer.
We separate the flanges and withdraw the sealing ring.
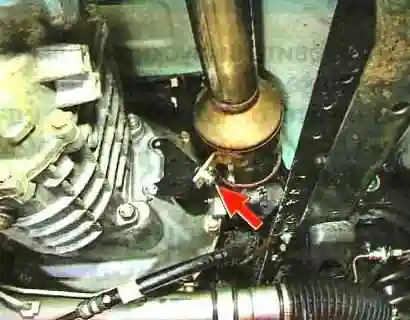
We slacken the nut of the bolt securing the catalytic converter bracket to the bracket on the gearbox.
We remove the catalytic converter.
Important: we install the catalytic converter in the reverse order.
Replacement of the silencer
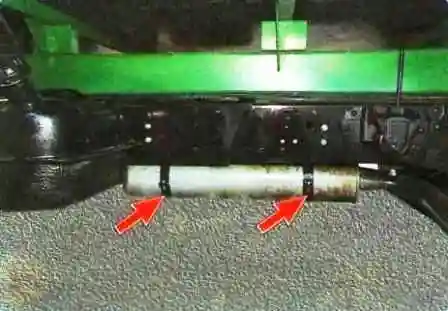
The silencer is suspended on the frame brackets by means of two clamps.
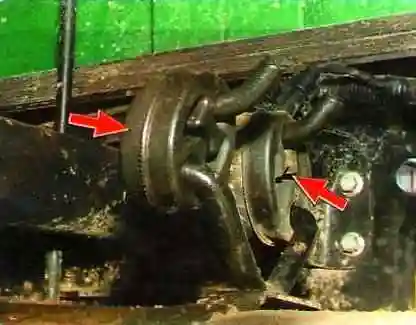
Each clamp is secured through two rubber cushions.
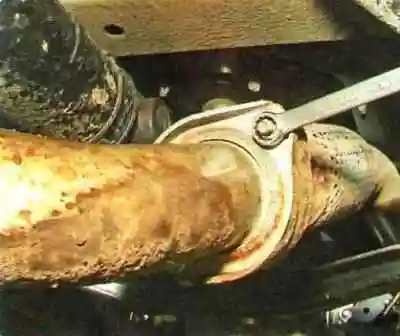
We slacken the two nuts securing the silencer to the catalytic converter pipe.
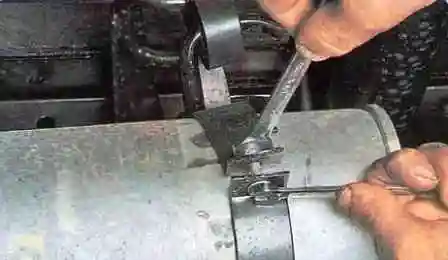
We slacken the nuts of the clamping bolts and withdraw the bolts.
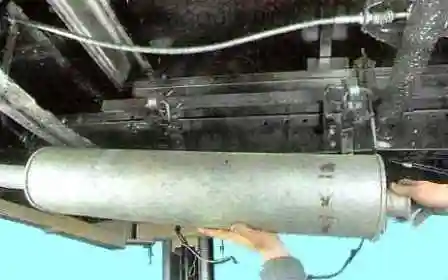
We remove the silencer.
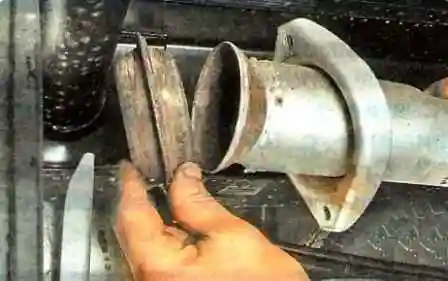
We remove the sealing ring.
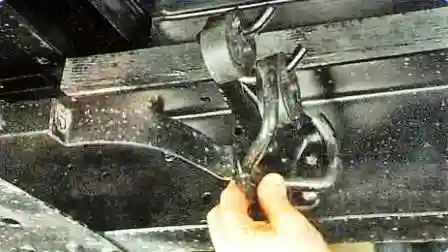
If necessary, we remove the silencer mounting clamps from the bracket.
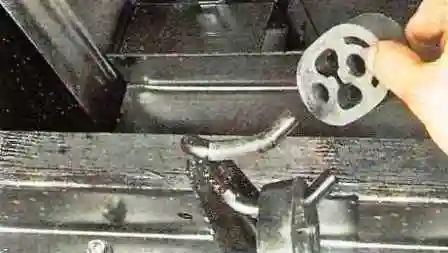
We slide the cushion off the bracket and remove it. We also remove the other cushions.
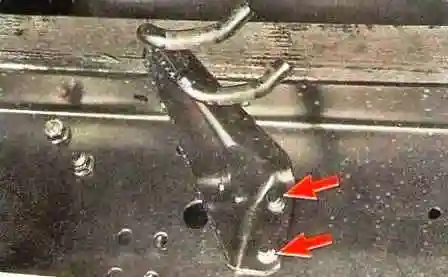
We unscrew the two bolts securing the bracket to the side member and remove the bracket.
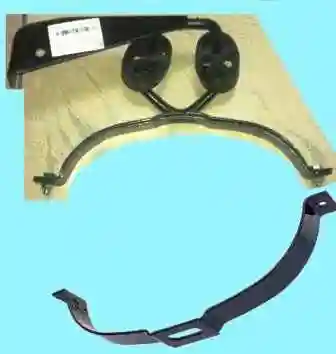
Important: we install all removed parts in the reverse order.
Important: we lubricate the threaded parts of the bolts and nuts with graphite grease.


