The causes of the main brake cylinder malfunction are wear or loss of elasticity of the cuffs, wear of the working surfaces of the cylinder and pistons, swelling of the cuffs (due to mineral oils entering the system), clogging of the compensation hole.
If the fluid level in the main brake cylinder reservoir has decreased, and no fluid leakage is detected during inspection of the connections of the pipelines and units, including the brake mechanisms, then in this case the brake fluid leakage is possible through the outer cuff into the cavity of the vacuum booster.
If, when applying a constant force of 50-100 N (5-10 kgf), the brake pedal moves half of the stroke, and then gradually moves to the floor of the cabin, the main cuffs are damaged or swollen.
In case of swelling of the cuffs and the secondary piston valve, non-release of the brakes may occur systems.
To determine this malfunction, it is necessary to disconnect the tubes from the master cylinder.
In a serviceable cylinder, there should be dripping of liquid (gravity flow) from both holes of the cylinder and a decrease in the liquid level in the reservoir.
To remove the master cylinder, you will need a 13 key, a TORX E30 key, a syringe or a bulb, a flat-bladed screwdriver, a special 12 key for brake pipe nuts.
Disconnect the negative cable from the battery.
Pump out the brake fluid from the reservoir of the master brake cylinder with a rubber bulb or syringe.
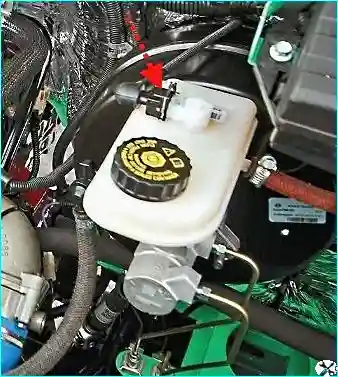
Disconnect the brake fluid level sensor wiring block
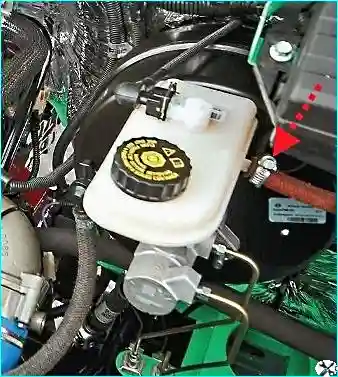
Loosen the clamp securing the hose to the clutch drive
Slide the clamp along the hose and disconnect the hose.
After disconnecting the hose, do not lower it down, but secure it in the upper position in any available way.
Brake fluid will remain in the hose, then after installing the reservoir, do not bleed the clutch release hydraulic drive will be required.
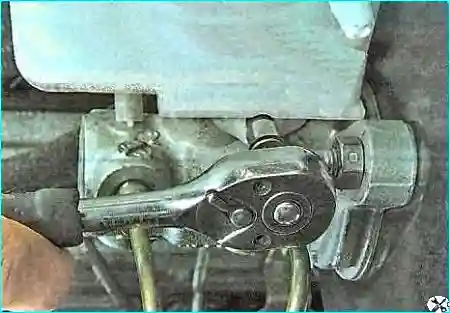
Unscrew the screw securing the reservoir to the master brake cylinder
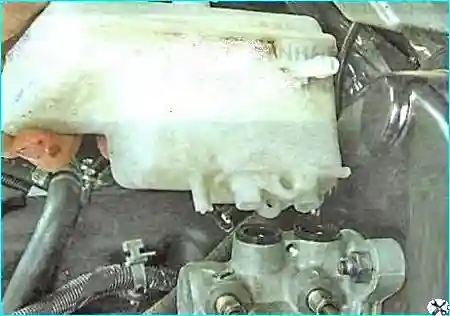
Removing the reservoir
If during operation there was a leak of brake fluid through the connecting bushings, pry the bushings with a screwdriver and remove them from the cylinder body holes.
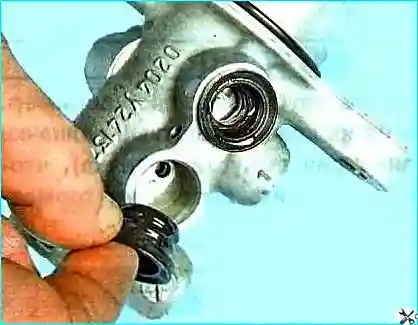
Before installing the reservoir, insert new connecting bushings into the holes of the master brake cylinder.
To facilitate the installation of the connecting bushings into the cylinder and the reservoir pipes into the bushings, moisten them with fresh brake fluid.
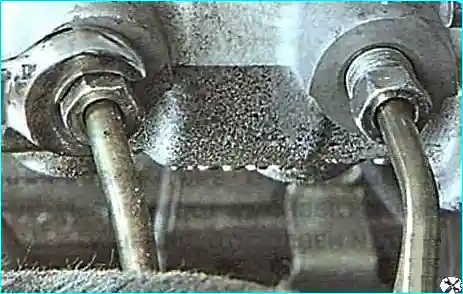
Unscrew the pipeline fastening nuts
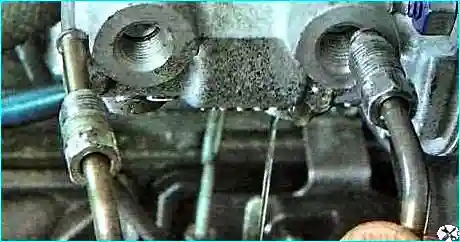
Move the pipelines to the side
Put suitable plugs on the pipes or wrap them with a piece of cellophane film.
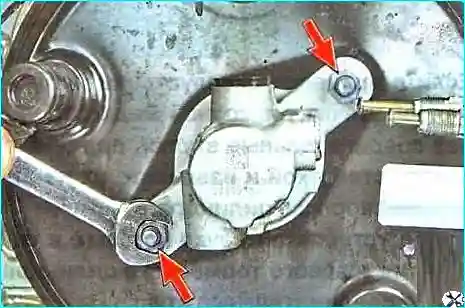
Unscrew the two nuts securing the master brake cylinder to the vacuum booster
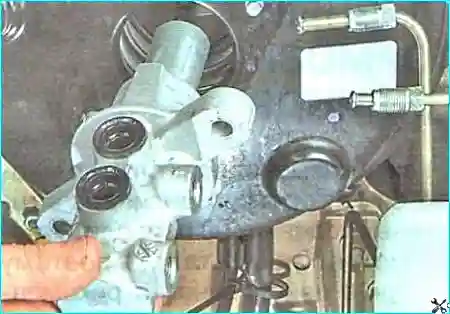
Removing the master brake cylinder
Before installing the reservoir, insert new connecting bushings into the holes of the new master brake cylinder.
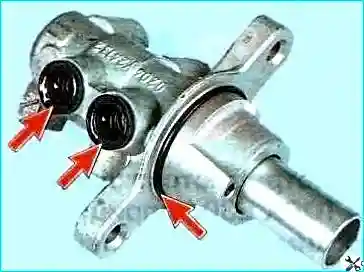
Install a new sealing ring on the brake master cylinder.
Install the brake master cylinder in the reverse order.
Fill in the brake fluid and bleed the brake system (article – Replacing fluid and bleeding brakes).
Removing and installing the vacuum booster
The performance of the vacuum booster is checked as follows.
With the engine not running, press the brake pedal 3-4 times, and then, holding it pressed with a force of 300-400 N (30-40 kgf), start the engine.
With the engine in good condition, booster, the pedal will move to the floor and you will hear the hiss of air passing through the booster filter.
If the pedal does not move or movement is difficult, the reason is a malfunction of the booster.
You must also make sure that the vacuum booster and check valve are tight.
To do this, stop the engine, wait 1-2 minutes and press the pedal several times.
During the first three presses, you should hear the noise of air entering the booster.
If this does not happen, the vacuum booster or check valve is faulty.
To remove the vacuum booster, you will need a 13 mm socket head and a Phillips screwdriver.
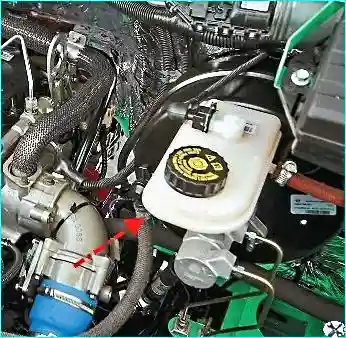
Loosen the clamp and disconnect the hose from the vacuum check valve
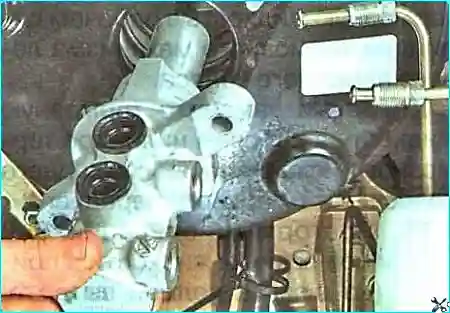
Remove the master cylinder as described above
The master cylinder can be moved away without disconnecting the tubes.
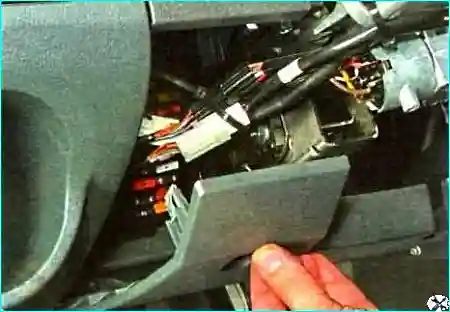
Remove the lower decorative shield of the instrument panel
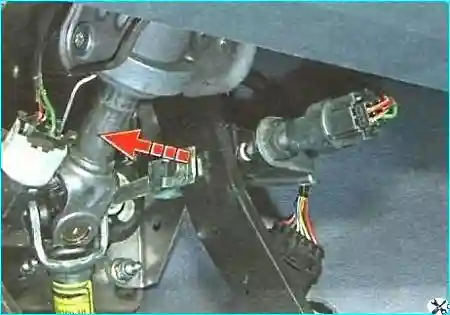
Disconnect the vacuum booster pusher from the brake pedal. Move the spring retainer of the pin to the side
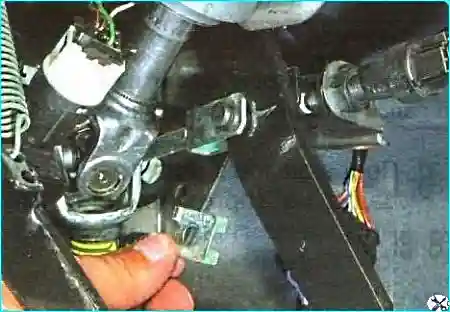
Remove the retainer
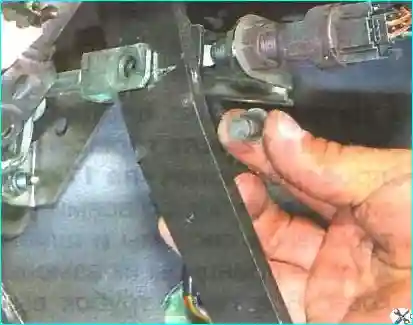
Remove the pin from the holes of the pusher fork and pedal
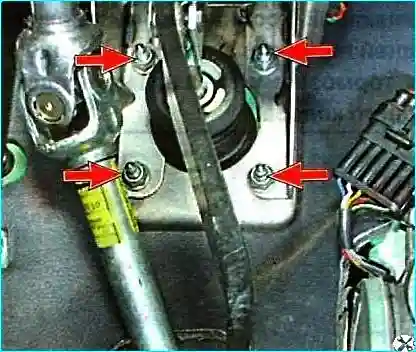
Unscrew the four nuts securing the brake booster to the front shield and remove the vacuum booster toward the engine compartment.
Install the vacuum booster in the reverse order.
If you unscrewed the master cylinder tubes, then fill in the brake fluid and bleed the brake system.


