


General information about the timing belt of the К9К engine
At every technical service, check the tension of the timing drive belt.
Consequences of a slack belt: with a slack belt its teeth wear quickly and the belt may jump on the toothed pulleys, which will lead to a disturbance of the valve timing and a reduction in engine power, and in the event of a significant jump — to serious damage to the engine.
Checking the belt tension
Manufacturer's recommendation: check the belt tension and monitor it using a special strain gauge tester.
Popular method («rule of thumb»): press on the belt run with the thumb and determine the deflection using a ruler. If the distance between the pulley centres is from 180 to 280 mm, the deflection must be approximately 6 mm.
Twisting method: if by hand force it is possible to twist the driving run of the belt along its axis by more than 90°, the belt is tensioned weakly.
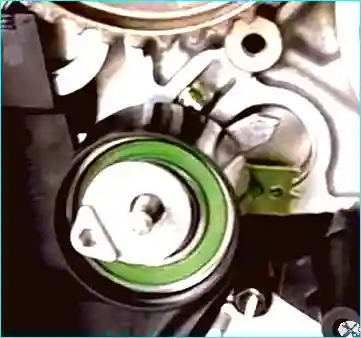
The vehicle is fitted with a timing drive belt tensioner roller with automatic adjustment.
Signs that the belt needs replacing:
- traces of oil on any surface of the belt;
- traces of wear of the toothed surface, cracks, cuts, folds and separation of the fabric from the rubber;
- cracks, folds, depressions or bulges on the outer surface of the belt;
- fraying or delamination on the end surfaces of the belt.
Important! A belt with traces of engine oil on any of its surfaces must always be replaced, since oil quickly destroys the rubber. Eliminate the cause of oil entering the belt (usually this is a breach of the tightness of the crankshaft or camshaft seals) immediately.
Necessary tools
- 10 mm, 16 mm, 18 mm sockets;
- 13 mm spanner;
- TORX E14;
- flat-blade screwdriver;
- TDC setting retainer;
- camshaft retainer.
Preparatory work
Precautions:
- We place the vehicle over an inspection pit or on a lift.
- We disconnect the negative battery terminal.
Note: some drawings and photos, for clarity, are made on the removed engine.

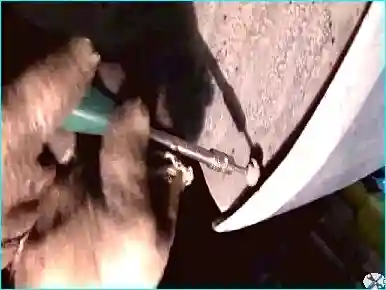
We remove the right front wheel arch liner.
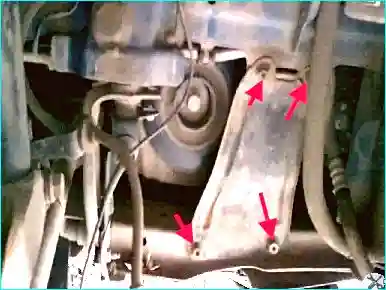
Removing the auxiliary drive belt: see the article Replacing the auxiliary drive belt on a Renault Megane 2.
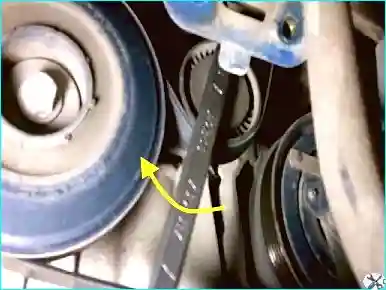
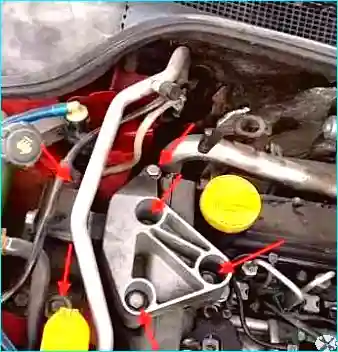
Removing the timing covers and setting TDC
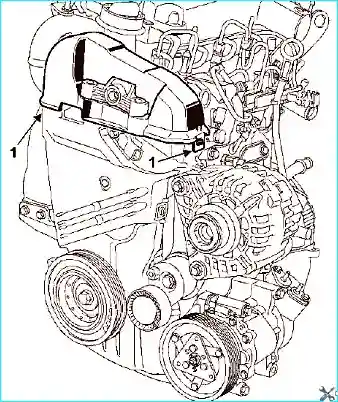
Having pressed the retainers, we withdraw the upper timing cover.
Setting TDC: we set the piston of the 1st cylinder to the TDC position of the compression stroke (see the article How to set the first cylinder of the K9K turbo of a Renault Megane 2 to TDC).
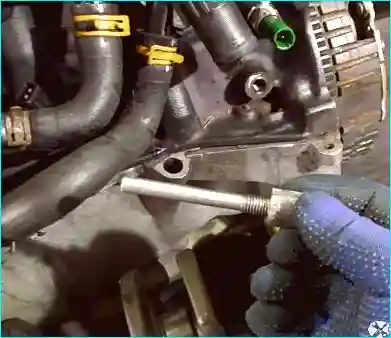
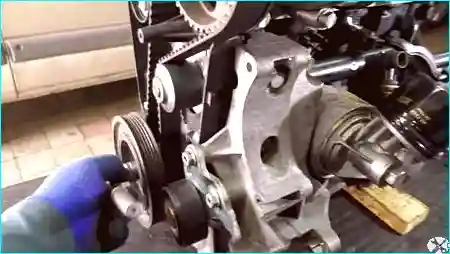
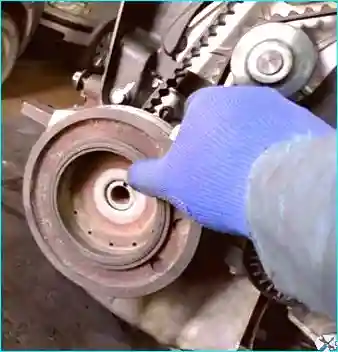
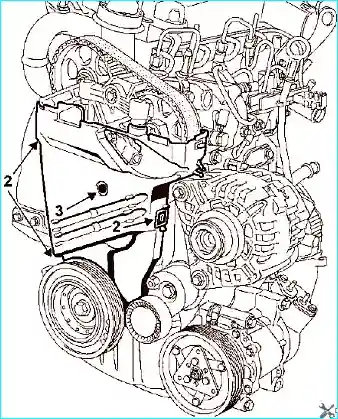
Having unfastened the retainers and withdrawn the plastic bolt, we remove the lower cover of the timing drive belt.
Removing and refitting the timing belt
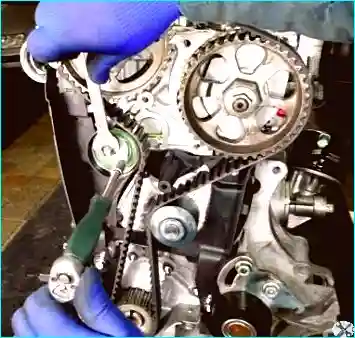
Refitting the belt: we refit the timing drive belt in the reverse order to removal.
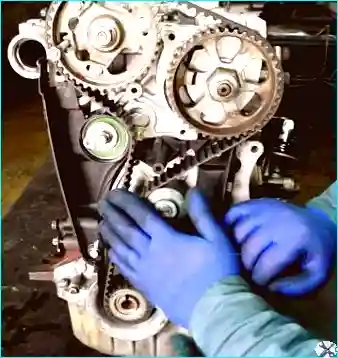
Coincidence of the marks:
- The mark on the camshaft pulley (Fig. 14) must coincide with the mark on the belt.
- The mark on the injection pump pulley (Fig. 15) must coincide with the mark on the belt.
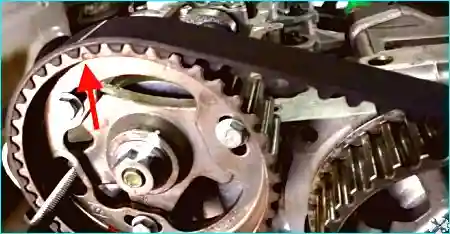
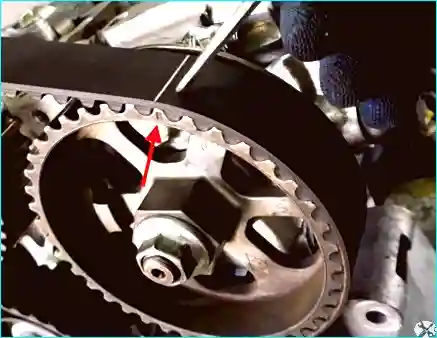
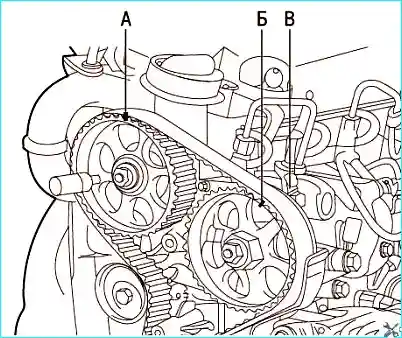
Coincidence of the marks: the mark «Б» on the injection pump pulley must coincide with the mark «В» on the cylinder block.
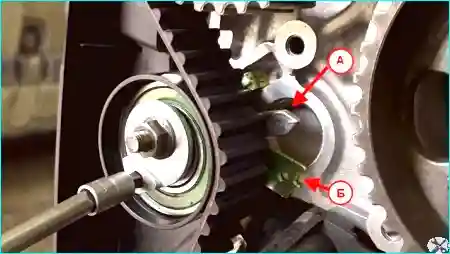
Tightening torque: we tighten the roller nut to a torque of 27 N·m.
Check after refitting
Checking the correct installation:
- We refit the auxiliary drive pulley in the reverse order to removal.
- We remove the camshaft pulley and TDC retainers.
- We turn the crankshaft by the auxiliary drive pulley bolt six revolutions.
- We check the coincidence of the marks.
- If the marks do not coincide, repeat the refitting of the belt.
Refitting: we refit all the parts in the reverse order to their removal.
Recommendation: after replacing the timing belt always check the belt tension and the coincidence of the marks. If necessary, carry out a repeat adjustment of the tension.


