We remove parts and elements of the rear suspension in case of wear or defects.
Replacement of rear shock absorber
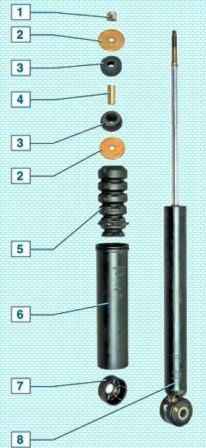
Tools will be required: keys for 6, for 16, 18, a set of screwdrivers
We install the car on a viewing ditch or a lift.
We turn on the first gear and set the stops under the front wheels.
Raise the rear of the car and set it on reliable stops.
It is impossible to install supports under the rear suspension beam, as the suspension must be unloaded.
Shock absorbers must be replaced in pairs.
It is impossible to remove both shock absorbers at once, with the rear of the car hung out, as lowering the rear suspension beam can damage the pipelines and brake hoses.
Opening the tailgate
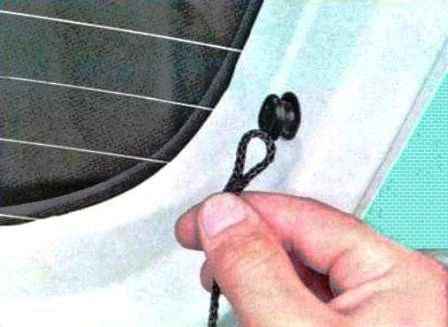
Remove the upper ends of the cords from the door holders to lift the trunk shelf
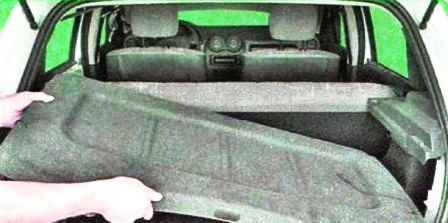
Removing the shelf
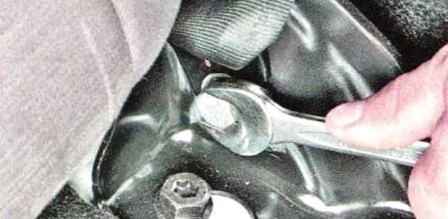
Remove the rear seat cushion and unscrew the seat belt fastening screw
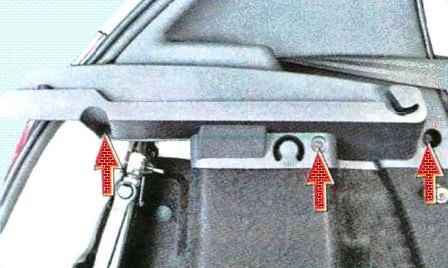
Reclining the back of the rear seat, unscrewing the three screws securing the lining
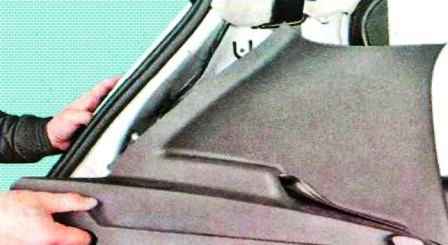
Remove the lining by passing the belt through the hole in the lining
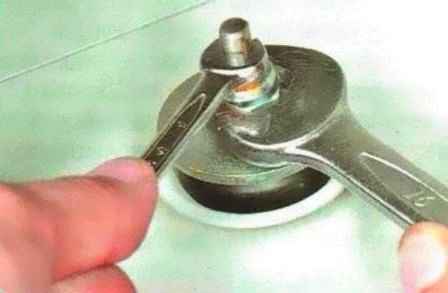
We unscrew the shock absorber rod nut, holding it from turning, and remove the washer and the upper rubber pad
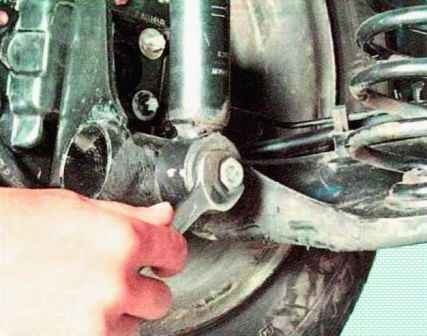
We unscrew the bolt of the shock absorber to the rear suspension arm
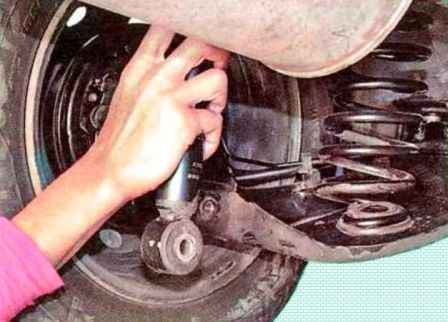
Remove the shock absorber from the car
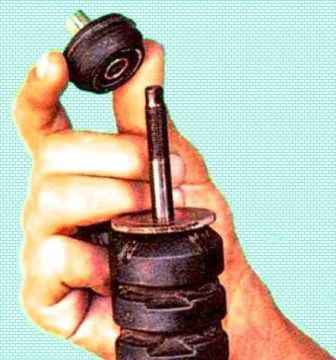
Remove the lower rubber cushion assembly with the spacer sleeve from the shock absorber rod.
Remove the spacer from the pillow
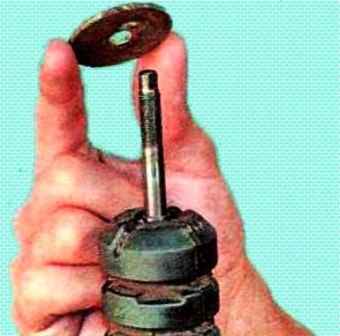
Remove the washer
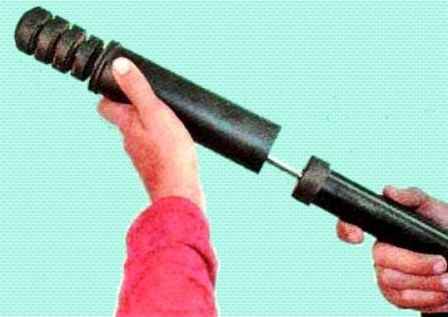
Remove the compression buffer assembly with the protective cover from the shock absorber rod
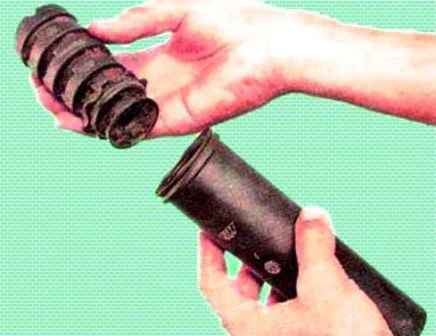
Disconnecting the compression buffer and protective cover
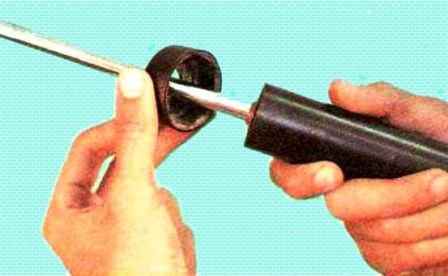
Remove the protective cap.
Replacing damaged shock absorber parts.
To check the shock absorber, install the shock absorber vertically and lower and raise the stem several times until it stops.
The rod must move without dips and jams. Otherwise, replace the shock absorber.
Install the shock absorber in reverse order.
We finally tighten the upper shock nut and the bolt of the lower shock absorber fastening on the car standing on wheels.
After lowering the car, rock the car hard several times.
We tighten the bolt of the lower shock absorber mounting to the beam with a torque of 105 Nm (10.5 kgcm), the shock absorber upper mounting nut with a torque of 14 Nm (1.4 kgcm).
Replacing the rear suspension springs
The reasons for replacing the rear suspension springs are:
- - deteriorating ride, frequent breakdowns of the suspension;
- - visible skew of the rear of the car or a significant difference in height between the front and rear;
- - strongly pronounced traces of the collision of the coils of the spring.
Replace springs in pairs.
We install the car on a lift or a viewing ditch
We install wheel chocks under the front wheels and hang out the rear suspension beam
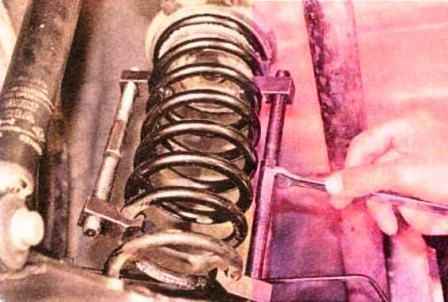
Install the spring compressor and compress the spring
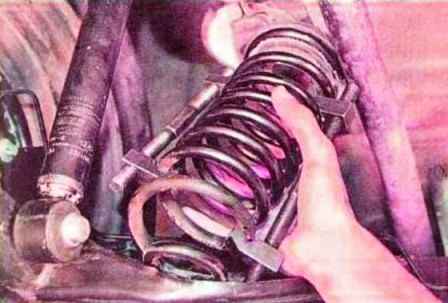
Remove the spring assembly with the top gasket
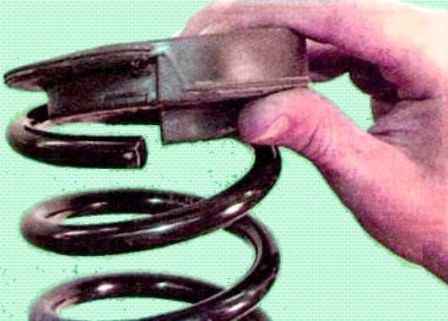
Remove the upper spacer from the spring
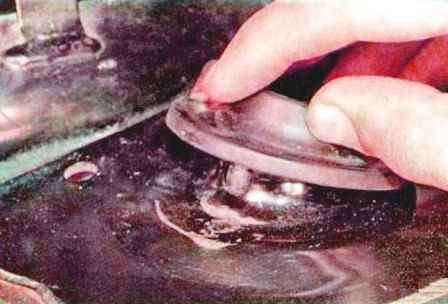
Remove the lower spring spacer from the platform on the rear suspension beam
Install the spring in reverse order
Replacing silent blocks of rear suspension arms
If you have experience, you can replace silent blocks directly on the car, but it is more convenient to change them on the removed beam.
You will need a silent block remover or mandrel
We mark the location of the silent block in the lever.
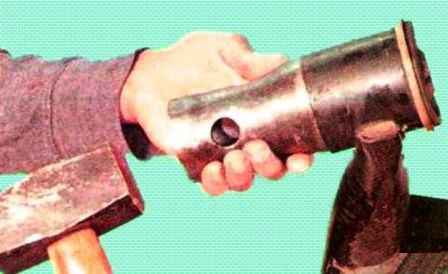
We install the beam in a vice and press out the silent block with a mandrel of a suitable size or a puller
You can cut the silent block with a hacksaw to loosen its fit in the eye.
Remove the silent block from the beam eye
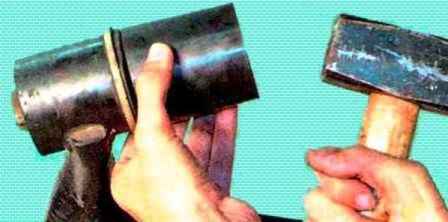
We clean the eye from rust and scale. We press the silent block, orienting it according to the marks.
We also replace the second silent block.
Install all parts in reverse order.
Replacing the rear wheel hub bearing
Tools required: hammer, 49 mm mandrel, circlip pliers.
Remove the brake drum
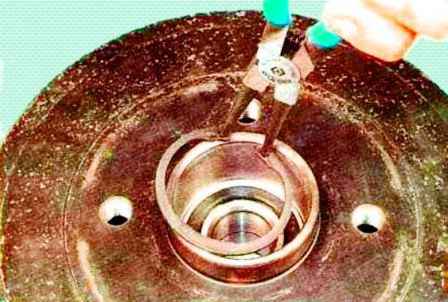
Removing the retaining ring
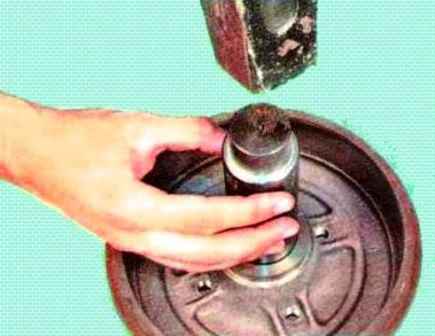
We press out the old bearing with a mandrel
Clean and inspect the inner cavity of the hub.
Lubricate the inner cavity of the hub with Litol-24 grease
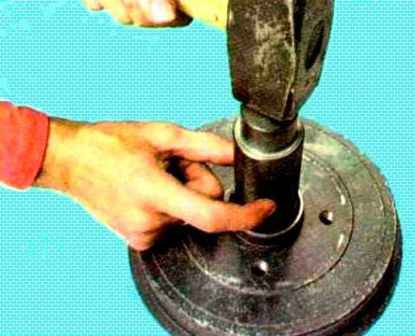
We press the new bearing into the hub with a mandrel
Install the parts in reverse order.
We tighten the hub fastening nut with a torque of 175 Nm (17.5 kgf.m)
Removing the rear suspension beam
We remove the rear suspension beam on the lift.
If there is no lift, then we raise the rear part and install supports under the sockets for installing a jack on the car body.
Tools will be required: two keys for 18, sockets for 18, Torx E14
Remove the rear wheels
Remove the brake pipes from the rear suspension beam
Disconnect the load rod of the brake force regulator in the hydraulic drive of the rear brakes from the beam
Remove the rear suspension springs
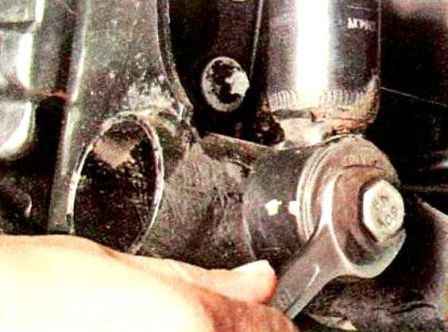
We wind and remove the bolts of the lower shock absorber mounts
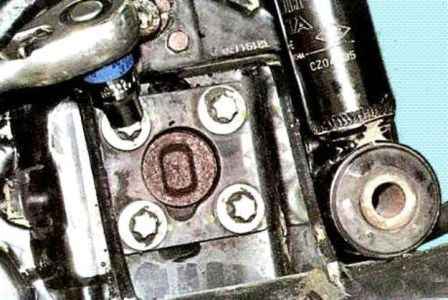
We remove the parking brake cables from the holders on the rear suspension beam
We unscrew four pin fastening nuts on both sides.
Remove the trunnions complete with brake mechanisms and parking brake cables, put them between the suspension beam and the bottom of the car, then lay them on the floor.
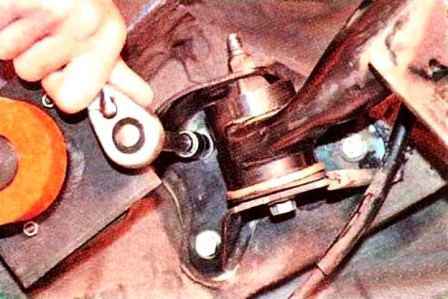
We unscrew three bolts of the rear suspension beam brackets on both sides
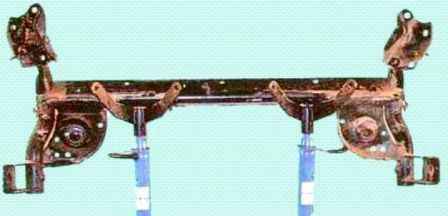
Remove the beam assembly with brackets.
We unscrew the nuts of the bolts securing the beam to the brackets, holding the bolts from turning with the second wrench, and remove the brackets.
Install the beam in reverse order.
After installing the beam, bleed the brake system and adjust the parking brake if necessary.
After repairing the front and rear suspension, check the wheel alignment.
Wheel alignment:
The angle of the longitudinal inclination of the axis of rotation of the front wheels - 2˚42′±30′
Camber
- - front wheels -0˚10′±30′
- - rear wheels -0˚51′±15′
Convergence:
- - front wheels -0˚10′±10′
- - rear wheels +0˚44′±15′
Maximum difference between right and left wheel alignment angles …1˚


