Brake fluid should be replaced after 2 years of vehicle operation as recommended by the factory
But if the brake fluid has become dirty, this indicates a strong wear of the parts of the main and working cylinders, then of course you need to replace the brake fluid, regardless of the service life
You need to bleed the brakes after disconnecting the hoses and tubes of the system.
Brake fluid should be changed with an assistant
Install the car on the inspection ditch
The sequence of fluid replacement in the brake mechanisms:
- - right back;
- - left front;
- - left back;
- - right front.
Brake fluid must comply with DOT-4 class
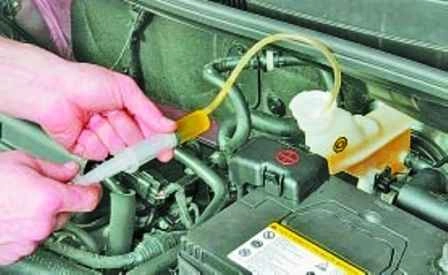
Using a syringe or pear, we pump out the brake fluid from the reservoir of the main brake cylinder
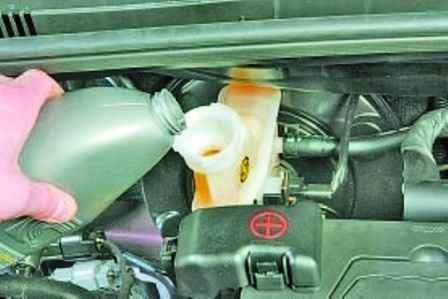
Pour clean brake fluid into the reservoir up to the lower edge of the filler neck
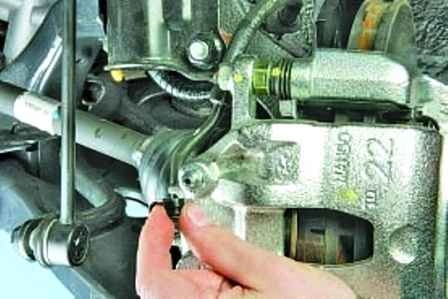
We clean the air release valves from dirt and remove the protective caps of the valves of the working cylinders of the brake mechanisms of the front wheels
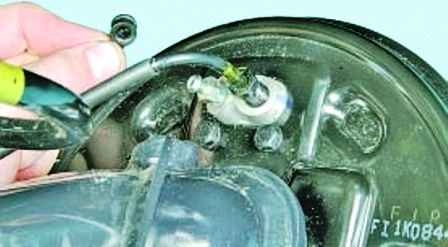
We clean the air release valves from dirt and remove the protective caps of the valves of the working cylinders of the brake mechanisms of the rear wheels
Bleed valves on vehicles with disc brakes are located on the caliper
We put the hose on the air release valve of the brake slave cylinder and immerse the end of the hose in a clean transparent vessel with brake fluid
An assistant in the cab pressurizes the brake pedal and keeps the pedal depressed
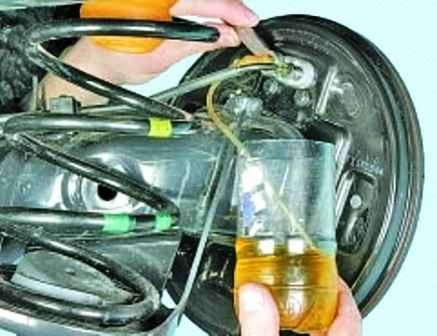
Unscrew the air release valve ½-¾ turn. Old (dirty) liquid will begin to flow out of the hose.
The brake pedal at this time should smoothly reach the stop.
As soon as the liquid stops flowing, tighten the air release valve.
In this case, you need to monitor the fluid level in the reservoir of the main cylinder and add fluid as it leaves.
Thus, the fluid in the system is gradually replaced without draining the hydraulic system.
In this way, we replace the brake fluid first in the working cylinder of the right rear wheel, then the left front wheel.
Then we change the brake fluid in the second circuit, first in the working cylinder of the left rear wheel, then in the right front.
After changing the brake fluid, put on the protective caps on the air release valves
After that, we check the work: we press the brake pedal several times - the pedal stroke and the force on it should be the same with each press
Add brake fluid up to the maximum mark on the master cylinder reservoir.
Bleeding the hydraulic drive of the brake system
The hydraulic drive of the brakes is pumped to remove air that got there when filling with liquid after replacing it or after repairing the hydraulic drive units associated with its depressurization.
Signs of the presence of air in the hydraulic actuator:
- - increase in pedal travel, its "softness" when the pedal is pressed once;
- - gradual decrease in pedal travel with a simultaneous increase in its "stiffness" when pressing the pedal again.
Before pumping the hydraulic drive, it is necessary to detect and eliminate the cause of depressurization.
If the pumping of the hydraulic drive is associated with the repair of any one circuit and the serviceability of the other circuit is known, then only the repaired circuit can be pumped.
The steps for bleeding the hydraulic drive are the same as for changing the brake fluid
The only difference is that the criterion for completing the pumping of the working cylinder is the cessation of air bubbles from the hose, and not the appearance of fresh brake fluid.


