


The fuel vapour recovery system prevents the escape into the atmosphere, from the supply system, of fuel vapours that adversely affect the ecology of the environment
In the system the method of absorption of vapours by a carbon adsorber is applied, which is installed in the wheel arch of the right front wheel.
The electromagnetic purge valve is installed on the upper cover of the adsorber and, on the signals of the engine control unit, switches the operating modes of the system.
The fuel vapours from the fuel tank are constantly discharged through the pipeline and accumulated in the adsorber, filled with activated carbon (adsorbent).
During engine operation the regeneration (restoration) of the adsorbent takes place by purging the adsorber with fresh air, entering the system under the action of the vacuum transmitted through the pipeline from the inlet pipe into the cavity of the adsorber when the purge valve opens.
The control unit regulates the degree of purging of the adsorber depending on the operating mode of the engine, sending to the valve a signal with variable pulse frequency.
The fuel vapours from the adsorber, through the pipeline, enter the inlet pipe of the engine and burn in the cylinders.
A fault in the fuel vapour recovery system entails instability of idling, stalling of the engine, increased toxicity of the exhaust gases and deterioration of the driving qualities of the vehicle.
Removal and installation of the adsorber
We remove the adsorber for replacement in the event of a breach of the tightness of its housing (can be determined by the presence of the smell of petrol and by visual inspection), as well as in the event of a fault of the electromagnetic purge valve of the adsorber (the defect is accompanied by unstable operation of the engine at idling).
We remove the right front wheel and securely fix the vehicle on a support.
We remove the right dirt shield of the engine compartment (article – Removal of the engine protection, wheel arch liners and mudflaps Renault Duster).
We unscrew three screws securing the wheel arch liner of the right wheel to the front bumper and one screw securing the wheel arch liner to the wing.
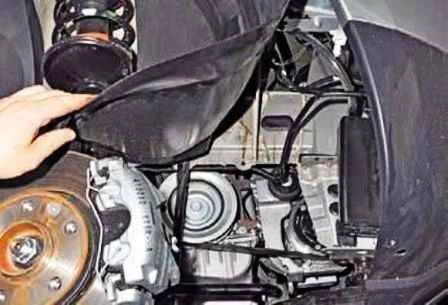
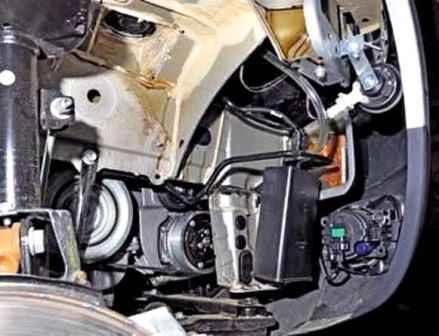
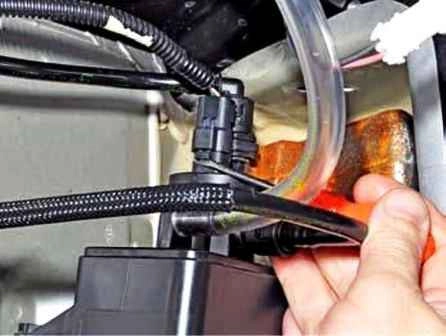
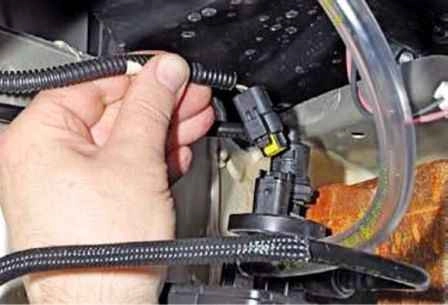
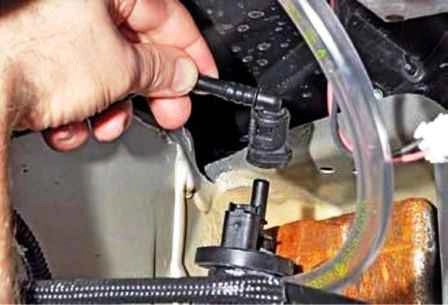
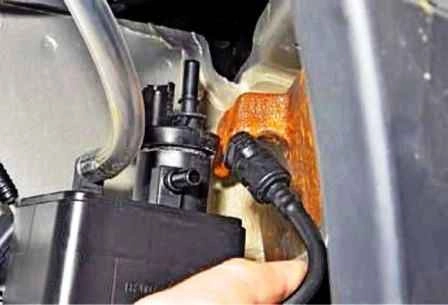
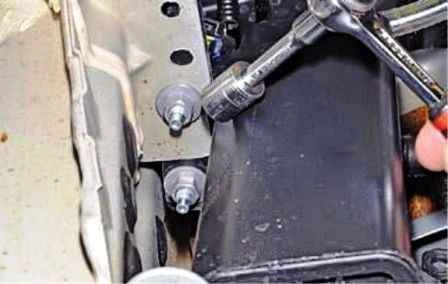
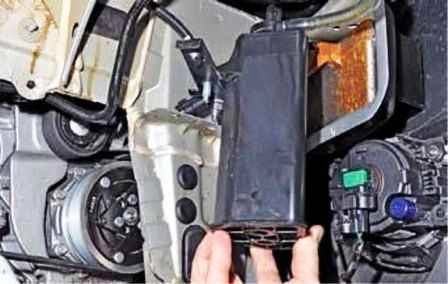
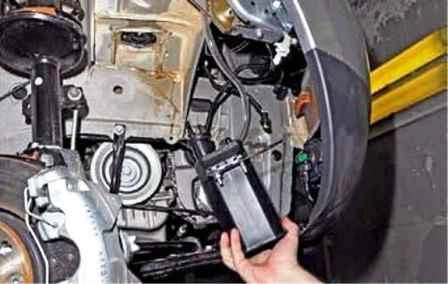
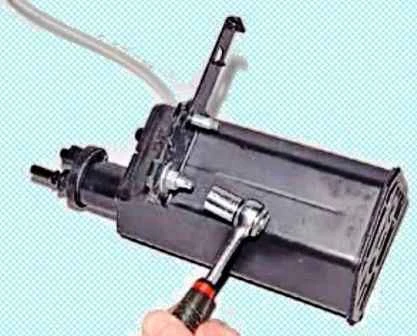
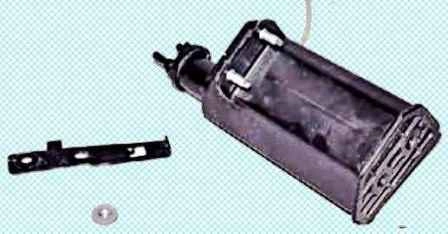
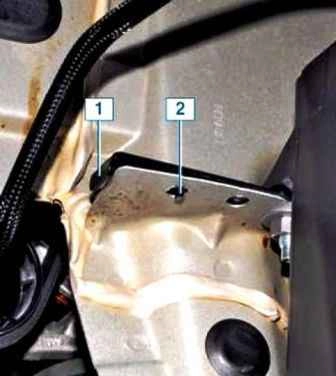
We remove the bracket of the adsorber
We assemble and install the adsorber in the reverse order.


