


We remove the subframe to remove the engine, the gearbox, as well as when repairing the subframe.
The following tools are required: 10, 13, 17 mm spanners, 13, 14, 16, 18 mm sockets, wire.
We place the vehicle on an inspection pit or a lift.
We remove the front bumper, as described in the article — Removal and installation of the Renault Duster bumpers.
We remove the mudguard shields and the power unit protection (article — Removal of the engine protection, wheel arch liners and mudflaps).
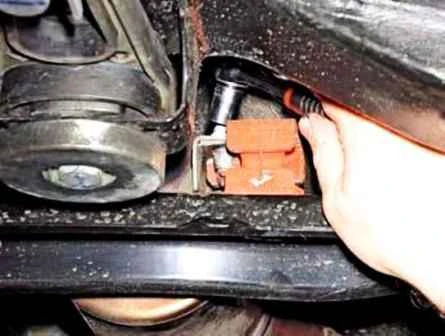
We undo the bolt securing the catalytic converter suspension cushion.
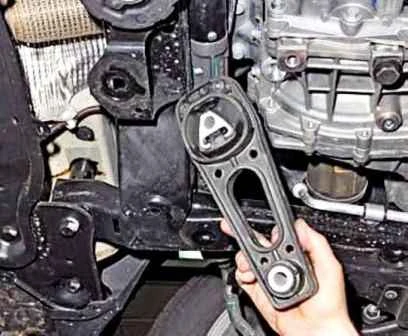
We remove the rear power unit mount.
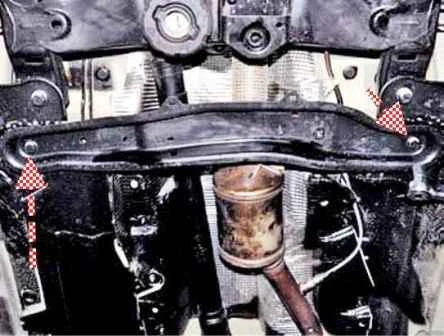
Using a 16 mm socket, we undo the two bolts securing the crossmember to the body.
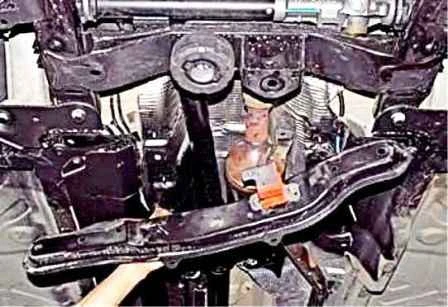
We remove it as an assembly with the catalytic converter suspension cushion.
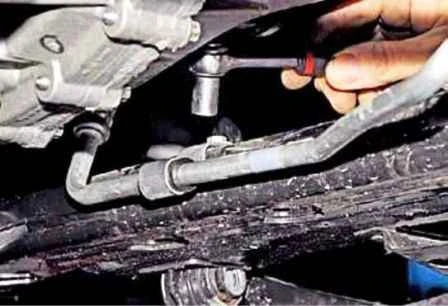
On the left side of the subframe, using a 10 mm socket, we undo the bolt securing the power steering pipe holder.
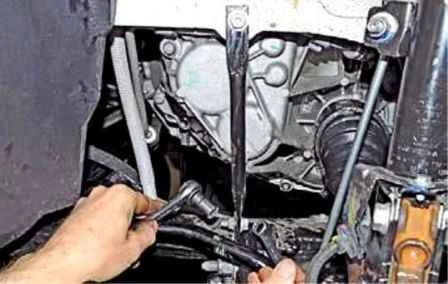
Using a 13 mm socket, we undo the nut of the lower mounting bolt of the left subframe bracket, holding the bolt with another spanner.
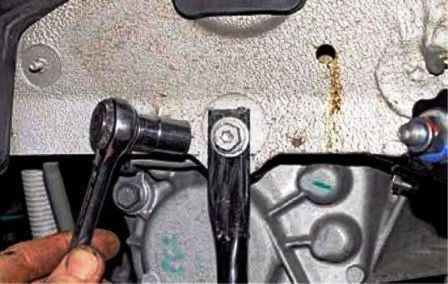
Using a 13 mm socket, we undo the bolt of the upper mounting of the subframe bracket.
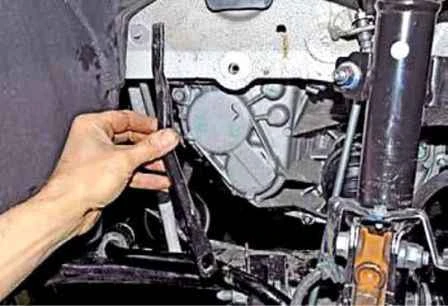
We remove the bracket. We also remove the right subframe bracket.
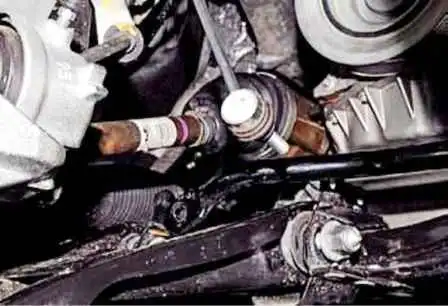
We disconnect the pins of the lower joints of both anti-roll bar links from the anti-roll bar.
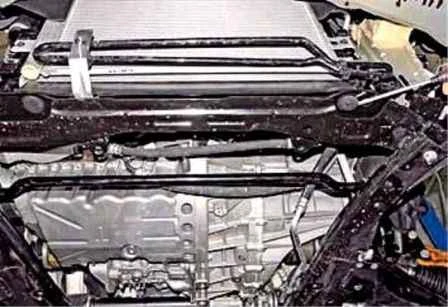
Using a screwdriver, we prise out and withdraw the two pins securing the lower deflector of the radiator and air conditioning condenser.
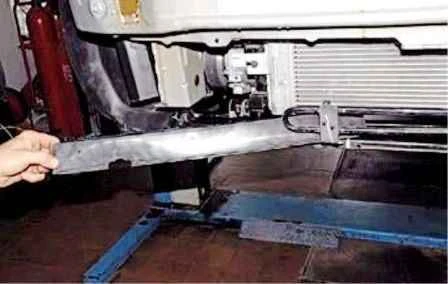
We remove the deflector.
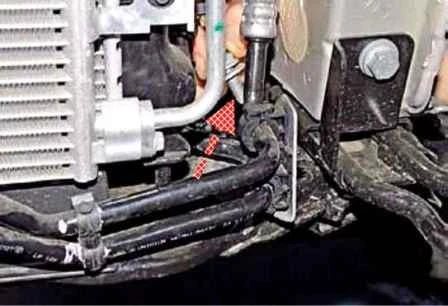
And we withdraw the bolt of the left mounting of the power steering radiator.
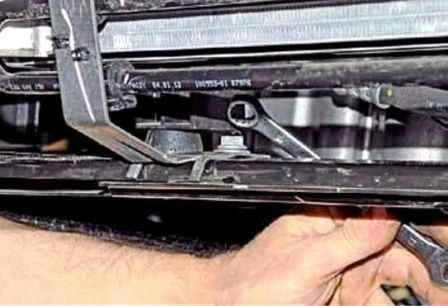
Using a 13 mm spanner, we undo the bolt of the right mounting of the power steering radiator.
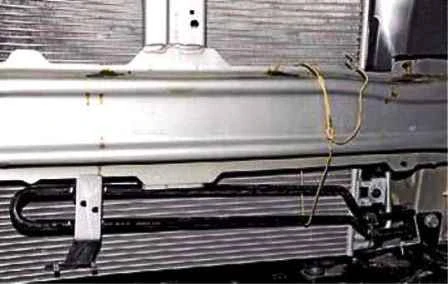
We tie the power steering radiator to the front bumper beam.
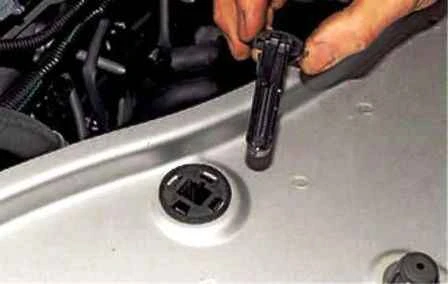
We withdraw the retainers of the two upper mounts of the fan shroud.
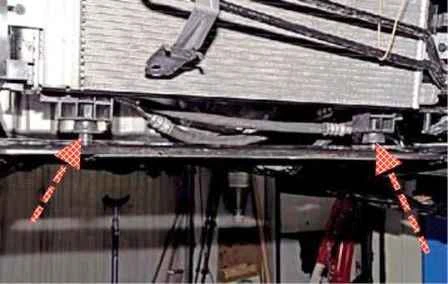
We raise the fan shroud as an assembly with the radiator and condenser, withdrawing the cushions of the lower mounts of the shroud from the openings in the subframe.
We tie the assembly to the upper crossmember of the radiator frame.
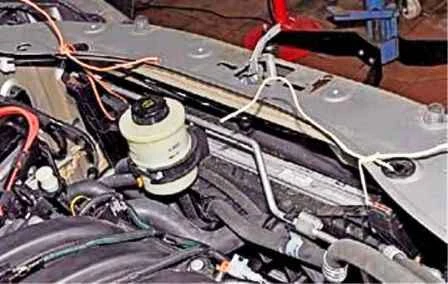
On both sides of the vehicle, we disconnect the front suspension arms from the subframe.
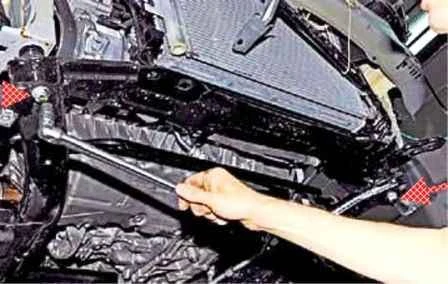
Using an 18 mm socket, we slacken the two bolts of the front mounting of the subframe to the body.
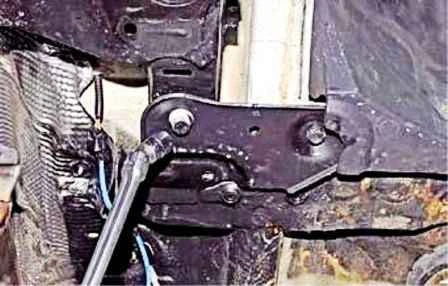
On the left side, using an 18 mm socket, we slacken the bolt of the rear mounting of the subframe to the body.
Using a 16 mm socket, we undo the bolt securing the subframe reinforcement to the body.
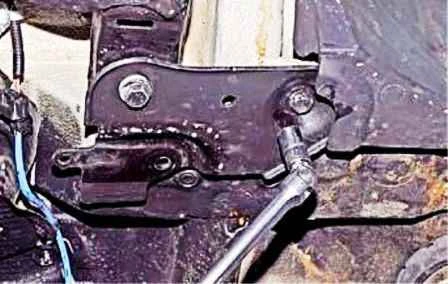
We carry out the same operations on the other side.
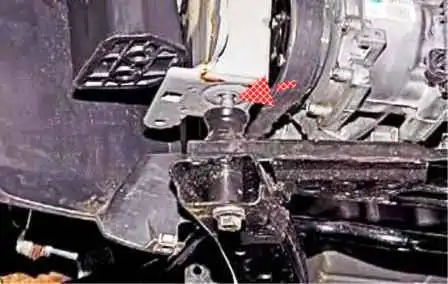
To make it convenient to undo the bolts securing the steering mechanism, we lower the subframe slightly, for this:
We undo the bolts of the front and rear mountings of the subframe by a few thread turns.
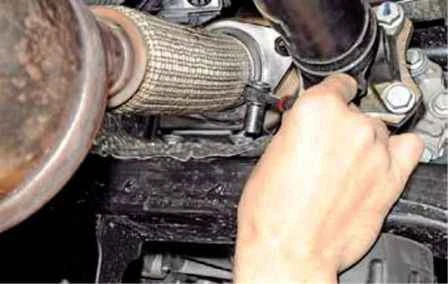
Using a 10 mm socket, we undo the two bolts securing the heat shield to the subframe.
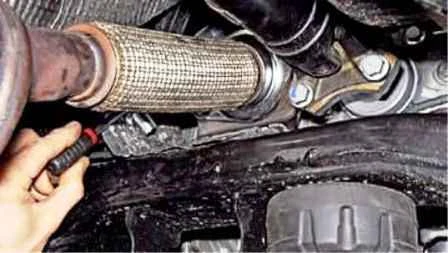
We undo one bolt securing the shield to the bracket.
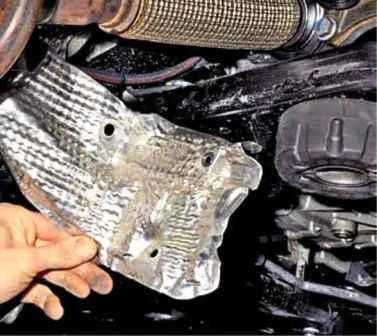
We remove the heat shield.
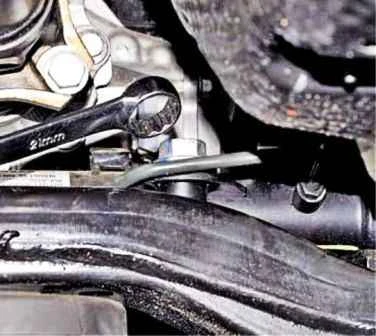
Using a 21 mm ring spanner, we slacken the bolt of the right mounting of the steering mechanism to the subframe.
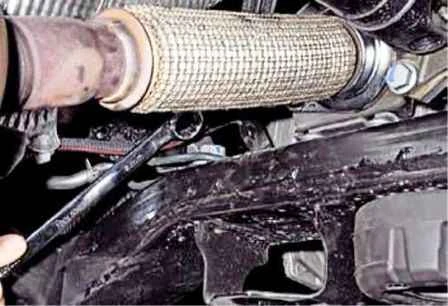
We undo the bolt of the left mounting of the steering mechanism to the subframe.
Before undoing the bolts of the rear mounting of the subframe, we place adjustable supports under it.
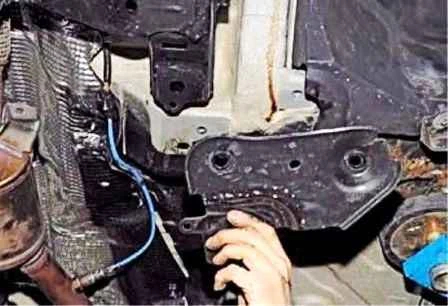
Having undone the bolts of the rear mounting of the subframe, we remove its two reinforcements.
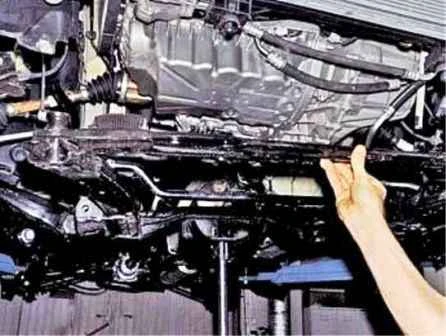
We lower the rear part of the subframe on the adjustable support by 90—100 mm and finally undo the bolts securing the steering mechanism.
We undo the two bolts of the front mounting of the subframe to the body and remove the subframe as an assembly with the anti-roll bar.
We install the subframe in the reverse order. We tighten the subframe securing bolts to the following torque:
- bolt of the front and rear mountings of the subframe to the body — 105 Nm;
- bolt securing the subframe reinforcement to the body — 21 Nm.


