We remove the suspension assembly for replacement or major repairs
To complete the task, you will need the following tools: 13, 16, 19, 22, 24 wrenches, 17 socket, jack, ball joint puller, spring compressor.
We place the car on an inspection ditch.
We apply the parking brake and install wheel chocks under the rear wheels.
We lift the front part of the car. We place two stands under the frame side members and remove the wheels.
We install supports or jacks under the lower arms of the front suspension and lift the arms a few centimeters.
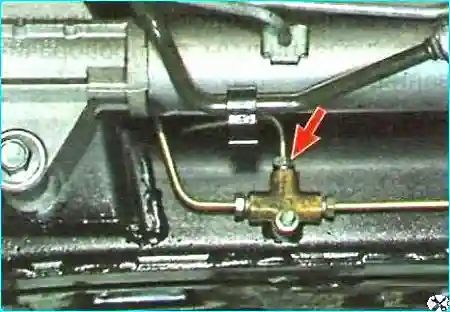
We disconnect the brake supply pipe from the brake system tee and from the retaining brackets located on the suspension crossmember.
We remove the front suspension shock absorbers (article – Replacing the shock absorber and stabilizer of the front suspension)
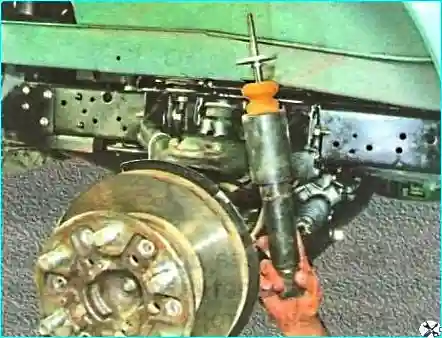
Install devices for compressing suspension springs instead of shock absorbers and compress the springs a little.
Compressing the suspension spring requires a lot of force, so do not use devices designed for compressing springs of passenger cars or products of dubious quality quality.
If such devices break or slip, you can get seriously injured!
The most suitable device for this job is a device with a long tightening screw, installed inside the spring instead of the removed shock absorber.
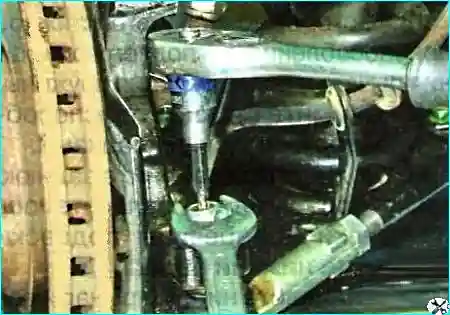
Unscrew the nuts securing the pins of the steering rod joints to the levers of the steering knuckles, holding the pins from turning.
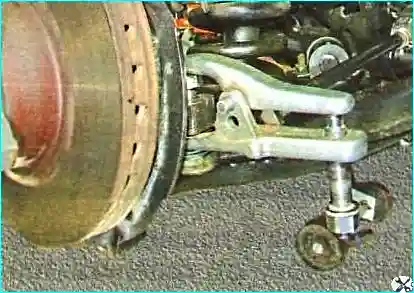
Install the ball joint puller and press the pins out of the bosses of the steering knuckle arms
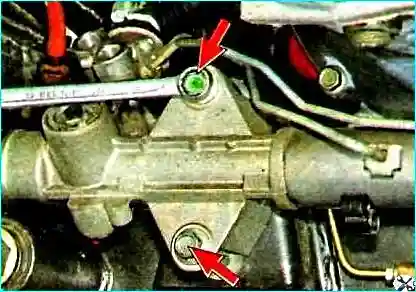
Unscrew the steering gear fasteners to the front suspension crossmember and remove the mechanism without disconnecting the power steering system pipes and the steering shaft from it.
Secure the mechanism to the car frame.
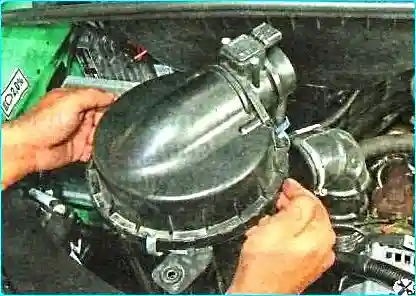
To access the bolt of the right cabin mount, remove the air filter
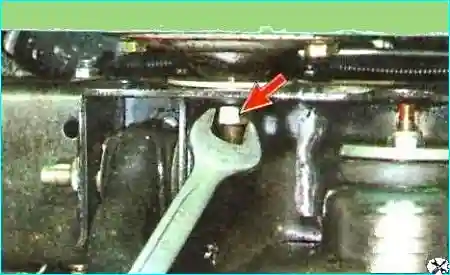
Unscrew the bolts securing the front cabin mounts on the right and left sides and disconnect the cabin from the crossmember brackets
Lift the front part of the cabin, install stops between the cabin and frame side members and we install the cabin on them, thus unloading the suspension crossmember.
Unscrew the nuts of the four bolts on the left and four bolts on the right that secure the crossmember to the vehicle frame.
Remove the bolts from the holes.
Remove the supports from under the lower arms.
Lower the suspension and remove it from under the vehicle.
Install the suspension in the reverse order.
After installing the suspension, bleed the brake system and adjust the front wheel alignment angles (article – Adjusting the front wheel alignment angles).


