Remove the standard system for replacement or repair
Removing and installing the head unit
Disconnect the negative battery terminal
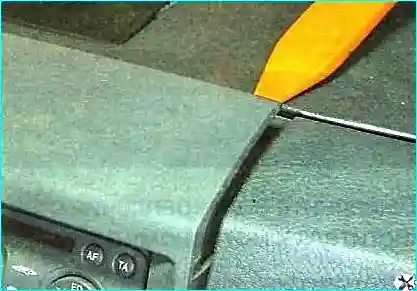
Pry off the upper edge of the instrument panel console trim with a plastic mounting blade
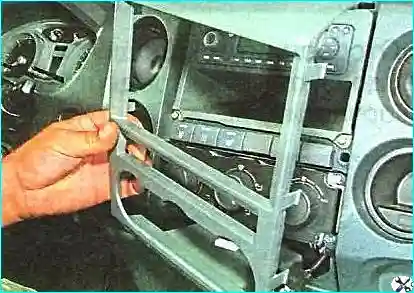
We remove the lower edge of the trim from engagement with the instrument panel and move it away by the length of the wires
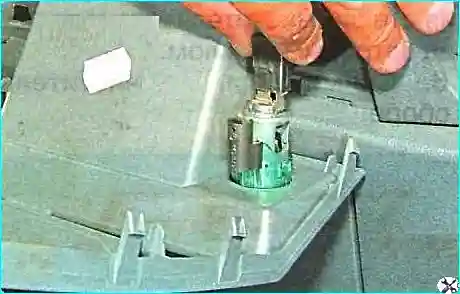
We disconnect the block from the socket and remove the trim
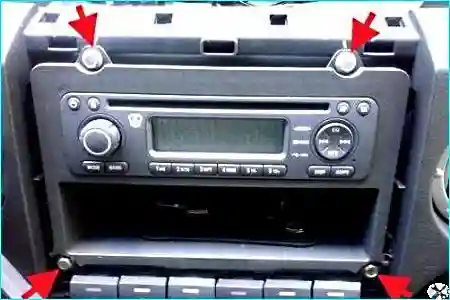
Unscrew the four screws securing the head unit adapter to the instrument panel

Pull the head unit out of the socket in the panel and move it to the length of the wires
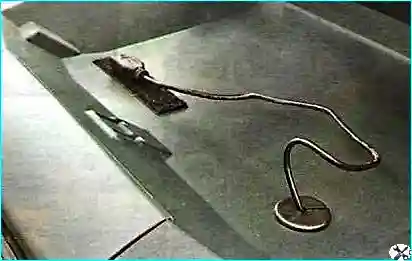
Remove the USB cable from the panel connector located in the box
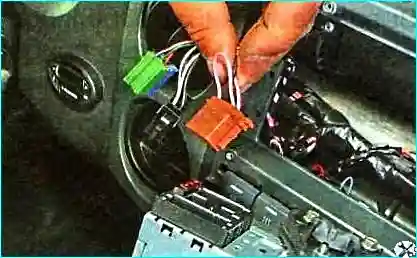
We press the clamps and disconnect the wire blocks from the connectors
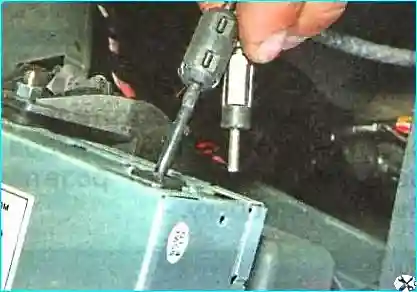
We disconnect the antenna cable connector

Removing the receiver
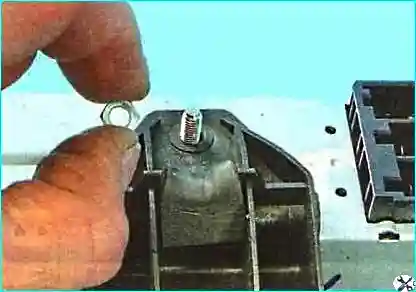
If necessary, unscrew the nut securing the head unit to the adapter
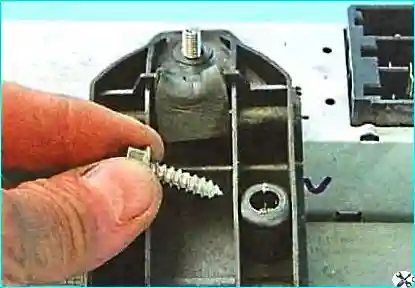
Unscrew the two screws securing the head unit to the adapter
Disconnect the head unit from the adapter

Install the head unit of the audio system in reverse order.
Removing and installing the speakers
You will need 10 keys, TORX T25, a plastic mounting blade, screwdrivers.
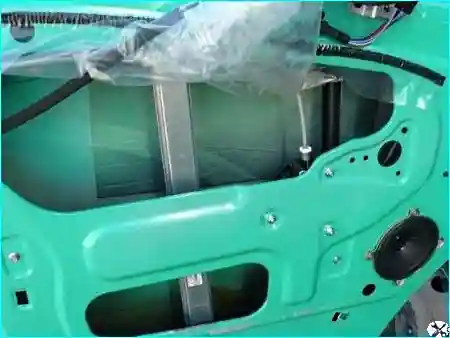
Removing the door trim (article – Disassembling and assembling the GAZelle Next cabin door)
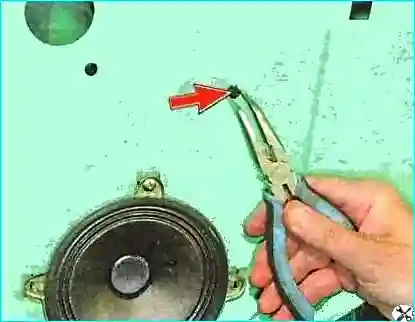
Squeeze the holder and disconnect speaker wire connector from the door panel
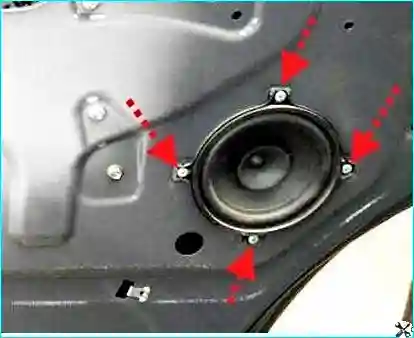
Unscrew the four screws securing the speaker to the inner door panel
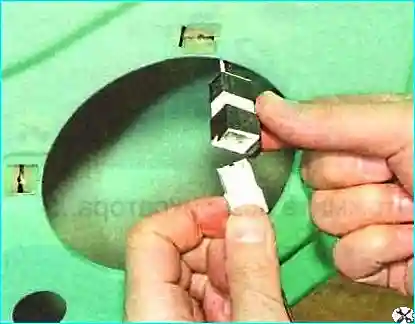
Move the speaker away from the panel by the length of the connected wires
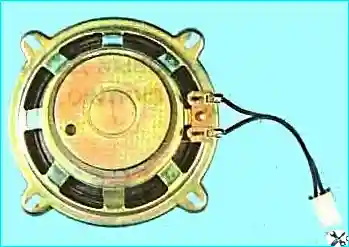
Disconnect the speaker wire connector and remove the speaker
Install the speaker in reverse order.
Removing the steering wheel switches of the audio system
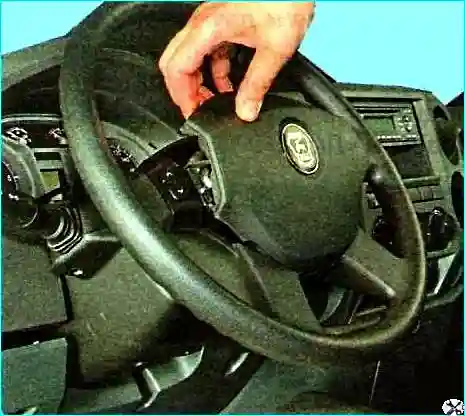
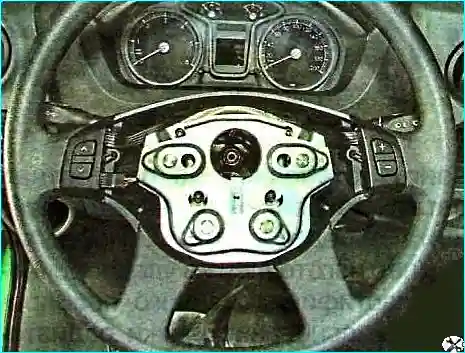
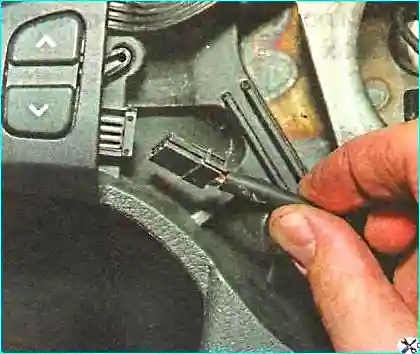
Pull the edge of the decorative trim of the steering wheel
Remove the decorative trim
Disconnect the wiring harness block from the connector on the left switch housing
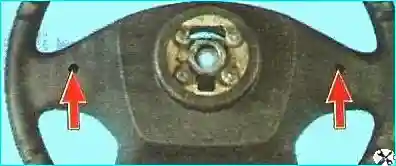
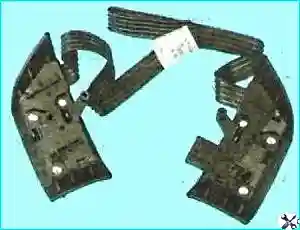
Unscrew the two screws securing the switch housings through the holes on the back of the steering wheel
Remove the switches.
Install the audio system control switches in the reverse order.


