


Windscreen wiper: replacement of blades, arms and the complete wiper assembly
The vehicle is fitted with an electrically driven two-blade windscreen wiper.
The wiper motor with reduction gear and drive linkage system is located in the engine bay under the lower front trim.
The windscreen wiper is controlled by the right-hand steering column switch.
When the windscreen wiper is switched off, its blades automatically park along the lower front trim.
Replacement of the wiper blades
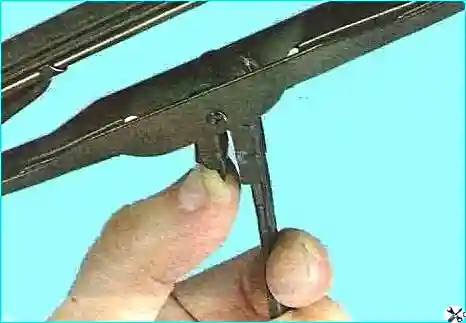
We press the adapter retainer.
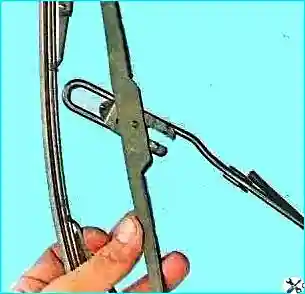
We slide the blade downwards along the wiper arm.
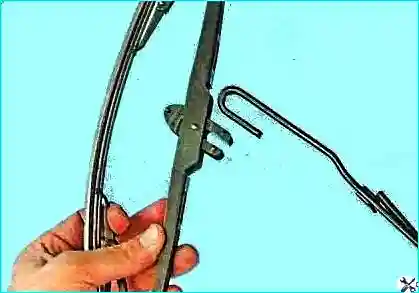
We pass the bent end of the arm through the window of the blade holder.
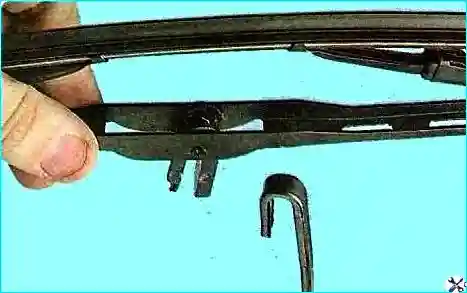
We remove the blade.
Important: we install the blade in the reverse order, securing it with the adapter until it clicks.
Replacement of the wiper arms
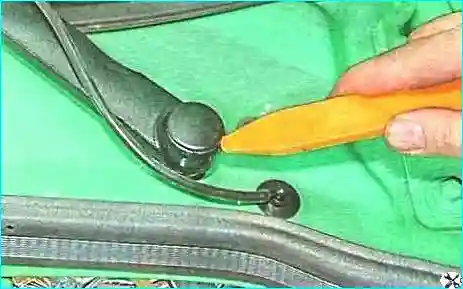
We prise up the plastic cap with a thin tool.
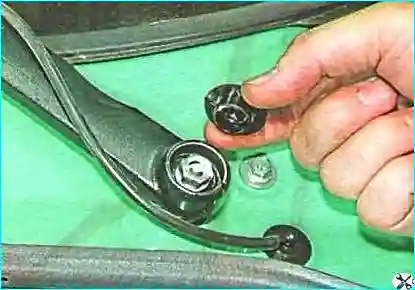
And remove it.
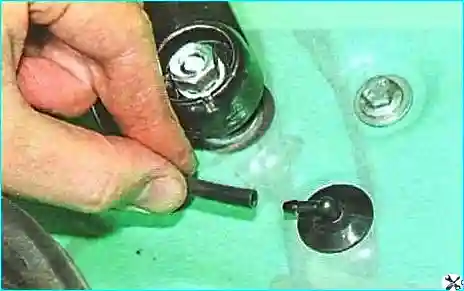
We disconnect the fluid supply tube to the washer jet.
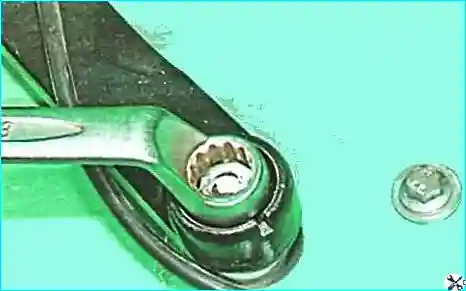
We unscrew the wiper arm securing nut. We remove the arm.
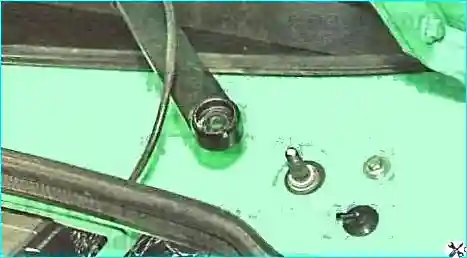
We also remove the second arm.
Important: before installing the arms, switch the wiper on for thirty seconds and off again so that the wiper returns to its initial position.
We install the arms with the blades. The blades must be positioned along the lower glass seal but must not touch it. In this position secure the arms by tightening the securing nuts.
Switch the wiper on. If the blades strike the seal or the lower trim or stop too high after switching off, the installation of the arms must be slightly changed by repositioning them on the drive spindle axes.
Replacement of the wiper assembly
Important: dismantling the wiper motor-reduction gear is not advisable, and the linkage rods of its trapezium wear out practically by the time the motor-reduction gear resource is fully exhausted, so replace the wiper assembly as a whole.
We disconnect the negative battery cable.
We remove the wiper arms as described above.
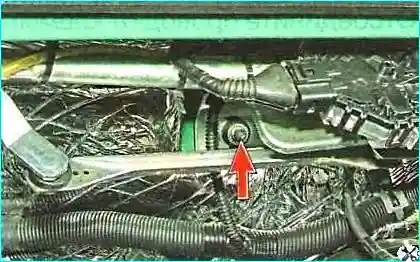
We unscrew the bolt securing the wiper to the engine bulkhead.
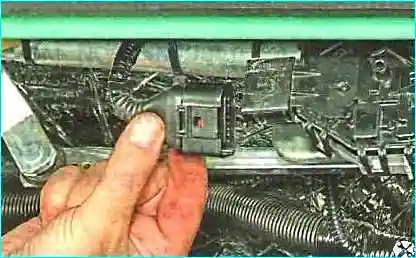
We disconnect the wiring connector from the wiper motor.
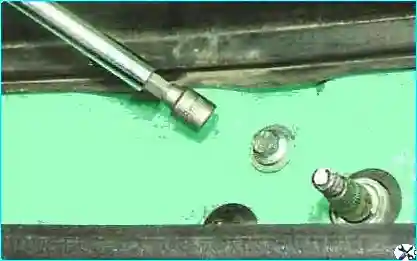
We unscrew the two bolts securing the wiper to the panel in front of the windscreen. We remove the wiper.
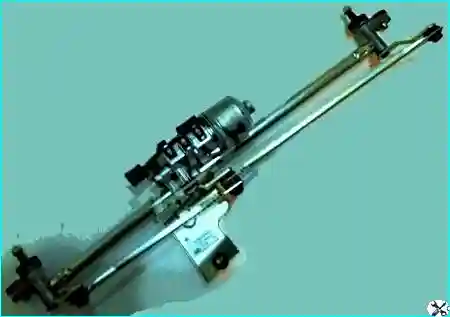
Important: we install the wiper in the reverse order.


