If the intake manifold is leaking, the engine starts to run unevenly (troit)
If tightening the intake manifold mount fails to eliminate the leakage, then the gasket must be replaced
To replace the intake manifold gasket, you need tools: Torx T25 wrench, socket 10 and screwdrivers
Preparing the car for the task
Reducing the fuel pressure as described in the article " How to check compression in Mazda 6 engine cylinders"
Disconnect the negative battery terminal
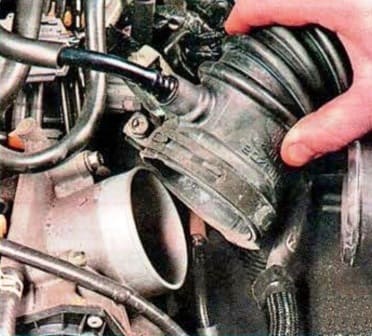
Disconnecting the air inlet
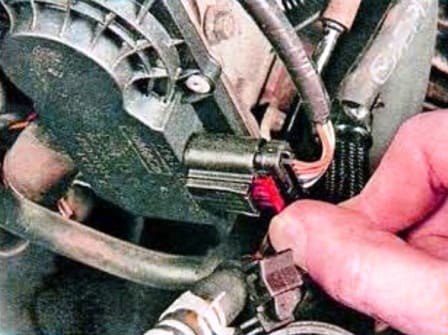
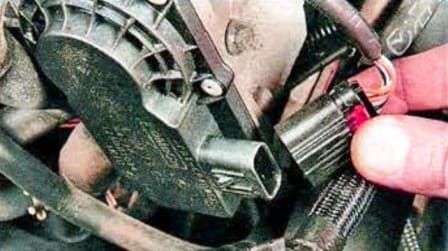
We move the latch and disconnect the wire block from the cover of the throttle assembly
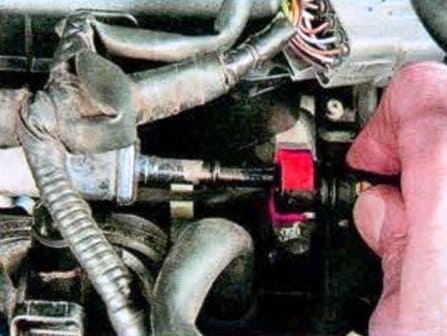
Disconnect the fuel line from the fuel rail
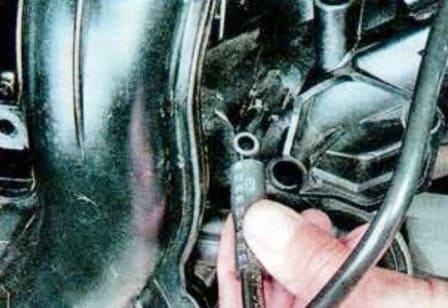
Disconnect the adsorber purge hose from the intake manifold fitting
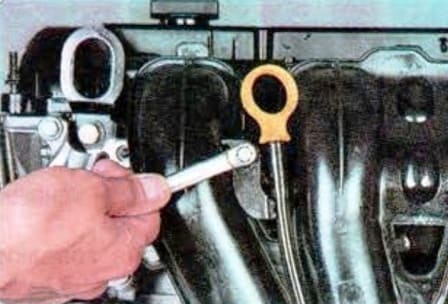
Unscrew the screw securing the oil level indicator bracket
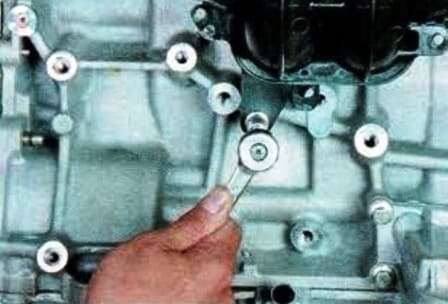
Unscrew the intake manifold mounting bolts
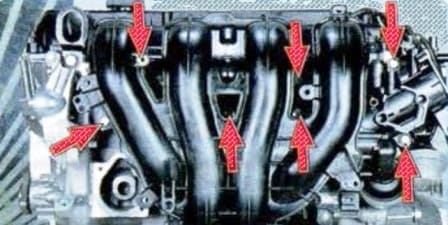
The location of the intake manifold mounting bolts is shown in the picture
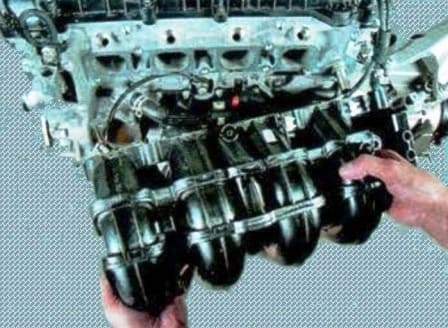
Carefully move the collector to the side
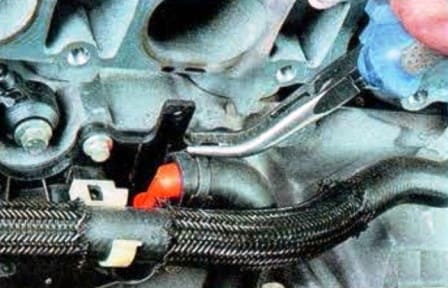
Squeeze the bent antennae of the hose clamp and slide the clamp along the hose
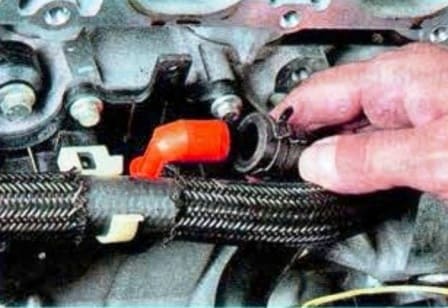
Disconnect the hose from the oil separator valve
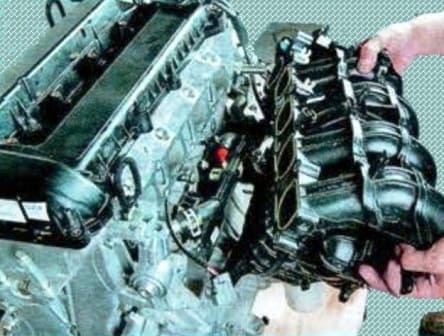
Remove the intake manifold assembly with the throttle assembly
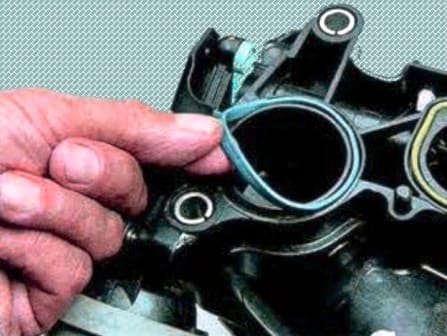
Remove old gaskets
Install new gaskets and intake manifold
We tighten the fastening bolts evenly crosswise with a torque of 15 Nm (1.5 kgf.m), starting from the outer bolts and moving on to the middle ones
Install all removed parts in reverse order
When installing the fuel rail, install new fuel injector O-rings
Removing the drives of the intake manifold geometry change system
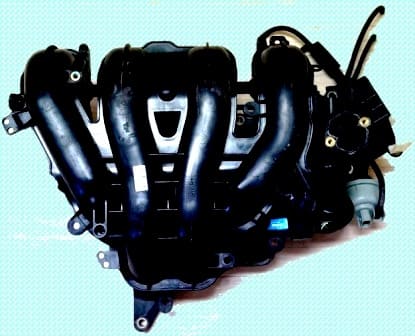
Remove the intake manifold as described above
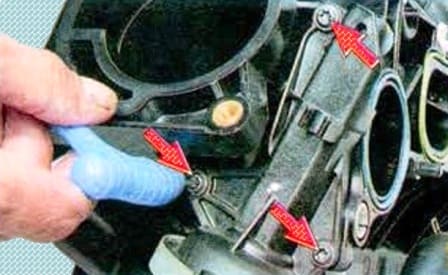
We unscrew the three screws securing the pneumatic actuator of the intake manifold geometry change system
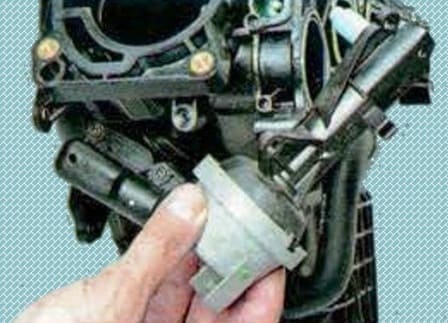
Removing the pneumatic actuator
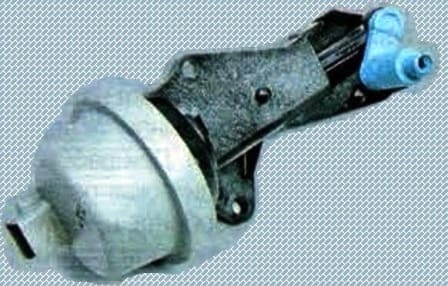
This is how the pneumatic actuator of the intake manifold geometry change system looks like
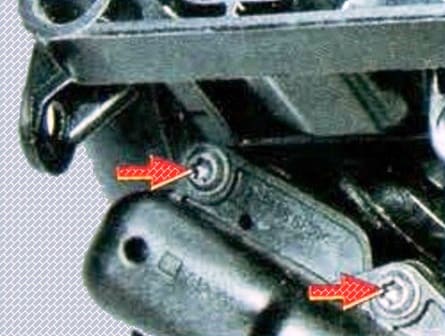
We unscrew the two fastening screws and remove the second pneumatic actuator
Install the pneumatic actuators in reverse order
Exhaust manifold gasket replacement
The exhaust manifold gasket is a molded metal strip
If the gasket is broken, there is a breakthrough of exhaust gases (collector cuts)
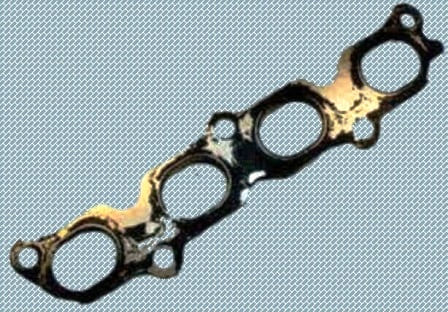
If tightening the collector fails to fix the problem, then we replace the gasket
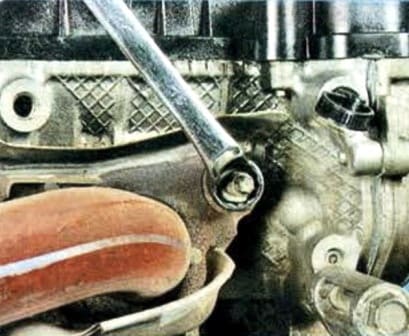
We unscrew the seven nuts securing the exhaust manifold to the cylinder head
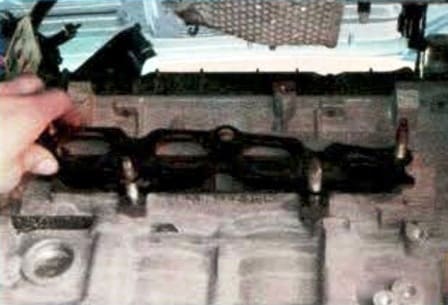
Move the exhaust manifold and take out the old gasket
Installing a new gasket and exhaust manifold
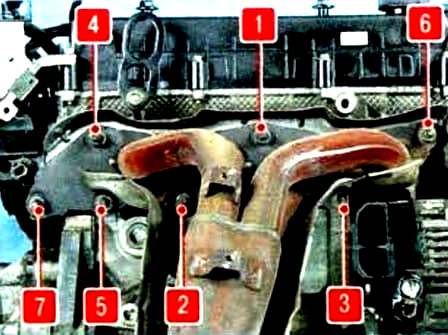
We tighten the fastening nuts in the order shown in the figure and tighten with a torque of 43-64 Nm


