


We remove the gearbox to replace the clutch, the flywheel and the rear crankshaft oil seal. In addition, we remove the gearbox if the following faults occur:
- increased noise;
- difficulty in changing gears;
- spontaneous disengagement or imprecise engagement of gears;
- oil leakage through seals and gaskets.
Before removing the gearbox, we need to make sure that the fault is caused by other reasons (insufficient oil level, defects in the clutch release drive, loosening of the gearbox mounting, etc.).
To remove the gearbox, the following tools are required: 10, 13, 16 mm sockets, a flat-blade screwdriver.
We place the vehicle on an inspection pit or a lift.
We remove the power unit protection (article — Removal of the engine protection, wheel arch liners and mudflaps).
We drain the oil from the gearbox.
We remove the front wheel driveshafts.
We disconnect the gearbox control mechanism cables from the gearbox levers and withdraw the locating bushes of the cable sheaths from the support bracket (article — removal of the mechanism).
We remove the starter motor (article — Removal and repair of the starter motor).
We remove the subframe (article — Removal of the subframe of the vehicle).
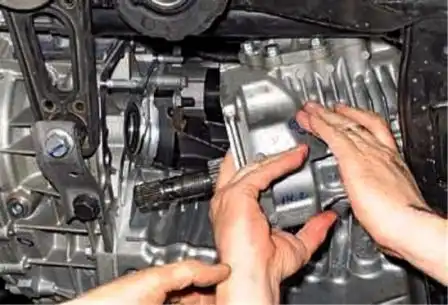
We remove the transfer gearbox (see the article — Removal and repair of the transfer gearbox).
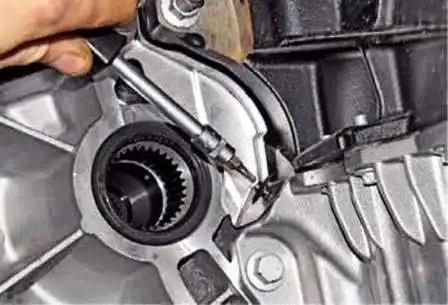
Using a Torx T-20 key, we undo the plastic retainer of the pin securing the protective cover.
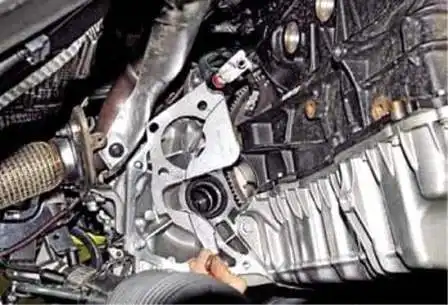
We remove the cover.
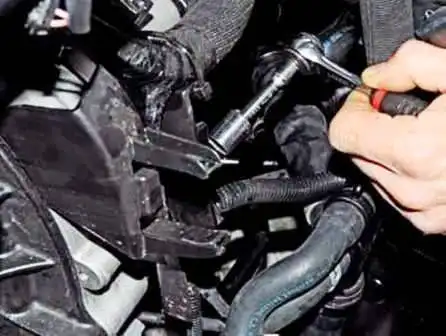
Using a 13 mm socket, we undo the bolt securing the plastic wiring harness holder to the clutch housing.
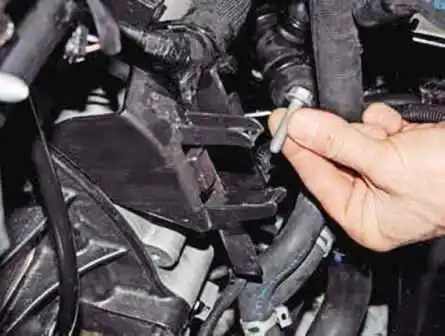
We withdraw the bolt.
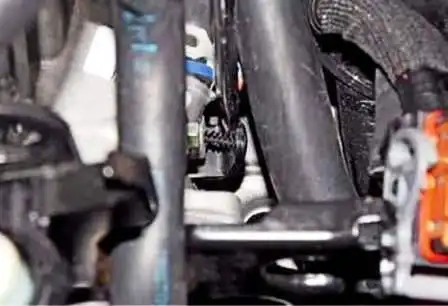
Using a flat-blade screwdriver, we prise out the pin securing the wiring harness holder and withdraw it from the opening in the thermostat housing.
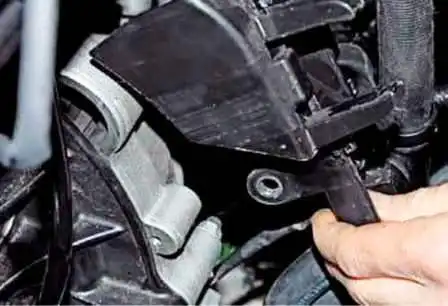
We move the wiring holder away from the gearbox.
We remove the clutch hydraulic drive pipe terminal from the adapter.
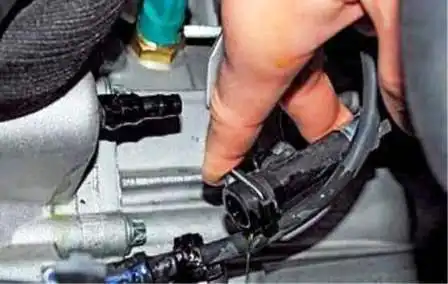
We disconnect the wiring connector from the reverse light switch.
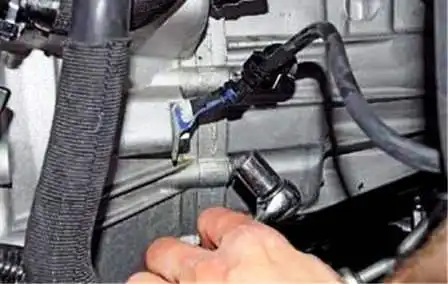
Using a 13 mm socket, we undo the bolt securing the earth cable terminal to the clutch housing.
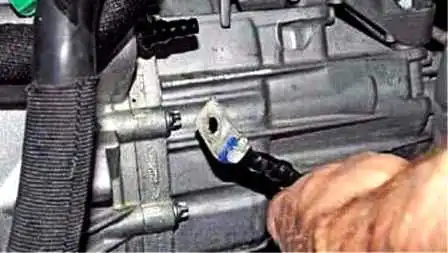
We move it aside.
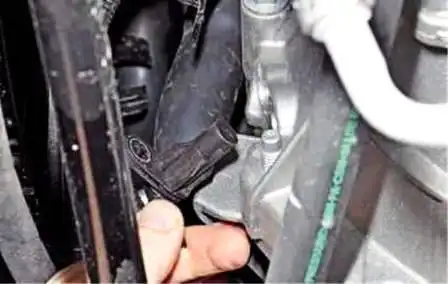
We withdraw the crankshaft position sensor from the opening in the gearbox housing.
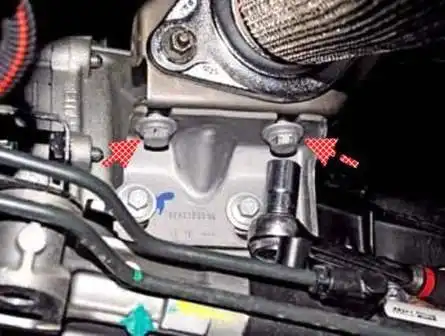
Using a 13 mm socket, we undo the two bolts securing the exhaust manifold flange to the gearbox bracket.
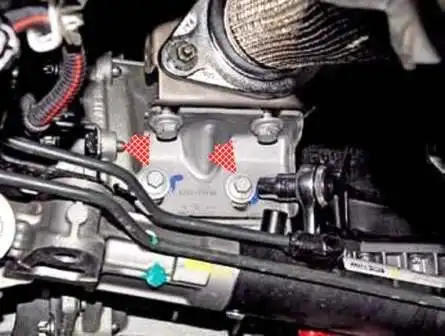
Using a 10 mm socket, we undo the two bolts securing the bracket to the gearbox.
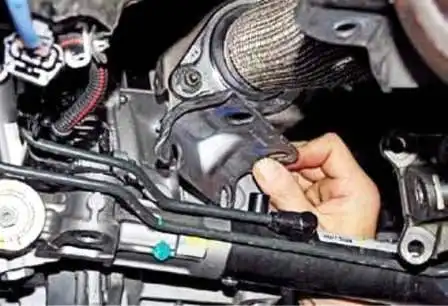
We remove the bracket.
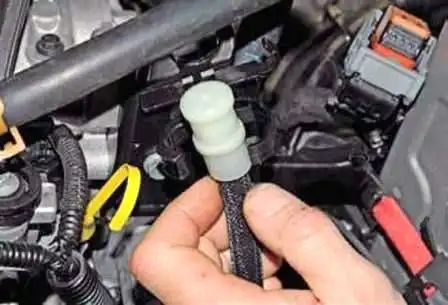
We withdraw the plastic terminal of the breather hose from the holder.
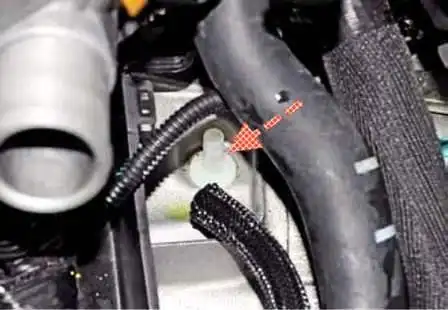
We remove the breather hose from the plastic bush.
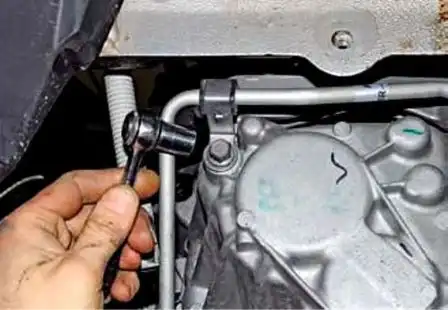
Using a 13 mm socket, we undo the bolt securing the power steering pipe holder to the gearbox housing.
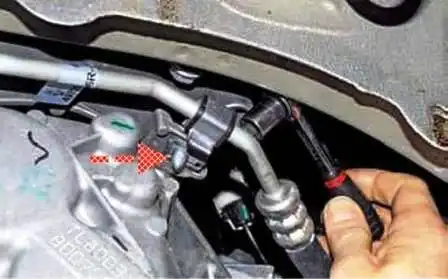
We undo the bolt securing the other pipe holder.
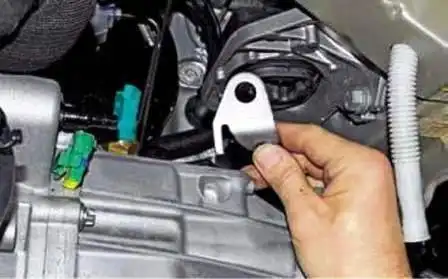
Using a 13 mm socket, we undo the bolt securing the lifting eye bracket and remove it.
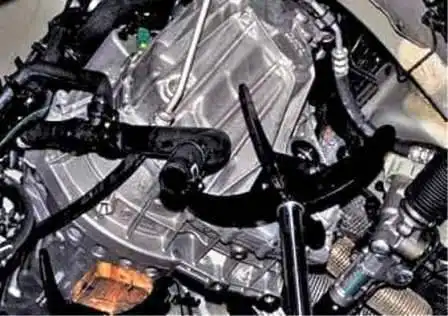
We place supports under the engine sump and under the gearbox housing.
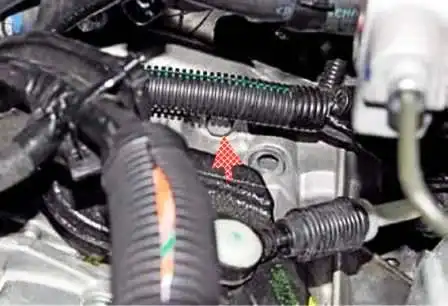
Using a 13 mm socket, we undo the rear upper bolt securing the gearbox to the engine cylinder block.
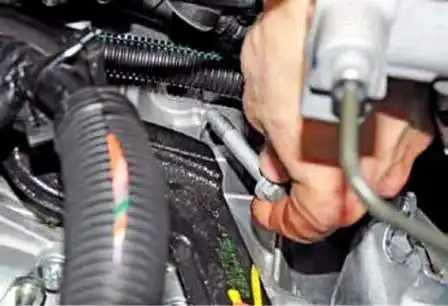
We withdraw the bolt from the opening.
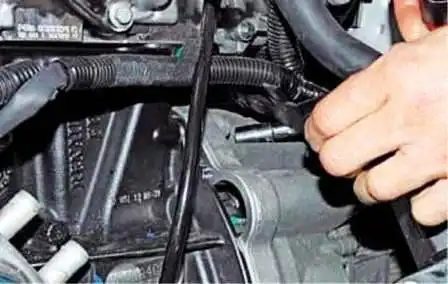
We undo the front upper bolt securing the gearbox to the engine cylinder block.
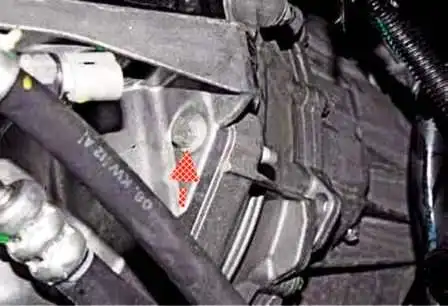
We undo the bolt securing the gearbox to the engine sump on the front side of the engine.
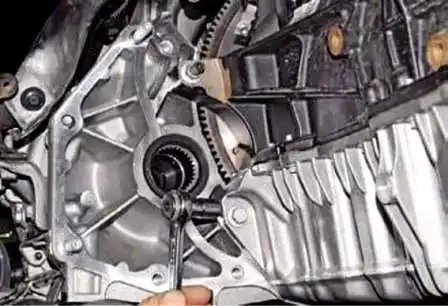
Using a 13 mm socket, we undo the bolt securing the gearbox to the engine sump on the rear side of the engine.

Using a deep 13 mm socket, we undo the nut of the stud securing the gearbox to the engine cylinder block.
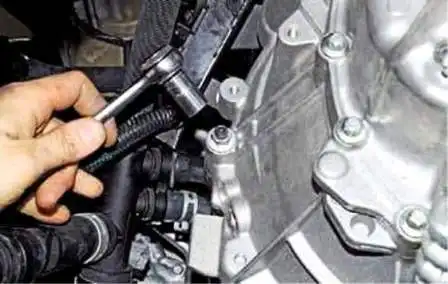
From the front side of the engine, using a 13 mm socket, we undo the nut of the stud securing the gearbox to the engine cylinder block.
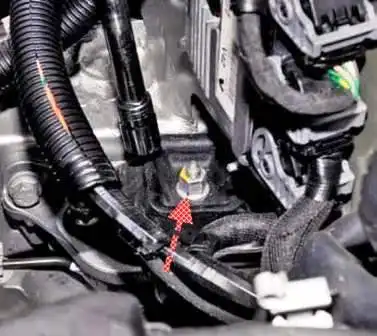
We undo the nut of the stud securing the left power unit mount to the gearbox bracket.
We lower the power unit on the adjustable support so that the stud of the gearbox bracket comes out of the opening in the mount cushion.
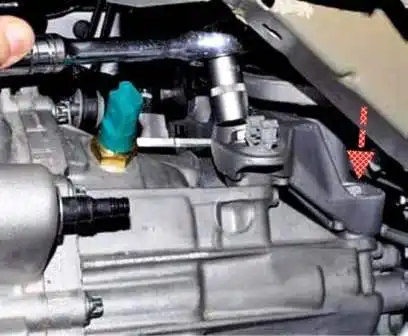
Using a 16 mm socket, we undo the three bolts securing the bracket to the gearbox.
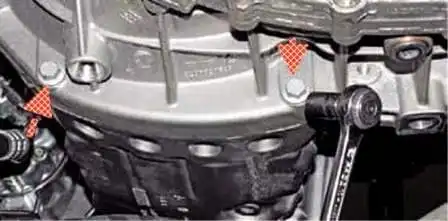
Using a 13 mm socket, we undo the two bolts of the lower mounting of the gearbox to the engine sump.
We move the gearbox away from the engine, withdrawing the input shaft from the hub of the clutch driven plate, and remove the gearbox.
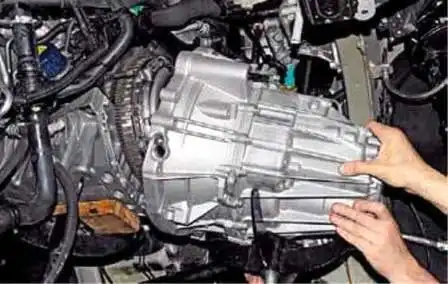
When installing the gearbox on the engine, the input shaft must be guided so that the shaft splines engage with the splines of the clutch driven plate.
Before installation, we lubricate the input shaft splines with graphite grease.
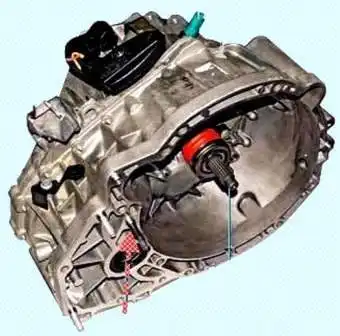
We turn the gearbox so that the clutch housing stud and the engine cylinder block stud enter the corresponding openings in the housing and the block.
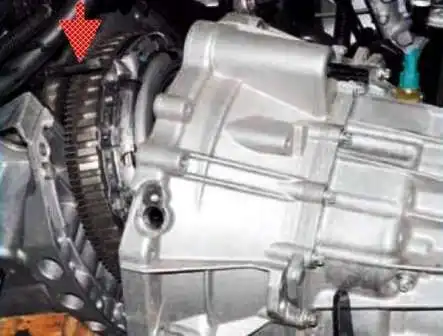
After this, we push the gearbox along the locating bushes up to the stop against the engine cylinder block.
Having made sure that the gearbox is installed correctly, we tighten the bolts and nuts securing the gearbox.
When installing the exhaust manifold mounting bracket, we first start the two bolts securing the bracket to the gearbox housing and the two bolts — to the exhaust manifold.
Once the bolts have been started, it is necessary to check that the bracket is in a free state.
After this, we can gradually, step by step, alternately tighten the securing bolts, while checking that there is no skewing of the bracket.
We carry out the subsequent assembly operations in the reverse order.
We fill the gearbox with oil.


