


We remove the fuel rail to replace and check the operation of the injectors and when carrying out fault-finding work related to the operation of the fuel system.
Removing the fuel rail
- We prepare the vehicle for the work.
- We disconnect the negative terminal of the battery.
- We remove the receiver (see Removing the receiver and intake manifold of the engine).
- We close the intake manifold opening with plugs.
- We disconnect the vacuum hose from the fuel pressure regulator.
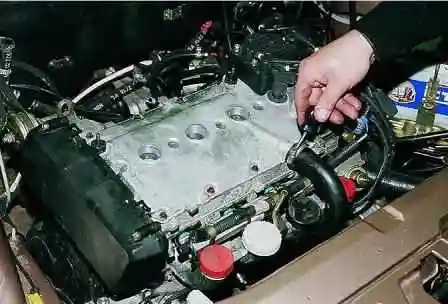
- Using a Phillips screwdriver, we slacken the crankcase ventilation hose clamp.
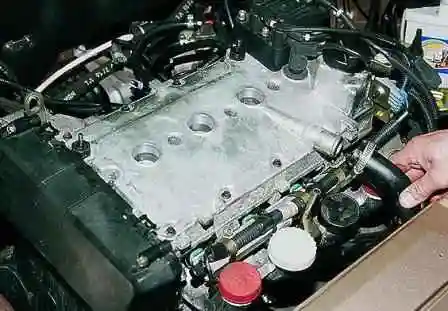
- We disconnect the hose from the cylinder head cover union.
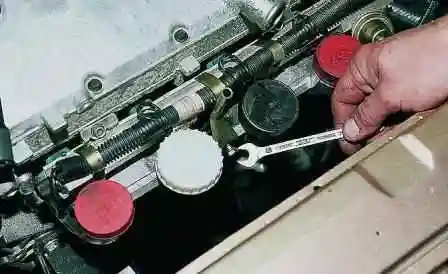
- Using a 10 mm spanner, we unscrew the oil dipstick guide tube retaining bolt.
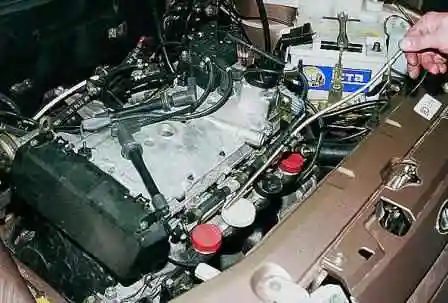
- We remove the guide tube.
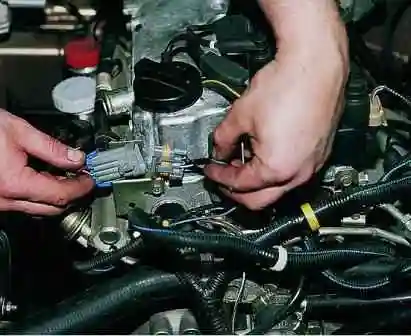
- We disconnect the fuel rail connector.
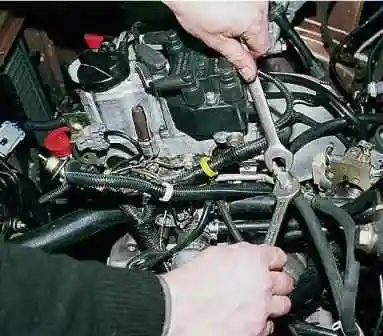
- Using two 17 mm spanners, we disconnect the fuel rail pipes from the supply and return hoses, relieving the fuel pressure (the return hose and pipe are marked with blue paint).
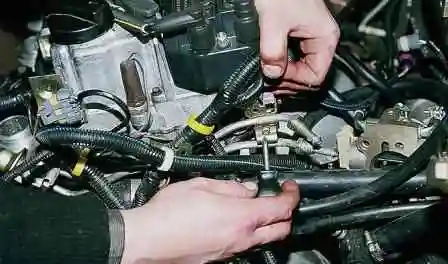
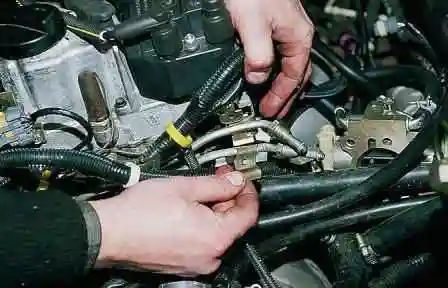
- Using a Phillips screwdriver, we unscrew the bolt of the fuel pipe bracket and remove it.
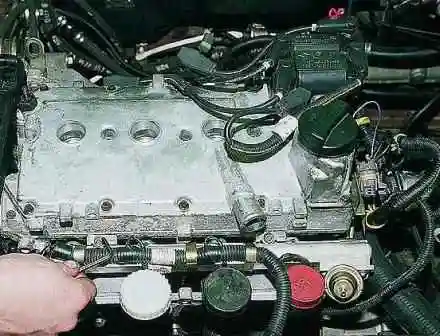
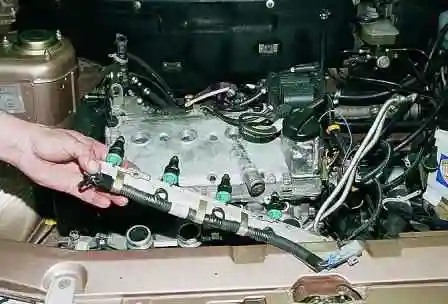
- Using a 5 mm hex key, we unscrew the two fuel rail retaining bolts and remove it complete with the injectors and the fuel pressure regulator.
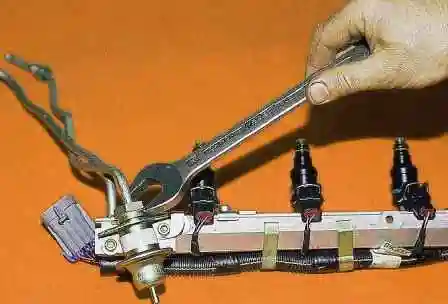
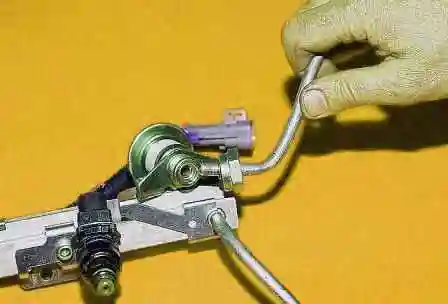
Dismantling the fuel rail
- Using a 24 mm spanner, we unscrew the nut securing the fuel return pipe to the pressure regulator and withdraw the pipe.
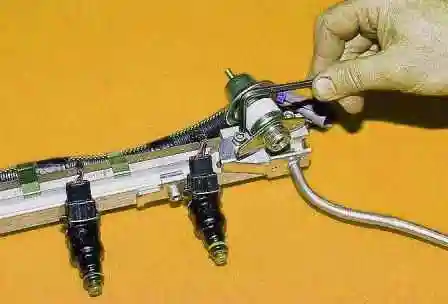
- Using a 5 mm hex key, we unscrew the two fuel pressure regulator retaining bolts from the rail.
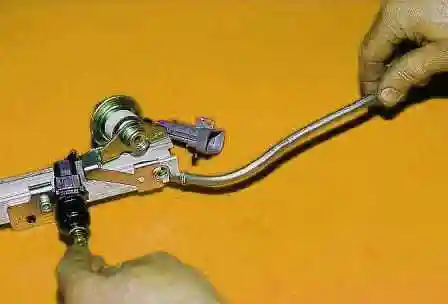
- We slide the fuel supply pipe retainer plate along the rail and withdraw the pipe.
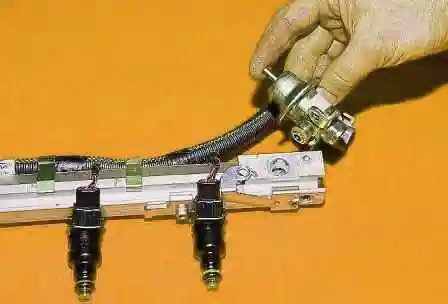
- Rocking it, we withdraw the fuel pressure regulator from the rail.
Fitting the fuel rail
Assembly and fitting of the fuel rail with the pressure regulator are carried out in the reverse order.
Important! If necessary, replace the fuel pipe sealing rings with new ones.
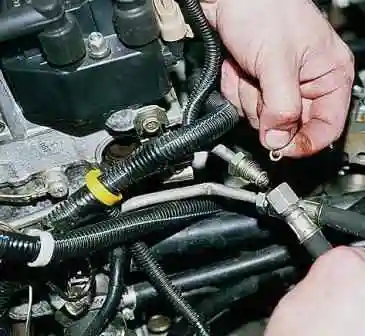
- We replace the injector sealing rings with new ones and lubricate them with engine oil.
- We tighten the pressure regulator and rail retaining bolts to a torque of 9–13 N·m.
- We tighten the fuel pipe union nuts to a torque of 20–34 N·m.