The engine on the Gazelle Next vehicle must be removed without the gearbox, extracting it forward from the engine compartment
You need to use a hoist or crane for this
To do this, you will need the following tools: socket heads for 7, 10, 13, 14, keys for 7, 8, 10, 13, 15, 16, Allen key for 6, pliers, slotted screwdriver.
We install the vehicle on an inspection ditch.
We disconnect the negative terminal of the battery.
We drain the coolant
We remove the engine mudguard.
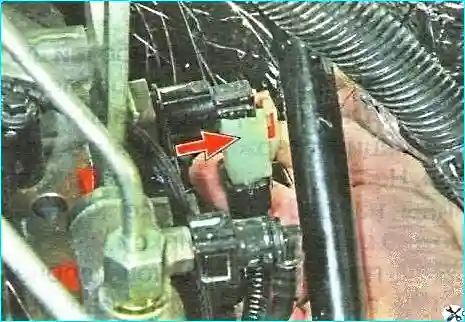
Press the camshaft position sensor wire connector lock and disconnect the connector
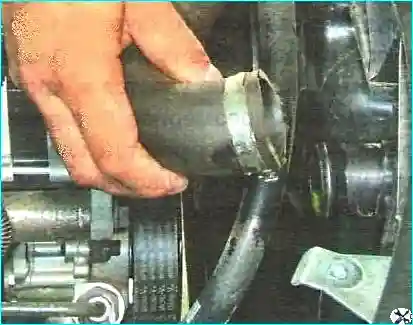
Loosen the radiator inlet hose clamp and disconnect the hose from the upper radiator pipe
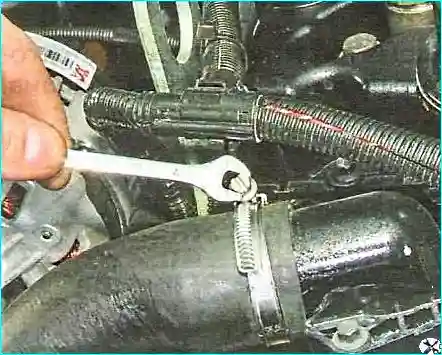
Loosen the clamp securing the hose to the thermostat cover and remove the hose
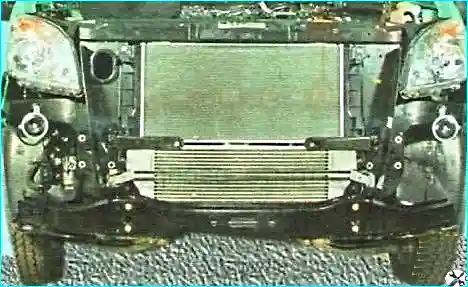
Removing the bumper
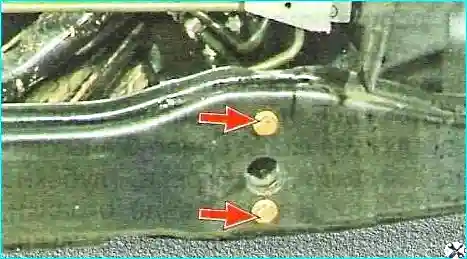
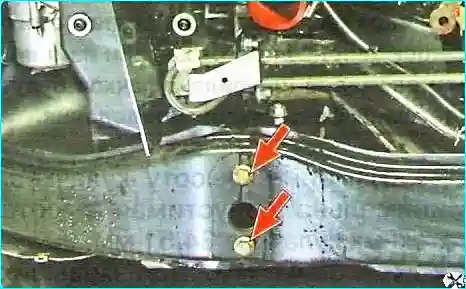
Unscrew the two mounting bolts on the left and right, and remove the bumper reinforcement
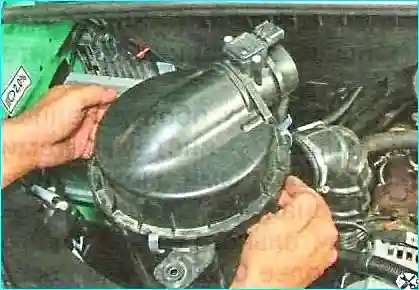
Removing the air filter
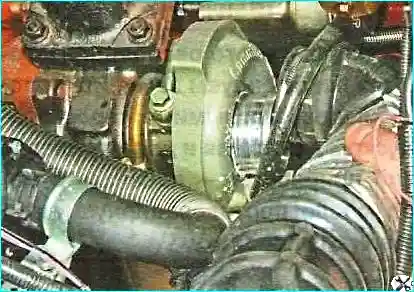
Removing the air supply hose
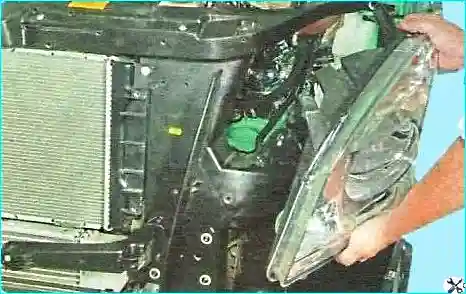
Removing the headlight unit
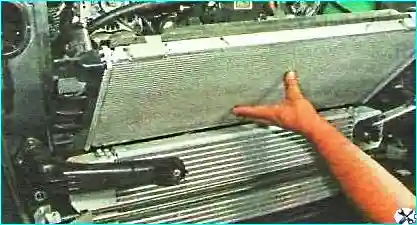
Removing the cooling system radiator
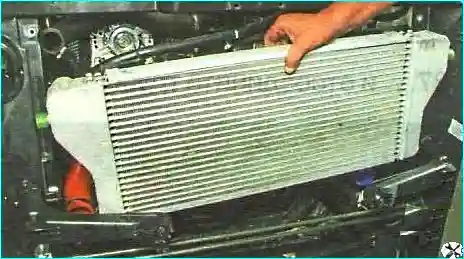
Removing the charge air cooler (intercooler)
Remove the hood
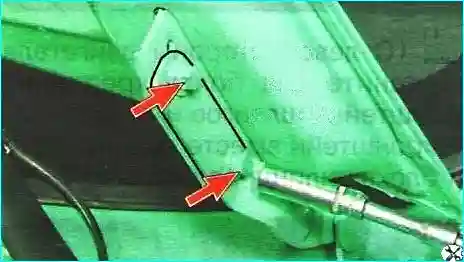
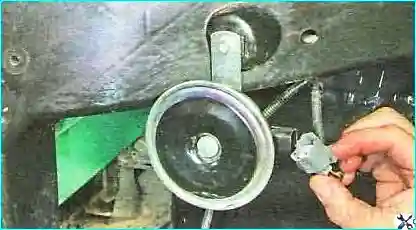
Squeeze the clamps and disconnect the wire blocks from the horn
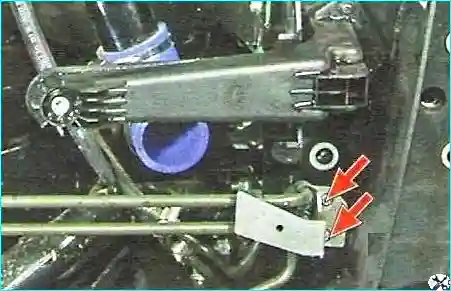
Unscrew two mounting bolts on the left and right, and remove the power steering heat exchanger
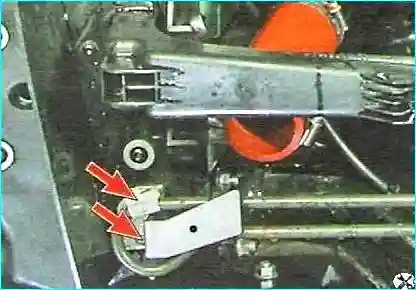
Unscrew the screws securing the radiator frame base to the side members on the left side of the front cabins
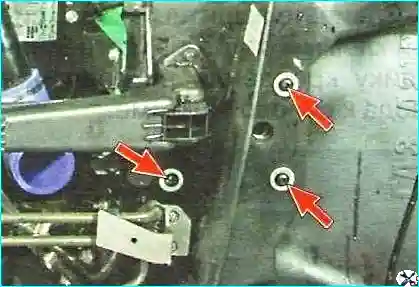
Unscrew the screw to the front wing holder
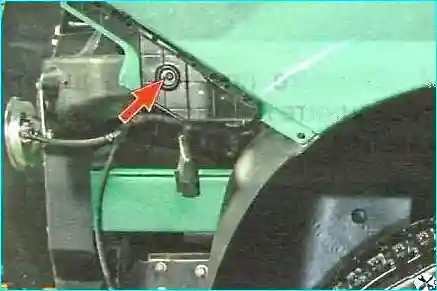
Unscrew the screw to the upper front shield reinforcement
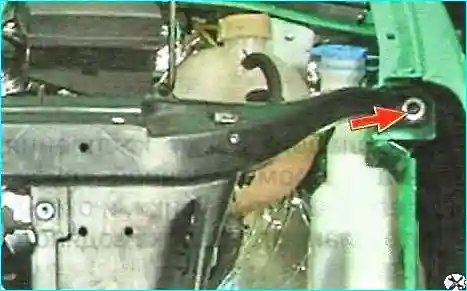
Also unscrew the fastening screws on the right side and remove the plastic base of the radiator frame.
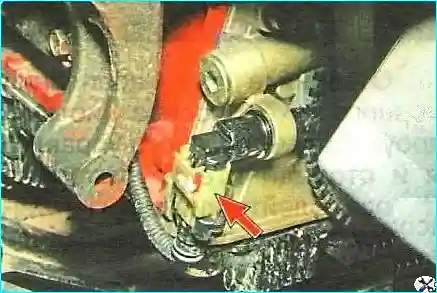
Disconnect the wiring block from the crankshaft position sensor connector
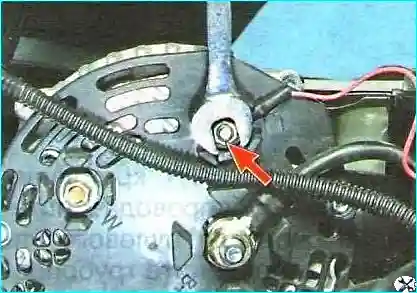
Unscrew the nut securing the wire tip to the generator terminal "30" and disconnect the wire from the terminal.
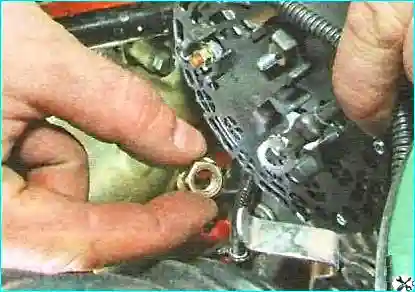
Also disconnect the wire from the generator power terminal
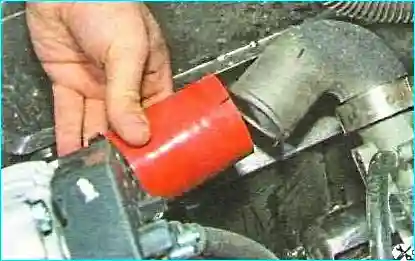
Loosen the clamp securing the pipeline to the turbocharger adapter and disconnect the pipeline
Unscrew the nut securing the pressure pipeline of the power steering system and disconnect the pipeline from the pump.
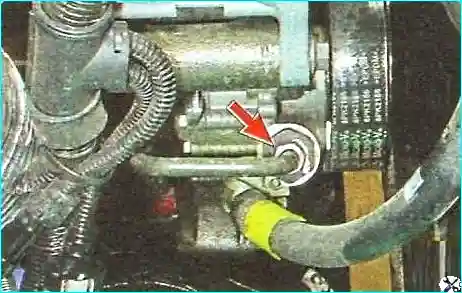
Drain the liquid from the pipeline into a suitable container.
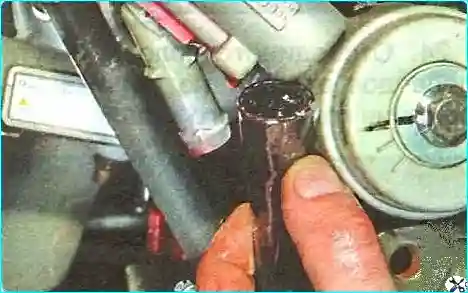
Loosen the clamp securing the return pipeline of the power steering system and disconnect the pipeline from the power steering pump.
Drain the fluid from the pipeline into a suitable container.
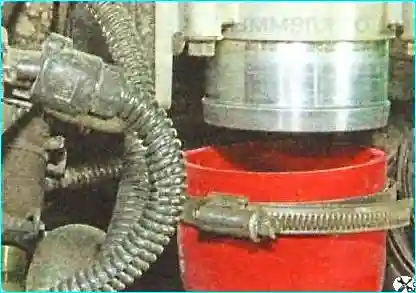
Loosen the clamp securing the air supply hose to the air damper pipe and disconnect the hose.
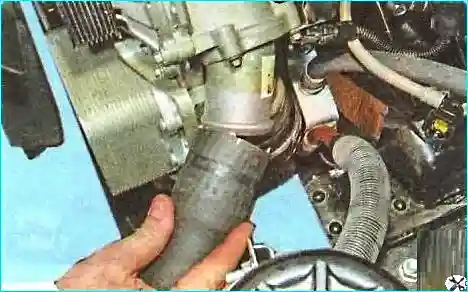
Loosen the clamp securing the inlet hose to the water pump pipe and remove the hose
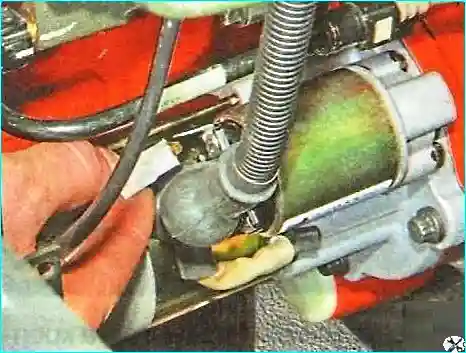
Remove the control wire block from the starter traction relay terminal
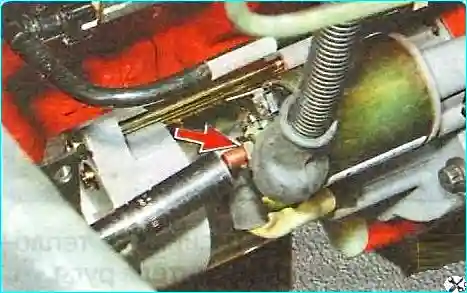
Move the protective cover of the starter power terminal and unscrew the nut securing the wire tip to the power terminal
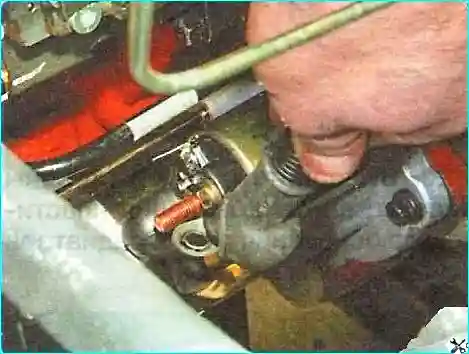
Remove the spring washer and disconnect the wire tip from the terminal
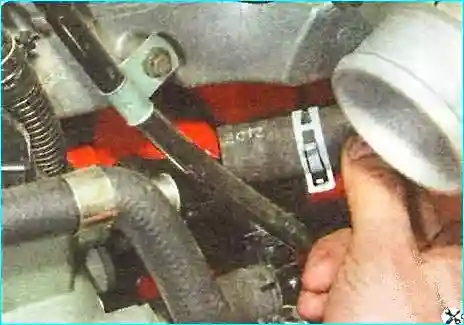
Loosen the clamp securing the hose to the intermediate pipe by squeezing its bent tabs and disconnect the hose from the water pump branch pipe
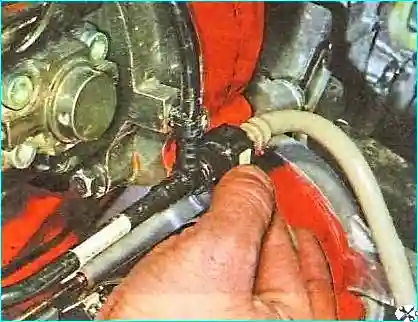
Squeeze the clamps of the fuel supply pipe tip to the high-pressure fuel pump
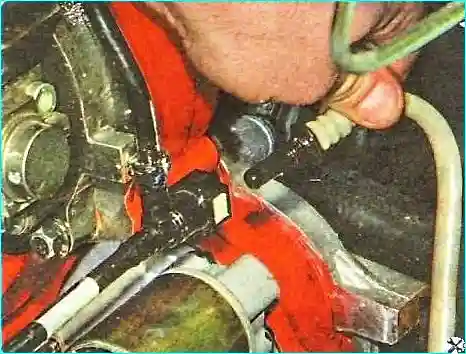
Disconnecting the pipeline
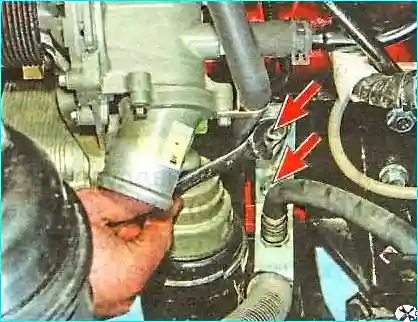
On the left side of the engine, unscrew the two bolts securing the hose bracket and disconnect the bracket together with the hoses from the engine cylinder block
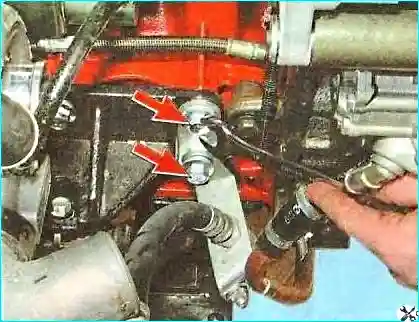
Also on the right side of the engine, unscrew the two bolts securing the bracket hose and disconnect the bracket together with the hose
Squeeze the fastening clamp, slide it along the hose and disconnect the hose supplying liquid to the heater from the pipeline.
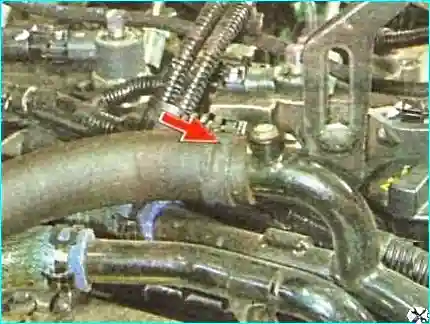
Also disconnect the second hose of the intermediate pipe to the heater radiator.
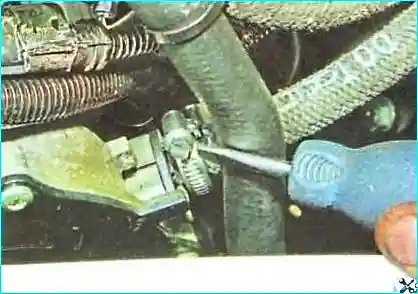
Loosen the clamp securing the hose to the vacuum pump fitting
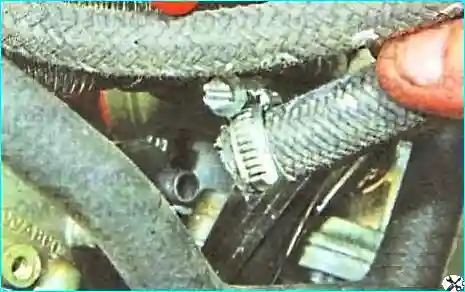
Disconnect the hose from the pump
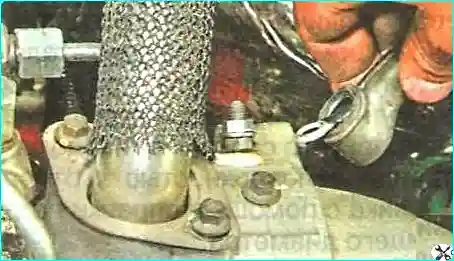
Move the protective cap from the air heater terminal in the intake pipe.
Unscrew the nut securing the power cable tip, holding the nut securing the terminal with a second wrench, and disconnect the tip from the terminal.
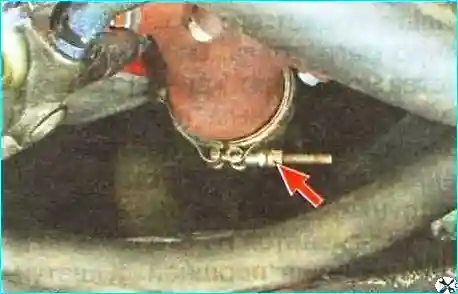
Unscrew the nut securing the clamp of the neutralizer inlet pipe to the turbine pipe adapter and move the clamp along the pipe.
The nut securing the clamp of the neutralizer inlet pipe to the pipe adapter turbines are easier to unscrew from the engine compartment.
Remove the fan impeller so as not to damage it when removing the engine.
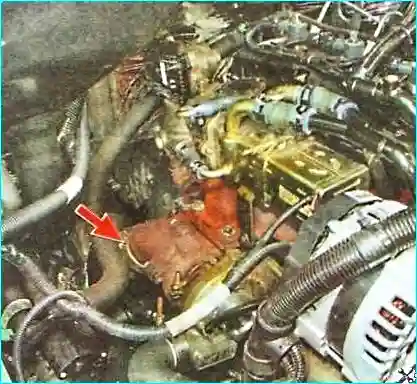
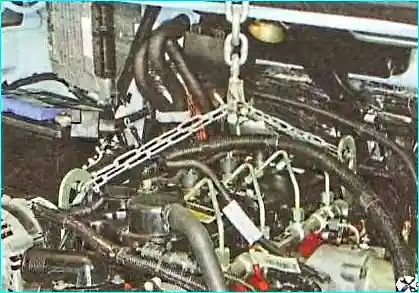
Attach the lifting mechanism slings to the engine's transport eyes.
Remove the cardan transmission.
Remove the gearbox.
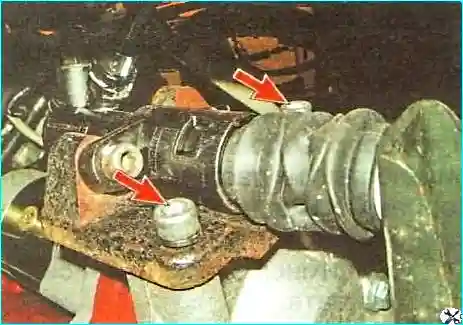
Unscrew the two bolts securing the clutch release drive slave cylinder bracket to the clutch housing from underneath the vehicle and move the bracket with the cylinder to the side without disconnecting the hose.
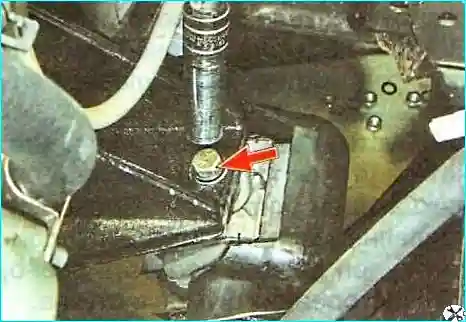
Unscrew the bolt securing the left engine bracket to the powertrain suspension support cushion.
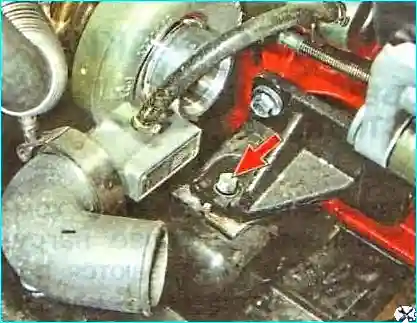
Unscrew and remove the bolt securing the right engine bracket to the powertrain suspension support cushion.
Remove the engine from the engine compartment.
Install the engine in the reverse order.
Before installation, clean the threaded holes for fastening its brackets in the cushions support.
When connecting wires and pipelines, ensure that they are positioned correctly.
After installing the engine, fill the engine with oil, fill the coolant, and fill the power steering system with fluid.
Start the engine and check the tightness of all connections.
Check the oil pressure.
Listen to the engine.
Bleed the hydraulic steering system.


