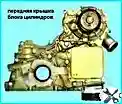
The vehicle cabin is secured with four supports.
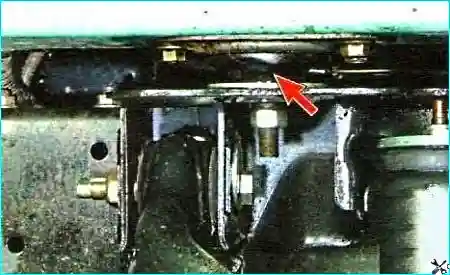
The front cabin supports are secured to the subframe
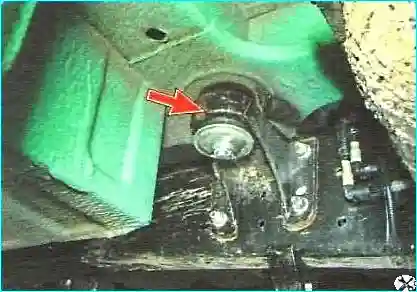
The rear rubber cushions are installed in brackets that are bolted to the side members frames
Access to the rear support mounting bolts is through the holes located in the cabin floor and covered with plugs.
To dismantle the cabin, you will need the following tools: socket wrenches for 8, 10, 13, wrenches for 19 and TORX T25, a hex key for 6, a set of screwdrivers, pliers, a lifting mechanism with a lifting capacity of at least 500 kg.
We install the car on an inspection ditch.
We disconnect the negative terminal of the battery
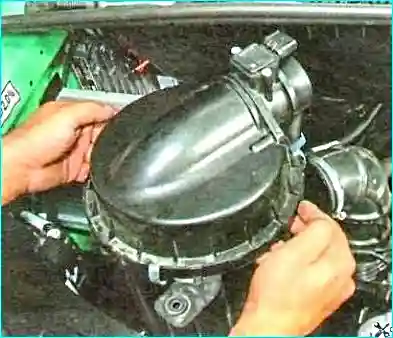
We remove the air filter
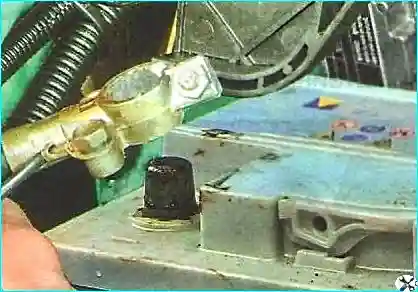
Removing the battery
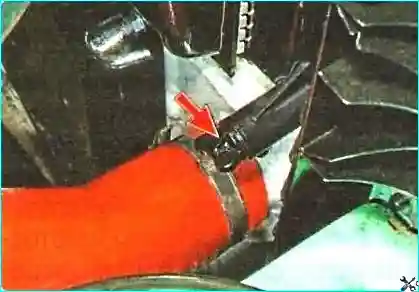
Draining the fluid from the engine cooling system
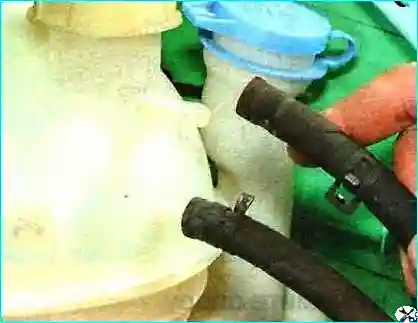
Loosen the clamps and disconnect the hoses from the expansion tank
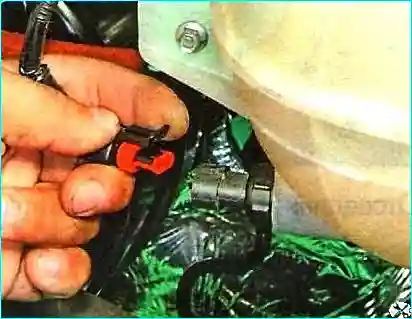
Disconnect the wiring block from the coolant level sensor
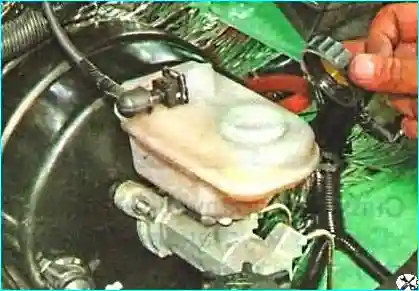
Pumping out brake fluid from the reservoir
Pull out the spring retainer of the clutch hydraulic line tip and disconnect the line from the slave cylinder.
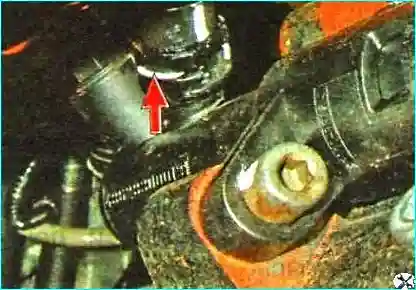
Draining brake fluid from the brake hydraulic system (article – Replacing fluid and bleeding brakes)
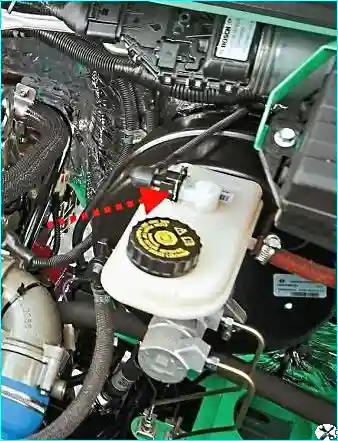
Disconnecting the wiring block from the brake fluid level sensor
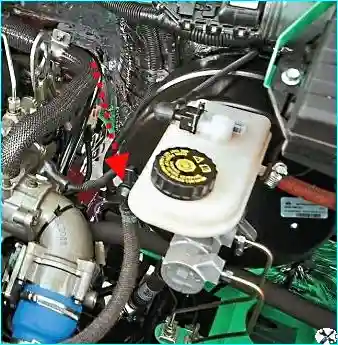
Disconnecting the vacuum hose from the brake booster check valve
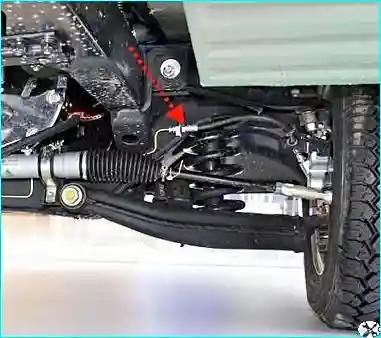
Disconnect the brake pipes from the brake hoses and remove the hoses from the brackets
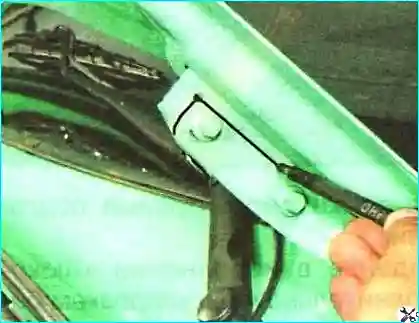
Mark the location of the hood hinge brackets
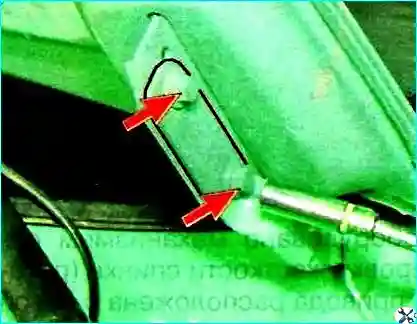
Unscrew two bolts securing the hood to the hinges on each side
Remove the hood
Remove the bumper (article – Removing and installing mudguards and bumper)

Unscrew the four bolts securing the bumper reinforcement and remove the reinforcement
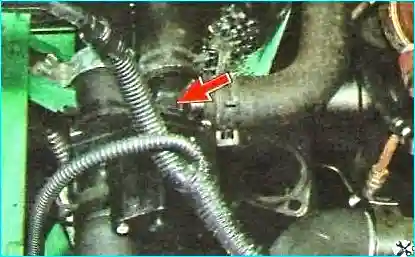
After loosening the clamps, disconnect the hoses from the heater tap
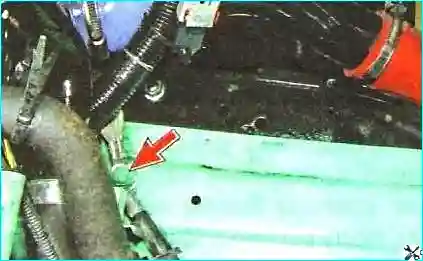
Unscrew the bolt and disconnect the ground wire from cabin side members
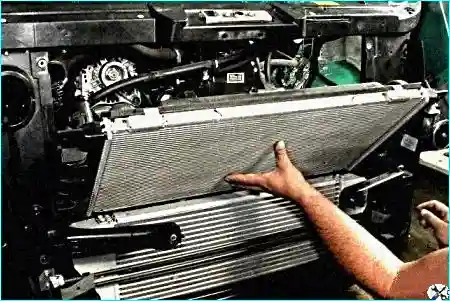
Removing the cooling system radiator
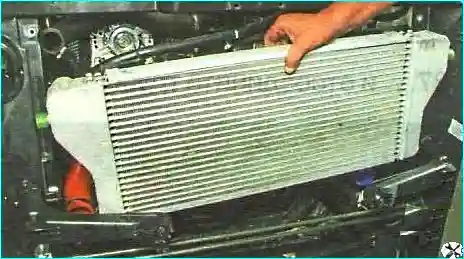
Removing the charge air cooler (intercooler)
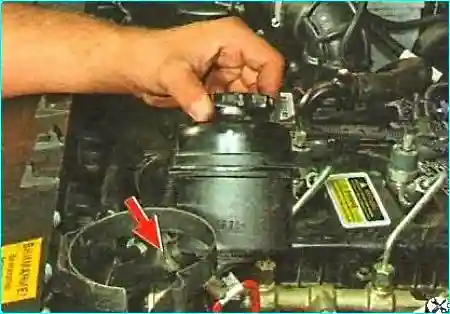
Removing the power steering reservoir
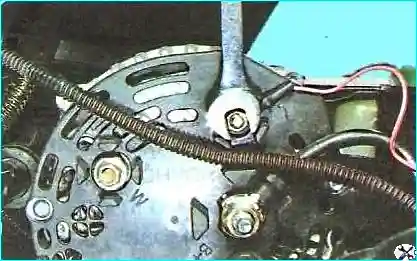
Unscrewing the nut securing the generator excitation winding power wire
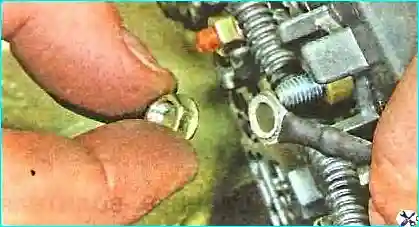
Remove the wire tip from the "L" terminal of the voltage regulator
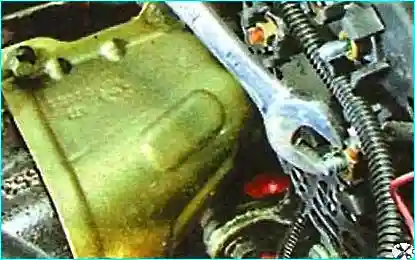
Unscrew the power cable mounting nut
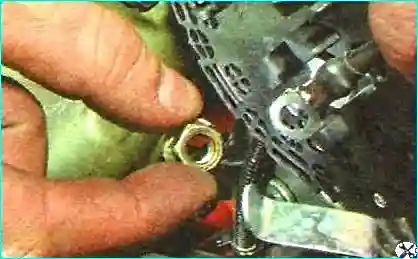
Remove the wire tip from the "B+" terminal generator
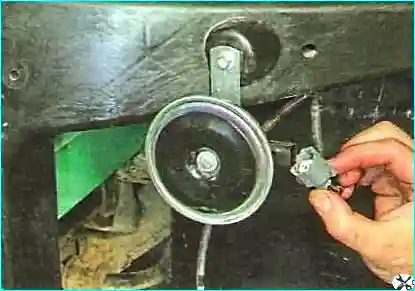
Disconnect the wire blocks from the sound signals
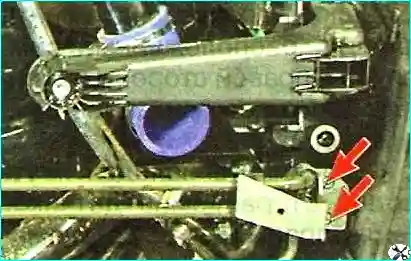
Unscrew the two bolts on the left of the power steering heat exchanger mount
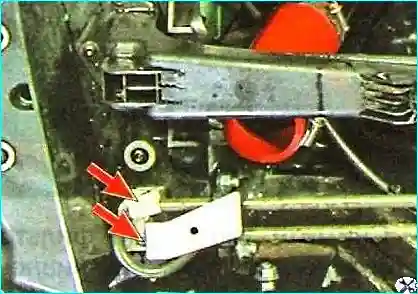
Unscrew the two bolts on the right and remove the power steering heat exchanger
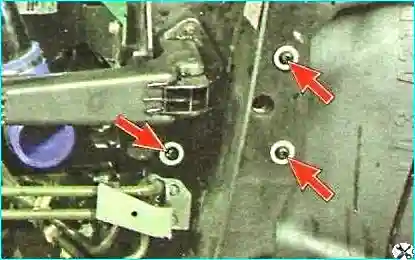
Unscrew the screws on the left side of the front of the plastic base of the radiator frame to the side members of the cabin
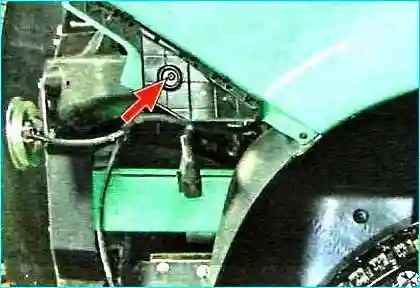
Unscrew the screws to the front fender mount
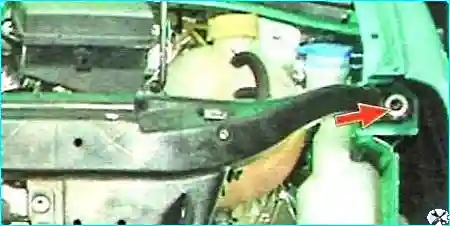
Unscrew the screws to the upper front shield reinforcement
Disconnect the wiring harness blocks from the engine management system sensor connectors
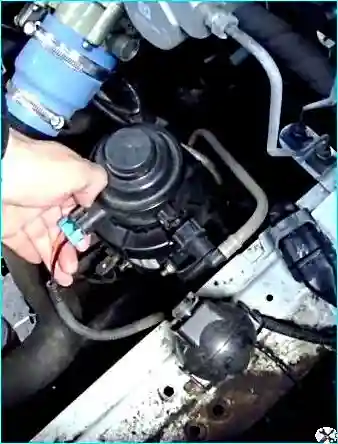
Removing the fuel filter (article - Removing and installing the fuel filter)
Removing the engine wiring harness from the cabin mounts
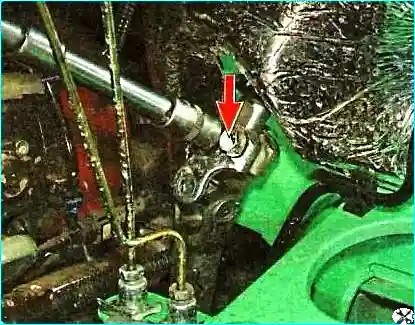
Unscrew the clamping bolt of the terminal connection of the upper and lower intermediate shafts of the steering.
Disconnect the intermediate shaft from the steering mechanism
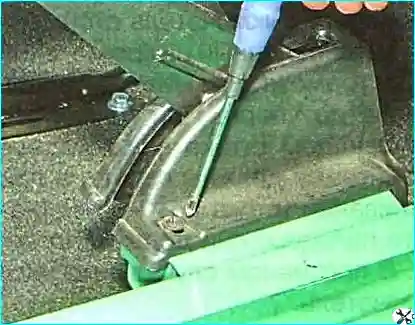
Unscrew the screw securing the parking brake lever casing
Remove the casing and disconnect the cable from the lever
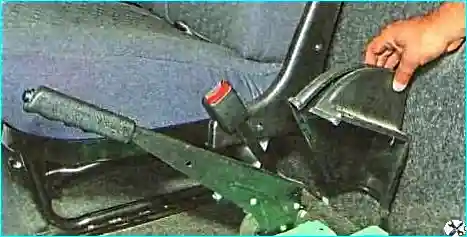
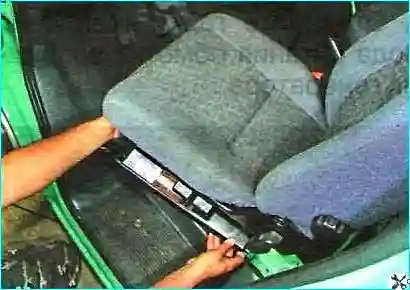
Removing the driver's seat
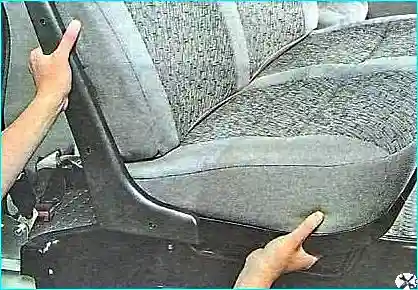
Removing the passenger seat. Removing the gearbox lever
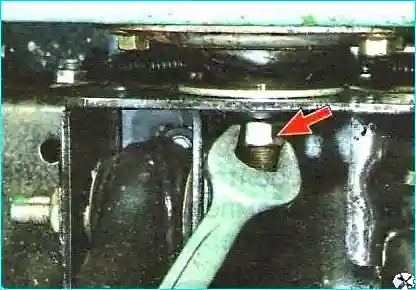
Unscrew the two nuts of the front mount of the cabin
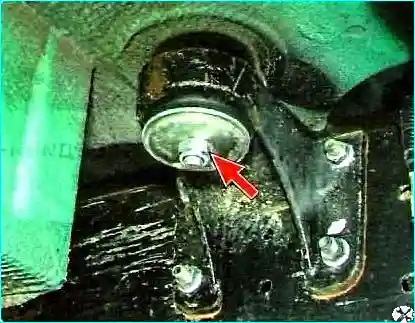
Unscrew the two nuts from below the rear mount of the cabin, holding the bolts through the holes in the floor of the cabin.
Remove the bolts with washers from the holes.
Check again whether all the wires and hoses are disconnected from the cabin.
Hook the cabin or body with a lifting mechanism to the door openings (the doors must be open) and remove it from the frame.
Install the cabin or the body in reverse order.


