We remove the cables and the gear selector for replacement and repair
Replacing the backstage and cables of a manual transmission
Removing the lining of the floor tunnel
Remove the air filter
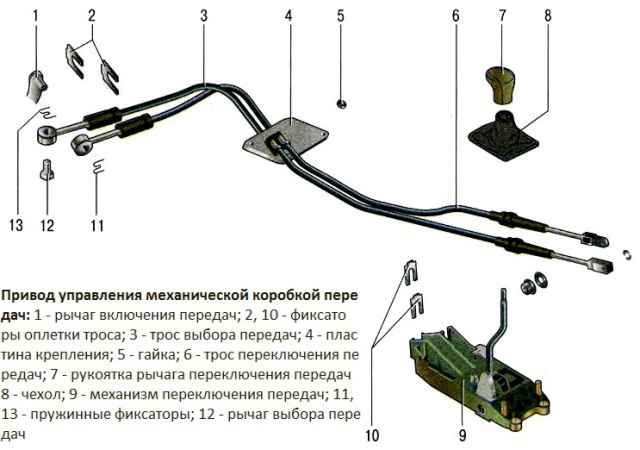
Manual transmission control drive: 1 - gear shift lever; 2, 10 - cable sheath retainers; 3 - gear selection cable; 4 - mounting plate; 5 - nut; 6 - gear shift cable; 7 - gear lever handle; 8 - cover; 9 - gear shift mechanism; 11, 13 - spring clips; 12 - gear selector
We press the holder and remove the retainer for fastening the tip of the cable 6 (Fig. 1) from the chamfer of the axis of the gear lever, remove the washer and the tip of the cable from the axis of the gear lever
Remove the tip of the cable sheath 3 from the slot of the bracket on the gearbox
Remove the shift cable to the side
Remove the retainer for fastening the cable tip from the chamfer of the axle of the gear selector
Remove the washer and the tip of the cable from the axle of the gear lever
Remove the tip of the cable sheath from the slot of the bracket on the gearbox. Move the gear selection cable to the side
In the car, under the dashboard, unscrew the two bolts that secure the cable bracket to the car's front panel
And we take out the cables into the cabin, taking out the tips one by one through the hole in the front shield
Install the transmission control cables and all removed parts in reverse order
Removing the automatic transmission control selector
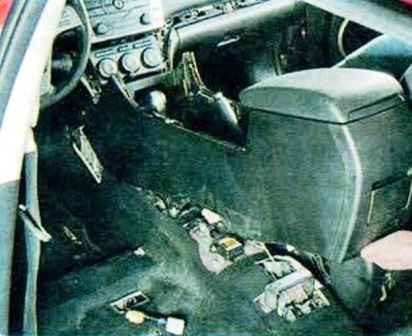
Removing the lining of the floor tunnel
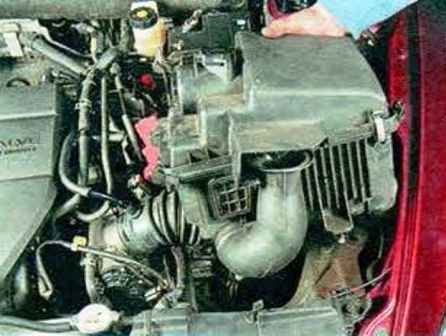
Remove the air filter
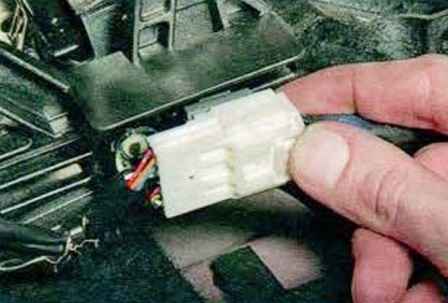
We press the lock of the wire block of the control unit for the selector lock system and the selector position sensor
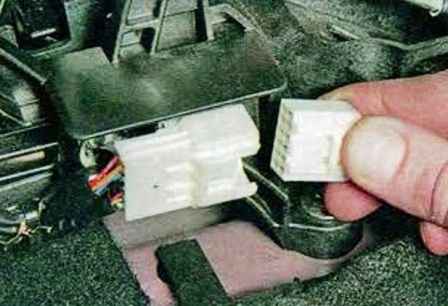
And disconnect the block from the connector
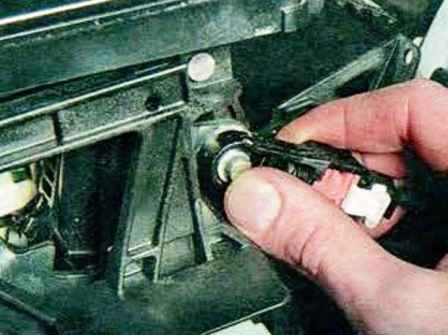
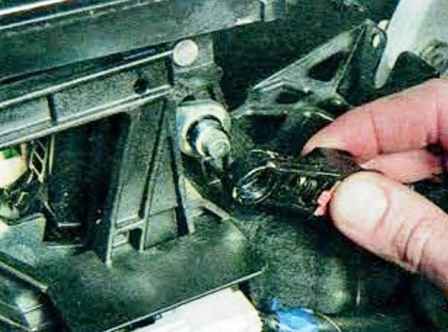
We press the tip of the cable from the selector lever and remove the tip from the guide
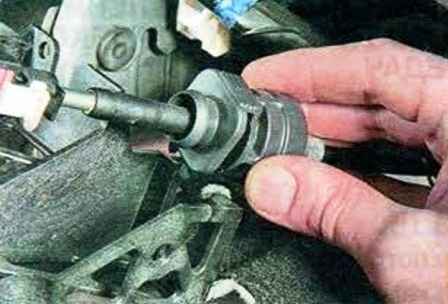
Remove the tip of the cable sheath from the groove of the selector bracket
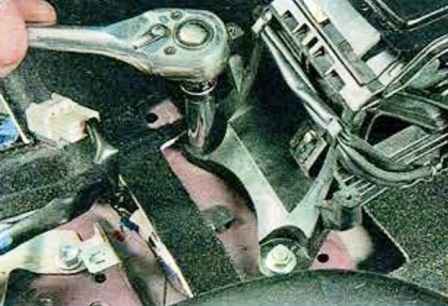
We unscrew the four nuts securing the bracket for the automatic transmission control selector
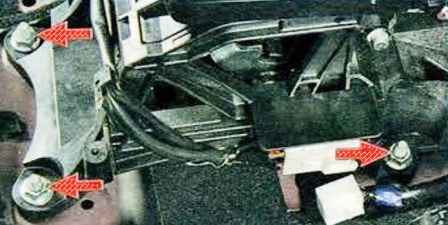
The figure shows the location of the fastening nuts (one nut is not visible) of the automatic transmission control selector
 </ p>
</ p>
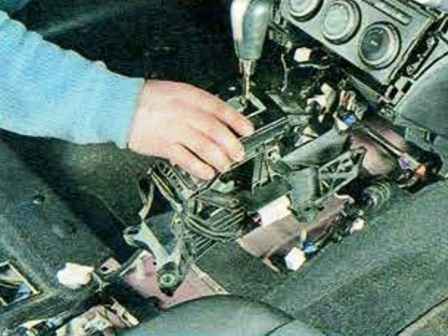
Remove the selector from the studs
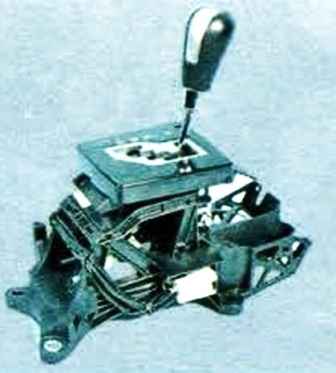
Install the gearbox control selector and all parts in reverse order
Replacing the automatic transmission control cable
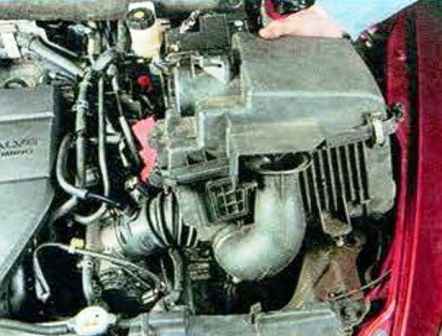
Remove the air filter in the engine compartment
Make sure the selector lever is in the "P" position
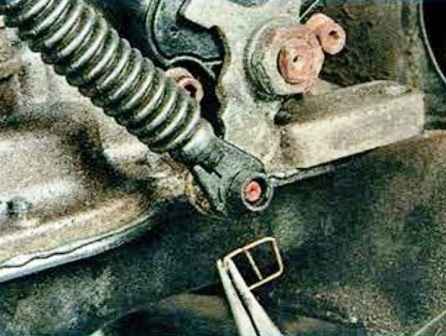
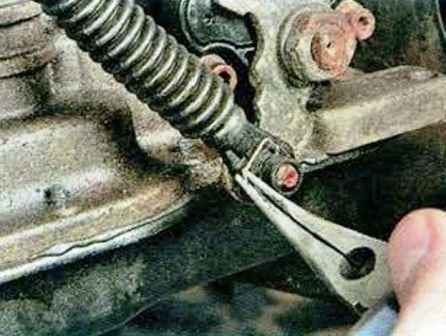
Pry off the spring retainer and remove it
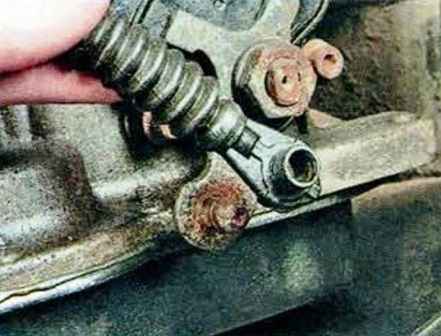
Disconnect the gearshift cable end from the gearshift lever
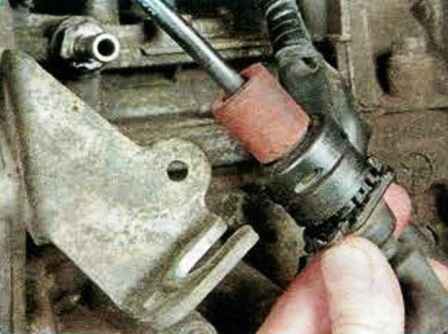
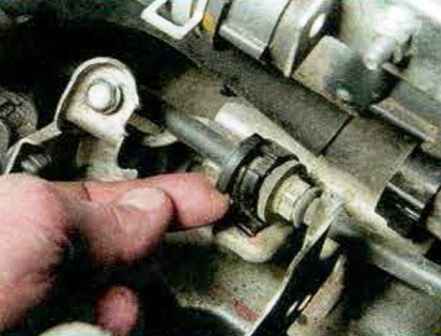
Remove the drive cable sheath holder from the side bracket
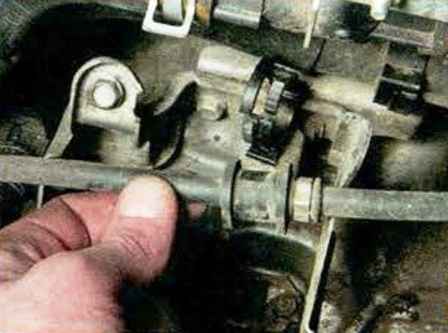
We pry off the latch, disconnect the clamp and remove the drive cable from the upper mount
In the car interior, we remove the lining of the floor tunnel
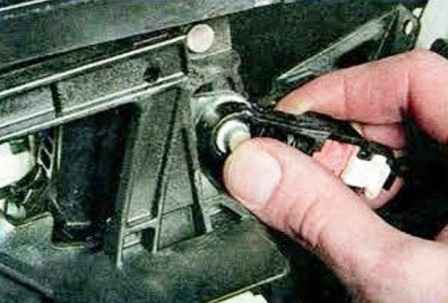
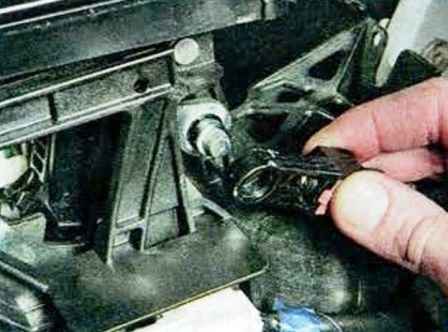
We press the tip of the cable from the selector lever and remove the tip from the guide
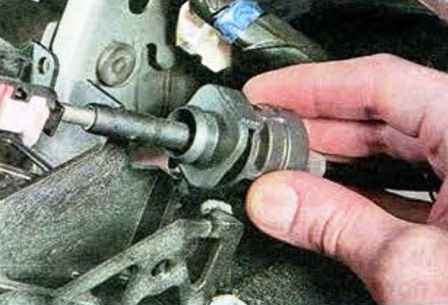
Remove the tip of the cable sheath from the groove of the selector bracket
We pull the drive cable into the car interior
We install the new cable in the reverse order, securing the shells in the brackets
Move the selector lever to the "N" or "D" position
Install the tip of the cable on the selector lever
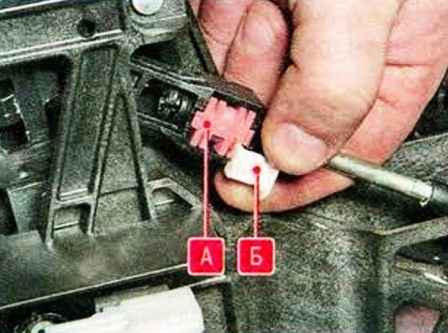
Install the release lever (A) and lock it with the release (B)
Checking the clarity of switching modes of the automatic transmission selector
Install parts in reverse order


