In the article, we will consider the removal of mudguards, protective arc, bumper, hood parts, front fender, front panel, windshield
Removing mudguards
We install the car on a viewing ditch or lift
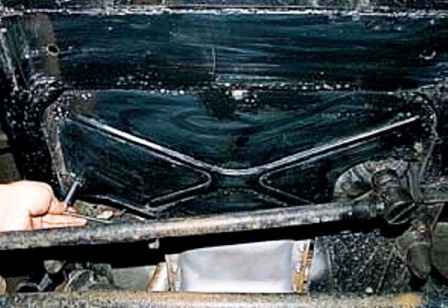
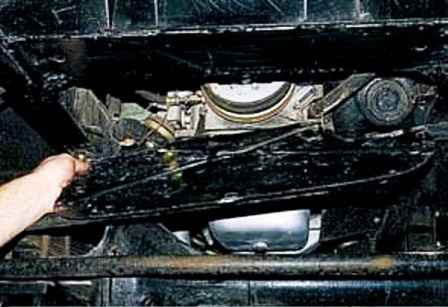
With a 10 head, unscrew the three bolts securing the front mudguard and remove the mudguard
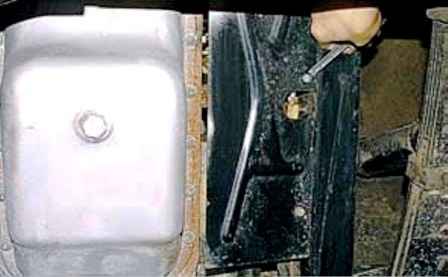
We unscrew the two bolts securing the side mudguard and remove the mudguard
Removing the roll bar and towing hooks
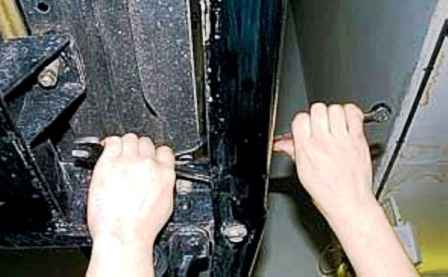
We unscrew the three nuts with a 19 wrench, holding the bolts securing the protective arc to the bumper with a 17 wrench
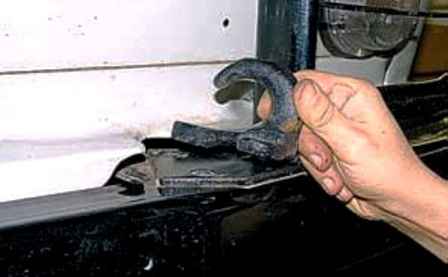
Remove the tow hook
Also remove the hook from the other side of the bumper
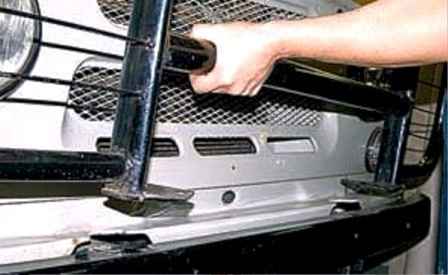
Remove the protective arc from the car
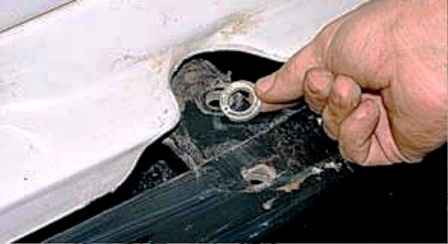
Space washers installed under the back of the roll bars
Install the bow and tow hooks in reverse order
Removing the front bumper
Remove the protective arc
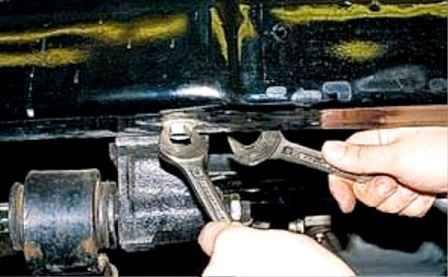
Using a 19 wrench, unscrew the nuts of the two bolts of the lower bumper mount, holding the bolts with a 17 wrench
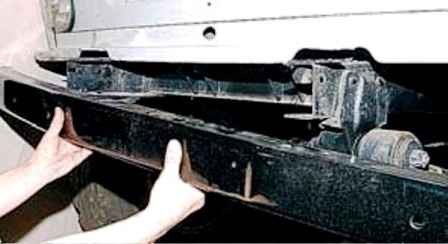
Remove the bolts and remove the bumper from the car frame
Removing the hood lock and its drive
Open the hood and fix it in the open position on the windshield frame
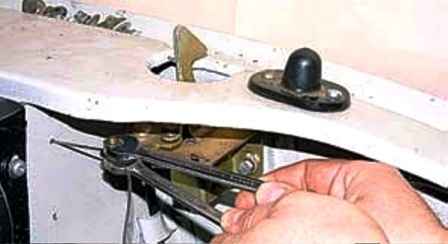
With a 10 key, hold the thrust fixing bolt, with a 10 key, unscrew the bolt nut
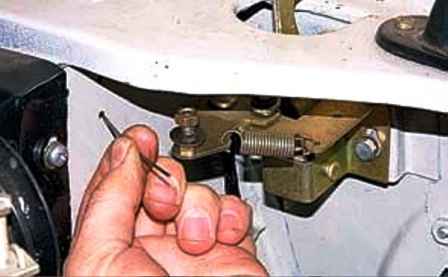
Remove the rod from the hood lock bolt hole
We also disconnect the rod from the second hood lock
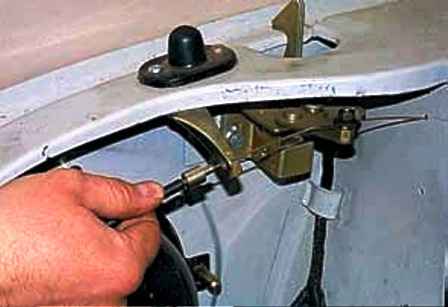
Remove the rod from the holes of the front panel, the bolt of the left lock and stop
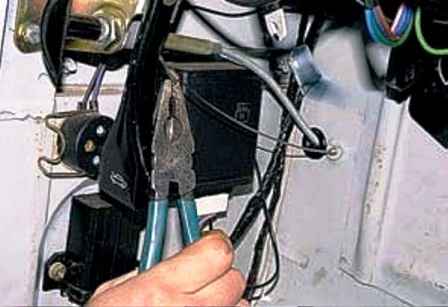
In sal we straighten the bent end of the rod with pliers
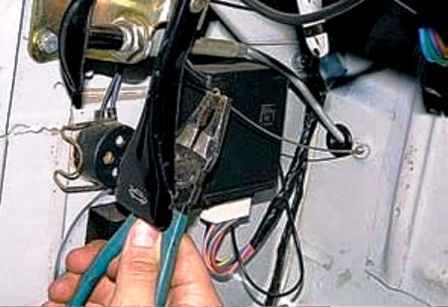
We move the tube of fastening the thrust to the bulkhead of the engine compartment
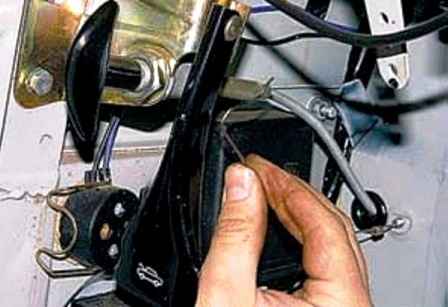
Remove the rod from the hole in the hood lock handle
We remove the rod from the hole in the partition of the engine compartment and remove it from the car
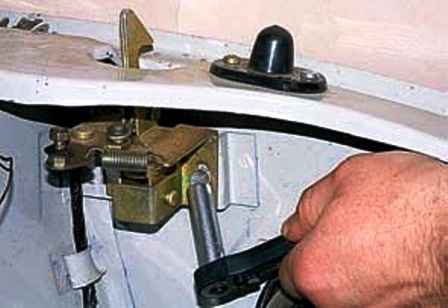
We unscrew the two bolts of the right hood lock with a 12 head
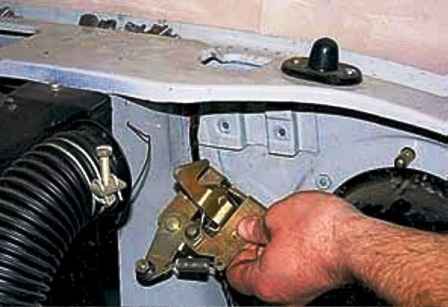
Remove the lock from the front panel
Remove the left lock in the same way
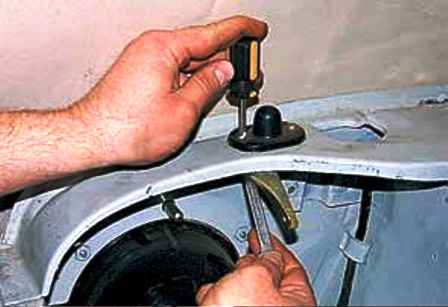
Using a Phillips screwdriver, holding the two screws securing the left hood stop from turning, unscrew their nuts with an 8 wrench
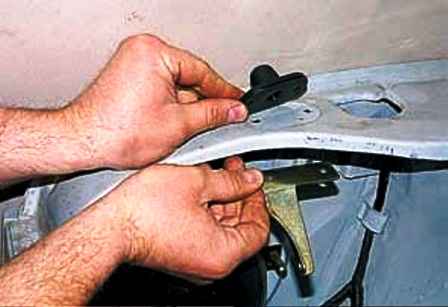
Remove the hood stop and the thrust shell stop
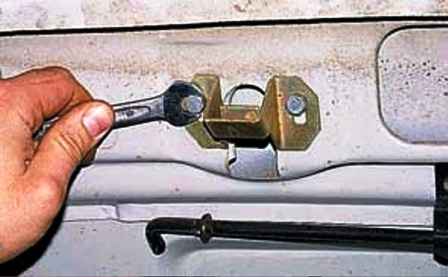
We unscrew the two bolts of the right lock with a 10 key
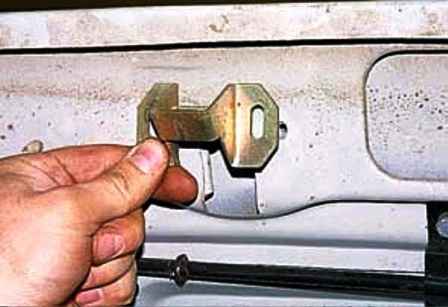
Remove the hood latch
Also remove the left retainer
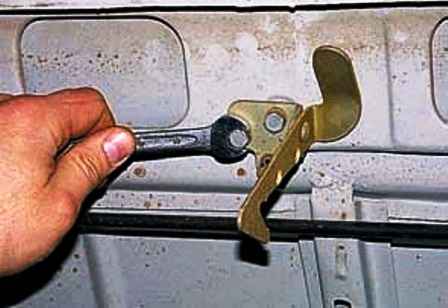
We unscrew the two bolts of the hood safety hook with a 10 key and remove the hook
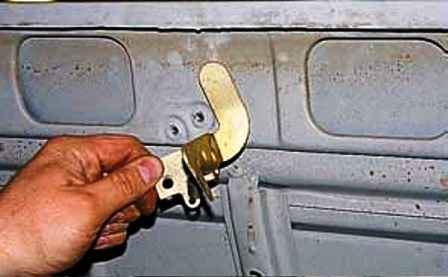
Install the removed parts in reverse order
Removing the hood
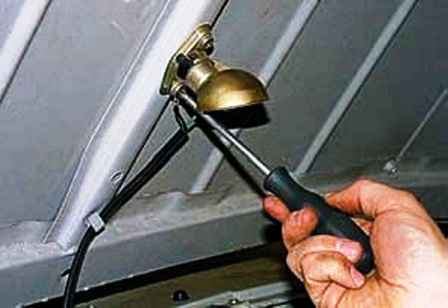
We unscrew the two screws securing the engine compartment light with a Phillips screwdriver
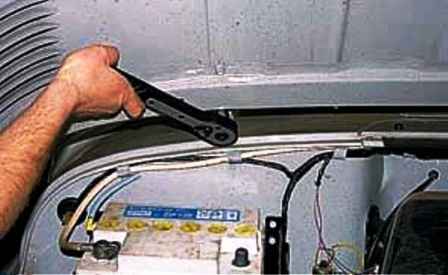
We unscrew the two bolts securing the hood to the right hinge with a 14 head
We also unscrew the bolts securing the hood to the left hinge
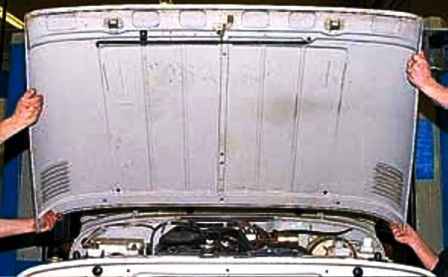
Remove the hood
If it is to be replaced, remove the lock latches, hood stop and hook from the hood
Install the hood in reverse order, and adjust its position
Remove the locks and the hook from the hood, loosen the hood fastening bolts. Lower the hood and we move to the required position
Having carefully lifted the hood, we tighten the bolts of its fastening to the hinges.
We install the removed clips, a hook and a lamp for lighting the engine compartment on the hood. We check the operation of the locks and, if necessary, adjust them
Replacing the front fender
Remove the expansion tank of the engine cooling system without draining the coolant and without disconnecting the hose from it (for the right wing)
We cover nuts and bolts with WD-40 penetrating lubricant
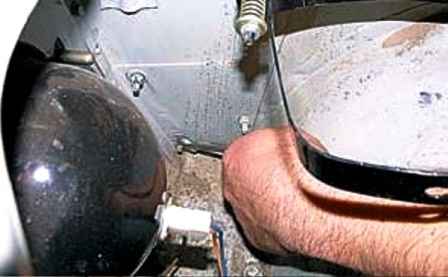
We unscrew the nuts of the two bolts of the front wing mount with a 10 wrench
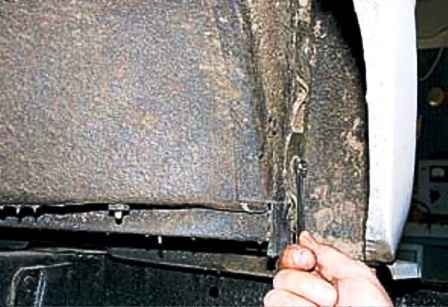
We keep the bolts from turning with a 10 wrench
Removing the bolts from the holes
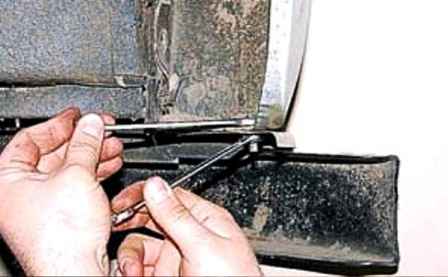
Using 10 wrenches, unscrew the nut of the bolt of the front lower wing mount and remove the bolt
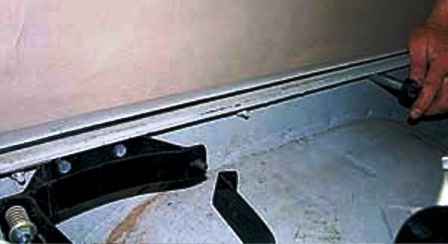
We unscrew with a 10 head four nuts of three bolts and one stud securing the wing to the engine compartment mudguard, holding the bolts with a 10 wrench
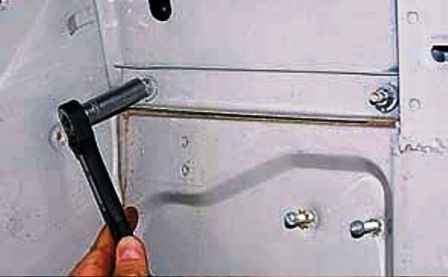
With a head of 10 in the passenger compartment, unscrew the nuts of two studs
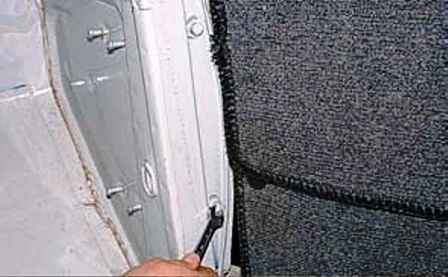
Having opened the front door, use a 10 key to unscrew the two wing mounting bolts
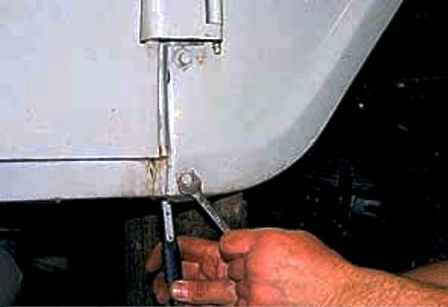
We unscrew the nut of the lower wing mount bolt with a 10 head, holding the bolt with a 10 wrench
We also unscrew the wing bolt located under the lower hinge of the front door
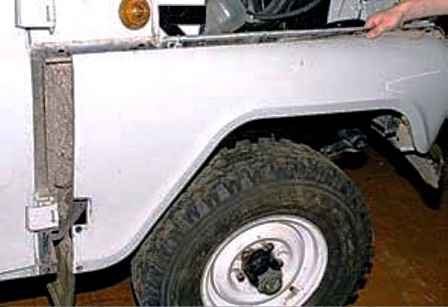
Remove the wing and its seal
Installing the wing in the following order:
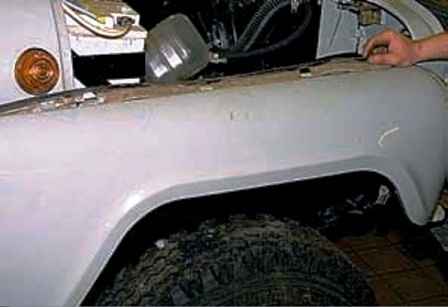
- we apply the wing to the car and insert the bolts of the upper and front wing mounts into the holes.
We put nuts on them, after which, slightly moving the wing away from the car, we install a sealant in the resulting gap
Installing the remaining wing mounting elements and tightening the nuts
Removing the front panel
Remove the expansion tank of the engine cooling system and, without draining the liquid, take it to the partition of the engine compartment
Remove the hood lock cable from the front panel
Remove the protective arc with tow hooks
Disconnect the air intake hose from the radiator shield
Remove the radiator shields
Disconnect the wire ends from the headlights, direction indicators, horn and remove the wiring harness from the front panel
We unscrew the four bolts of the front fastening of the right and left wings
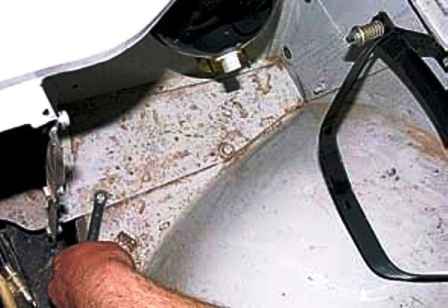
Unscrew the head 10 two bolts of the lower panel mounting
We also unscrew the two bolts of the lower left panel mount
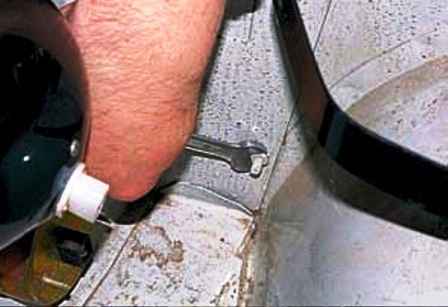
We unscrew the two bolts securing the panel to the right mudguard with 10 keys
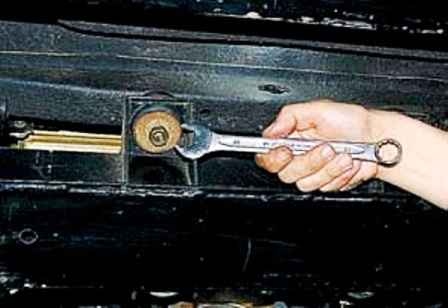
We unscrew the locknut and the nut of the right fastening of the panel to the frame cross member with a 17 wrench
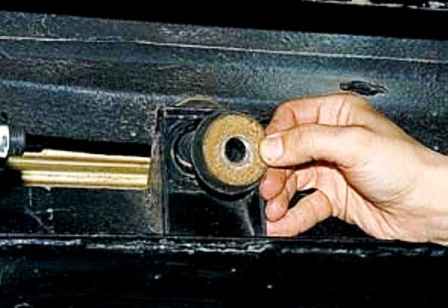
Remove the lower rubber-metal cushion
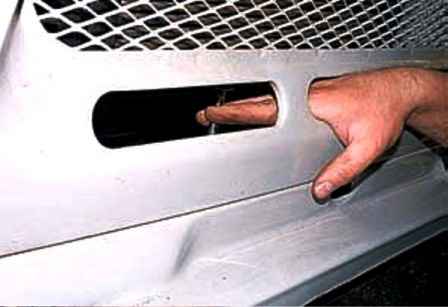
Remove the panel mounting bolt
In the same way, remove the elements of the left fastening of the panel to the frame
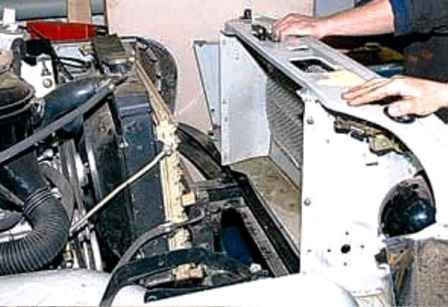
Remove the front panel
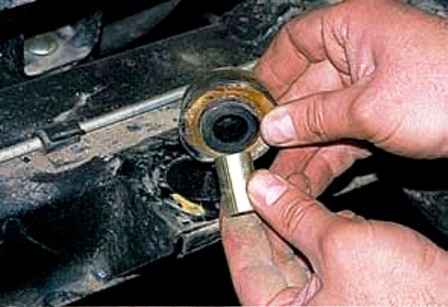
Remove the upper rubber-metal cushions with bushings
Install the front panel in reverse order
Windshield replacement
Remove the rear view mirror
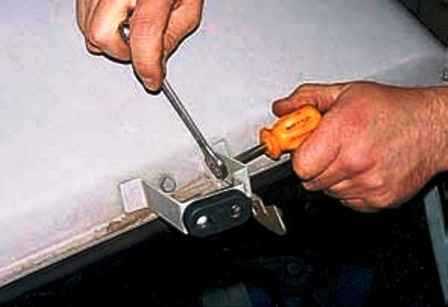
Holding the screw with a screwdriver from turning, unscrew its nut with a 10 wrench
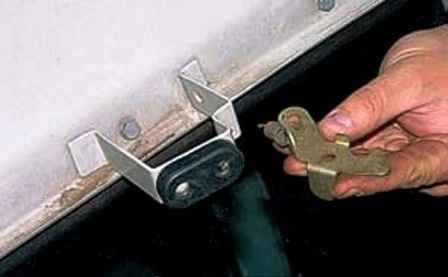
Remove the hood latch
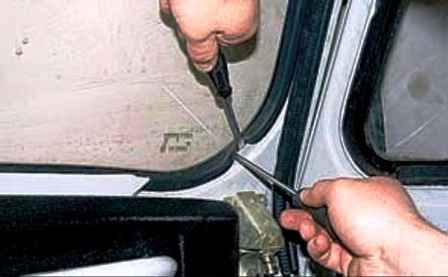
With one slotted screwdriver, pry off and move the edge of the rubber windshield seal behind the flanging of its frame
Holding the seal in this position, with another screwdriver we continue to remove the seal from the flanging from the started section up
When a few centimeters of sealant have been removed from the flange, the first screwdriver can be removed
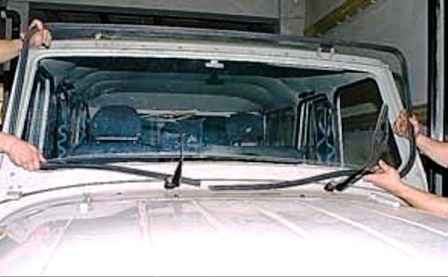
Thus, having freed the two side and upper edges of the glass, gently squeeze the glass out of the opening from both sides at the same time and remove it
Install the windshield in the following sequence:
- we put a sealant on the glass;
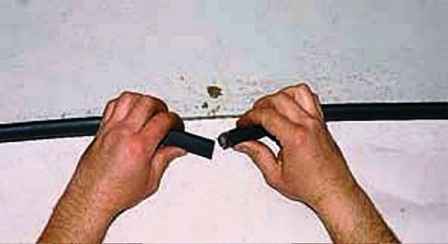
In this case, the joint of the seal should be in the middle of the lower edge of the glass
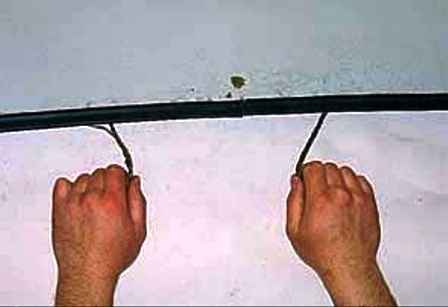
We tuck a cord into the slot of the seal, the ends of which are overlapped in the area of the junction of the seal
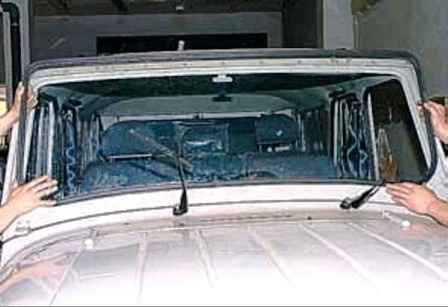
Apply the glass to the opening and center it
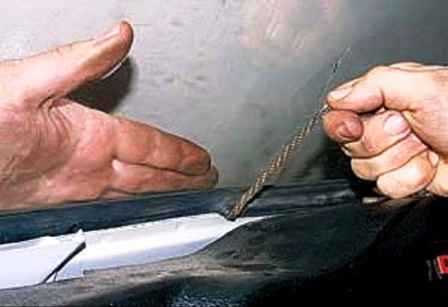
Slowly pull the cord out of the slot of the seal. At the same time, the assistant gently presses the glass to the opening, keeping it from moving
In this way, we first put the seal on the lower section of the frame flanging (from the middle to the edges), then on the side sections
From above, we put the sealant on the flanging, moving from the edges to the middle.
After the glass is inserted, in the cabin, with our fingers around the perimeter, we press on the seal, "helping" it sit deeper on the edge of the glass frame
Removing the outside rear-view mirror
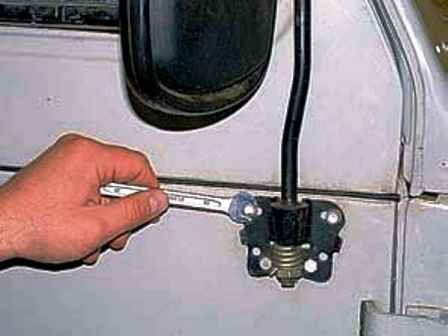
We unscrew the four bolts securing the mirror to the car door with a 10 key and remove the mirror
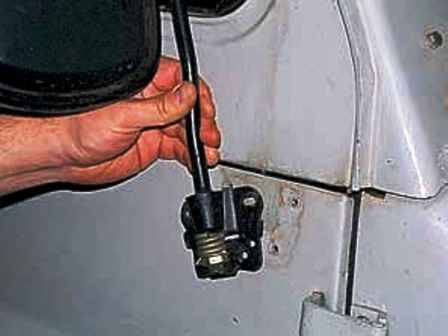
Install the mirror in reverse order


