In the article, we will consider the removal of the axle shaft, the replacement and adjustment of the hub bearings, the removal of the rear axle
Removing the axle shaft
Hang out the rear wheel or the entire rear axle and remove the rear wheel for convenience
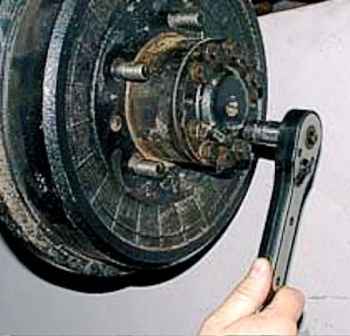
We unscrew the head for 14 ten bolts securing the axle shaft flange to the hub
We bait M10 threaded bolts into two threaded holes of the flange
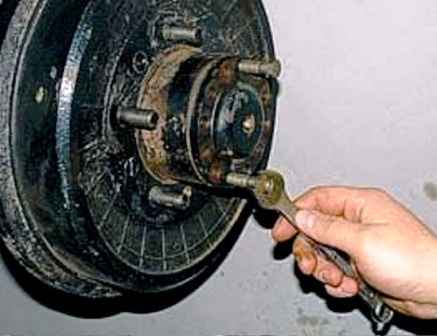
We evenly tighten the bolts, tearing off the axle shaft flange from the hub, and take out the axle shaft
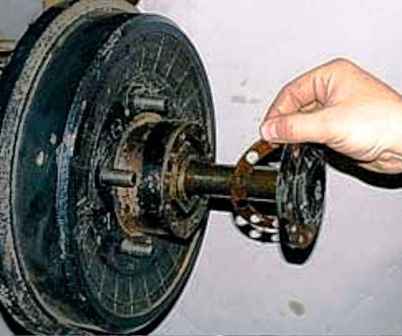
Paper gasket installed between hub and flange
Install the half shaft in reverse order
Adjusting the wheel bearings
Hang out the rear wheel and remove the axle shaft as above
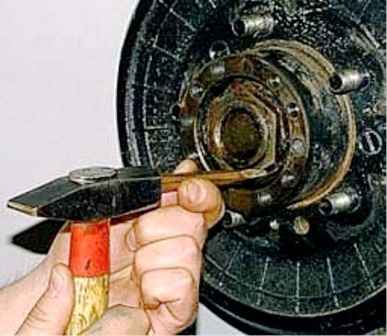
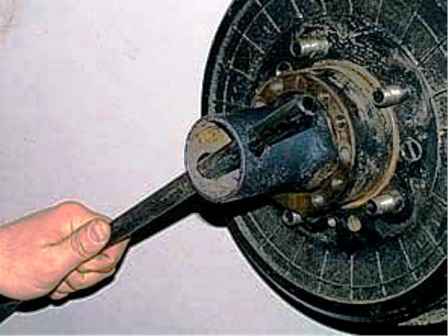
Bend the edge of the lock washer with a chisel
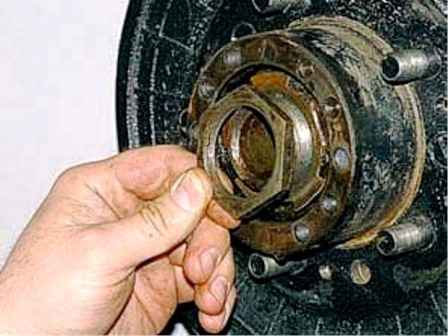
Using a 55 mm tubular wrench, unscrew the bearing locknut and remove it
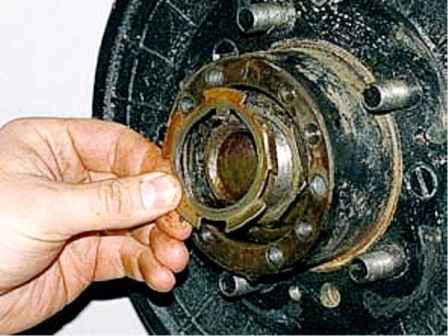
Pry off with a screwdriver and take out the lock washer.
It is installed with a folded mustache outward
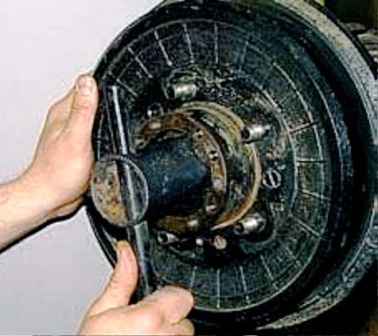
We turn the adjusting nut of the hub until it stops, constantly turning the hub by hand to self-align the rollers in the bearings
Unscrew the adjusting nut 1/4–1/3 turn.
Install the lock washer, screw on and tighten the locknut
Check the bearing adjustment by rotating the hub by hand.
It should rotate freely, without jamming, clicking or play
Similarly, we adjust the hub bearings of other wheels
With a chisel, we bend the edge of the lock washer onto the edge of the locknut.
We finally check the correctness of the bearing adjustment by driving 5–10 km without heavy braking
If the hub gets very hot (the hand does not tolerate), loosen the adjusting nut by 1/6 turn, as indicated above
If the hub continues to heat up while driving, the bearings may be damaged or lacking lubrication
Replacing bearings and hub seal
Remove the axle shaft as above
Unscrew the hub locknut and remove the lock washer
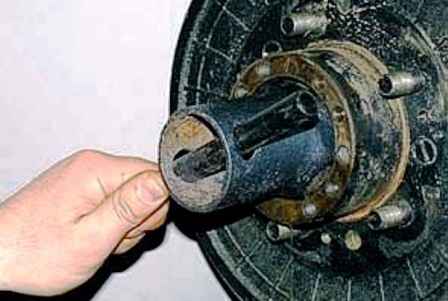
Using a 55mm tubular wrench, unscrew and remove the bearing adjusting nut
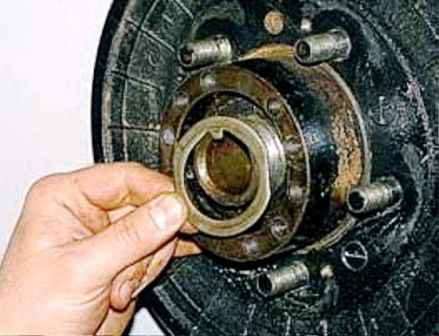
Pry off with a screwdriver and remove the lock washer
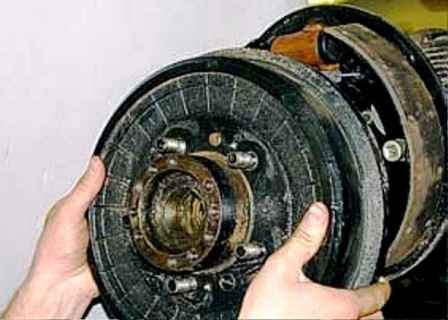
We pull the hub together with the bearings and the brake drum from the axle housing
If the brake pads interfere with removing the hub, then by rotating the eccentric bolts, we bring the pads together
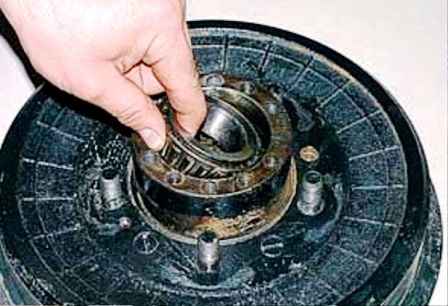
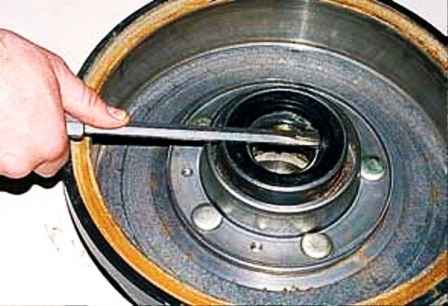
Removing the roller bearing inner race
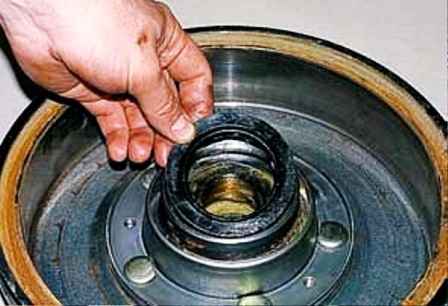
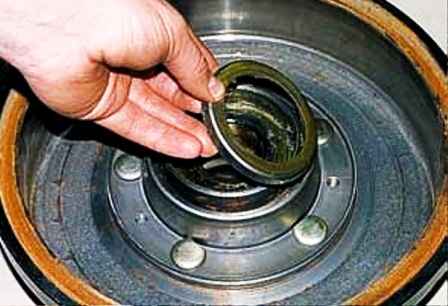
Use a screwdriver to pry off and remove the hub cuff
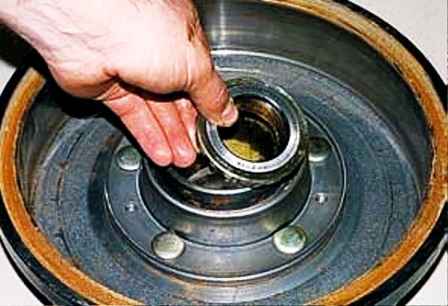
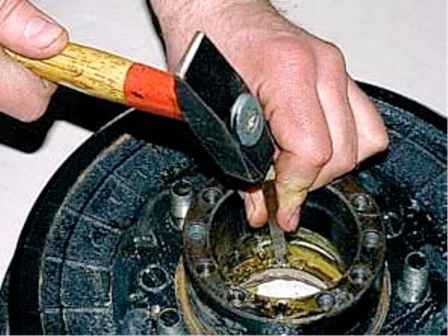
We remove the spacer ring installed under the cuff and the inner ring of the inner bearing
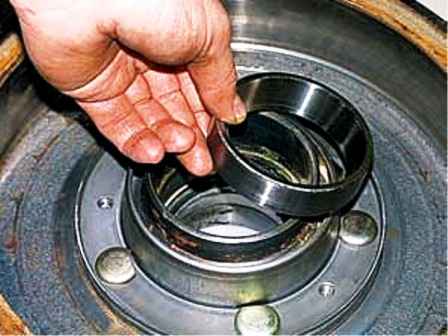
Using a soft metal drift, we press the outer ring of the inner bearing out of the hub with a hammer and remove the ring
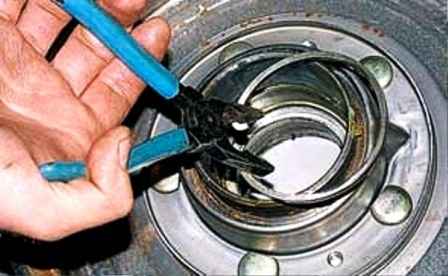
Pliers squeeze the ends of the retaining ring of the inner bearing and remove the ring
Similarly, we press out the outer bearing ring and remove the retaining ring
We wash the inner cavity of the hub and other parts with kerosene or diesel fuel
Lubricate the bearing seats with gear oil
We install the bearings in the reverse order, abundantly covering their rings and rollers with Litol-24 grease or another
We put the same grease between the bearings with a layer 10–15 mm thick
Installing the hub and adjusting the bearings
Remove the rear axle
Loosen the rear wheel nuts
We hang out the rear of the car and install reliable stops under the car frame in front of the rear axle
Drain the oil from the gearbox
Remove the rear brake hose
Disconnect the cardan shaft from the bridge
Remove shock absorbers
We install jacks under the beam of the bridge.
We unscrew the nuts of the stepladders of the springs, remove the lining and lining of the springs
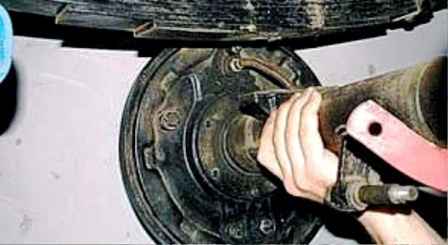
Having removed the wheels, lower the rear axle onto the trolley and roll it out from under the car
If there is no trolley, the bridge can be rolled out on its own wheels (we do not remove them for this)
Install the bridge and removed parts in reverse order
Pour oil into the final drive gearbox and bleed the brake system
The nuts of the stepladders of the springs are finally tightened in the “car on wheels” position
Rear axle dismantling
For the convenience of working in advance:
- - remove both axle shafts;
- - remove and disassemble the rear wheel hubs
Removing the bridge
We disassemble the final drive gearbox, assemble it, adjust the bearings and the clearance in the engagement of the main gear gears
It should be remembered that the main gears of axles without wheel gears are not subject to checking and adjusting the engagement along the contact patch
Wheel gearboxes do not require adjustment during repair and during operation.
We assemble and install the bridge in reverse order
Interchangeability of drive axle gears
If the final drive gears (pairs) in the front or rear axles are worn out, do not rush to buy new ones.
The fact is that the gear teeth wear out in the front and rear axles from different sides.
Therefore, if the pairs in the set are swapped, the unworn sides of the teeth will come into play.
In addition, the front axle gearbox generally wears out much less, because it works less often.
Fixing an oil leak between the axle shaft and the hub
If oil constantly flows between the rear flange her half shaft and hub (with a good gasket) and, in addition, the bolts of the half shaft are unscrewed - do not try to “tightly” tighten them, because this will not help.
Better try to properly adjust the clearance in the hub bearings.
All mentioned faults, including the risk of damage to the axle shaft, will disappear.


