
We remove the rocker arm axis when removing and repairing the cylinder head
Remove the cylinder head cover, as indicated in the article "How to adjust engine valve clearances"

Using a 13 head, unscrew the two nuts securing the extreme racks of the rocker axis

With a head of 17, we evenly loosen and unscrew the four nuts securing the main racks of the rocker axis

Remove the rocker axle from the studs

We take out eight pusher rods and lay them out in order so that they can be installed in their original places during assembly
Disassembly of the rocker shaft (when replacing the valve stem seals, this is not necessary)

Unpin the axle support with pliers

Removing the support

Remove two washers

Remove the valve rocker

Then we remove the next support, rocker, spring, etc., lay out the parts in order
Assemble the rocker axle in reverse order

The rear support has a hole for supplying oil inside the axle and to the rocker arms. When installing the assembly, the hole of this support must coincide with the oil supply channel in the cylinder head
Replacing oil seals
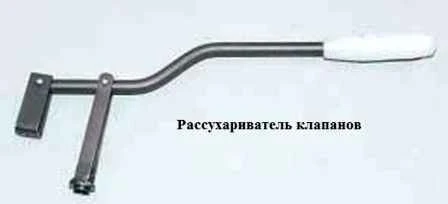
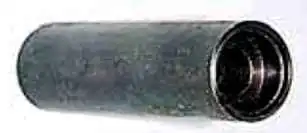
To replace the oil seals, you will need a mandrel and a valve cracker

We set the piston of the first cylinder to the TDC position, as we did in the article " How to adjust the engine valve clearances".
Remove the air filter housing
Remove the rocker axle as above
Unscrew the spark plugs
We screw the nut onto the stud of the rocker axle support

Insert a bar of soft metal (solder) through the candle hole between the valve and the piston

Having installed the valve cracker, compress the springs and take out two valve crackers with tweezers

Remove the plate

Take out two springs

Special tongs

Or by prying with a screwdriver, remove the oil seal
It must be done carefully, without damaging the cap seat with a screwdriver

If necessary, remove the lower spring plate

We install the lower spring plate and, using a special mandrel, with light blows of a hammer, press a new oil cap onto the valve guide
It must be taken into account that the guide sleeve is made on a cone and there is no limit stop for the oil seal cap on it, so it is easy to make a mistake and fit the cap deeper than it should.
In this case, the sleeve will burst the working part of the cap, and it will not retain oil
In the same way, we replace the valve caps of the first and fourth cylinders, and then, turning the crankshaft 180 °, we replace the caps of the second and third cylinders.
Assemble all the parts in reverse order.

")
")
")
")
")
")
")
")