We remove the cylinder head to replace the gasket between the head and the cylinder block, as well as for repair
Preparing the car for the task
Draining the coolant from the engine cooling system
Remove the carburetor
Remove the intermediate lever with the carburetor control rods
Disconnect the vacuum brake booster hose
Disconnect the exhaust pipe from the exhaust manifold
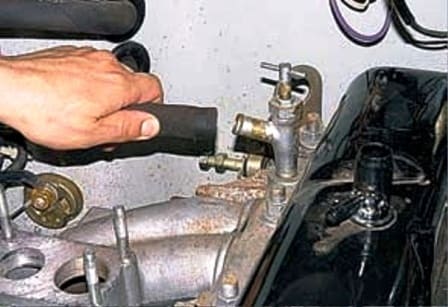
Disconnect the hose from the heater tap
Remove the tips of the high-voltage wires from the spark plugs
Remove the drive belt from the brake booster pump pulley
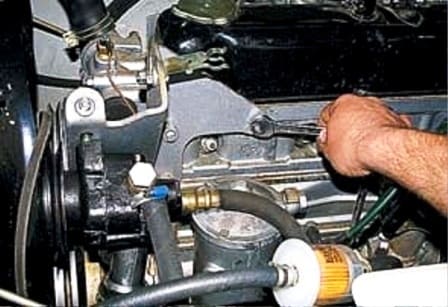
Using a 13 wrench, unscrew the rear fastening nut of the power steering pump bracket
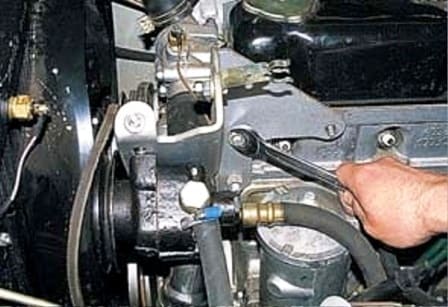
Using a 17 key, unscrew the two nuts of the front fastening
Remove the bracket together with the pump
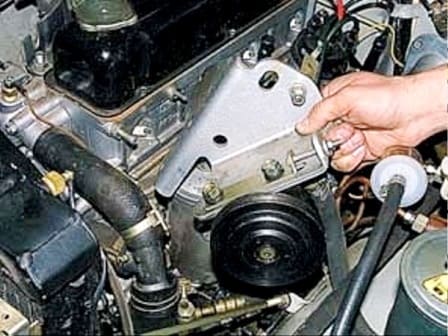
Disconnect the wire tip from the temperature gauge sensor and the coolant overheat indicator
Remove the upper radiator hose
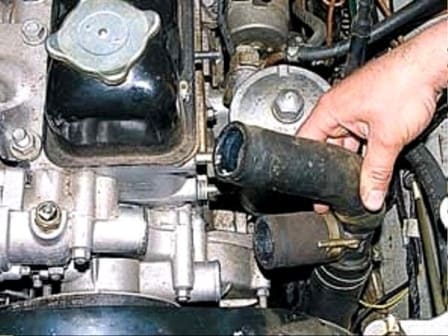
Disconnect the hoses from the thermostat housing
Remove the rocker axle and take out the push rods
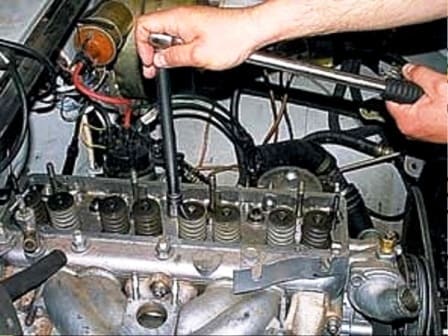
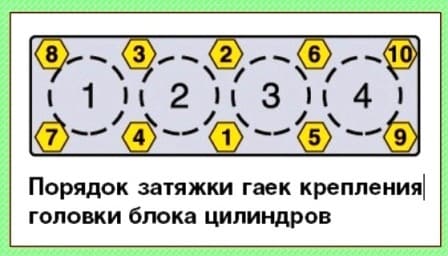
Using the head at 17, in the reverse tightening sequence, evenly unscrew the nuts securing the cylinder head
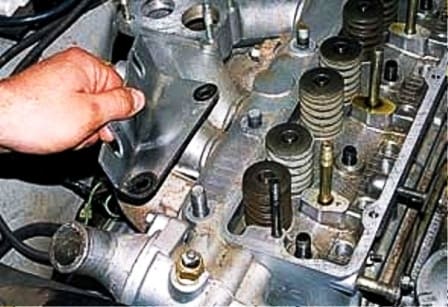
Remove the air filter housing mounting bracket from the studs
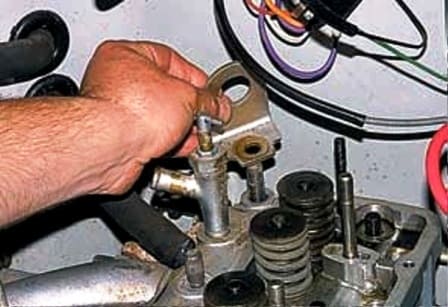
Remove the mounting eye
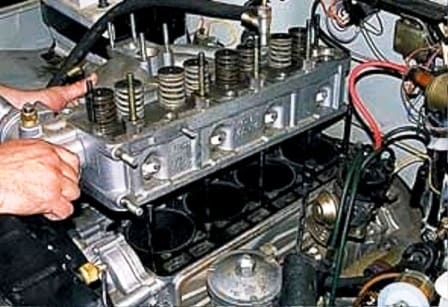
Remove the cylinder head
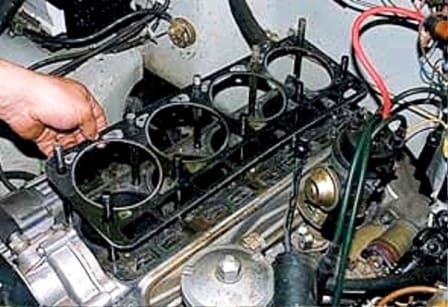
Remove the cylinder head gasket and clean it thoroughly
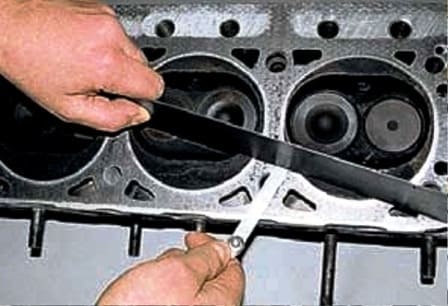
Using a ruler and a feeler gauge, we check the flatness of the block head.
Apply a ruler to the plane of the head in two diagonal directions
The measurement gap should be no more than 0.1 mm
If the gap exceeds this size, then it needs to be ground ovat or replace
When installing the head, you need to put a new gasket, rubbing it on both sides with graphite powder
The thread of the studs must be lubricated with graphite grease or SHRUS-4

Tighten the head according to the picture. Tightening torque 9-9.4 kgcm
Cylinder head disassembly
Remove the cylinder head as described above
Remove the intake manifold and exhaust manifold as described in the article "How to remove the intake and exhaust manifold of an engine»
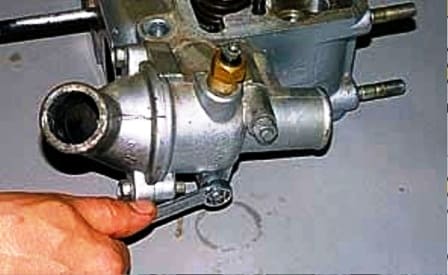
Using a 13 wrench, unscrew the two nuts securing the thermostat housing
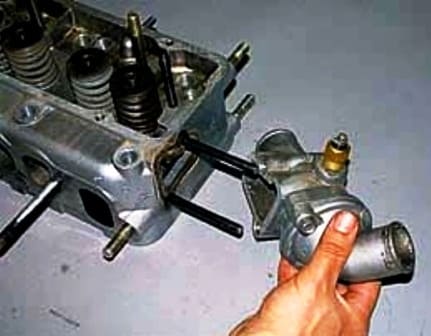
Remove the thermostat housing
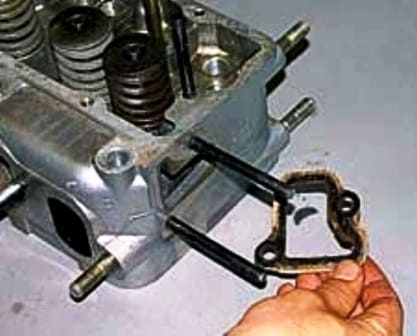
Remove the gasket
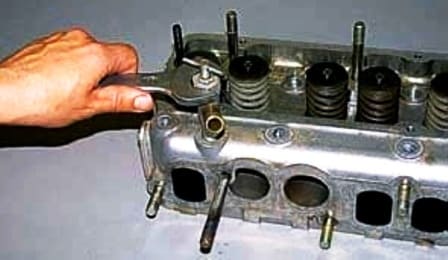
Use a 24 key to unscrew the heater tap
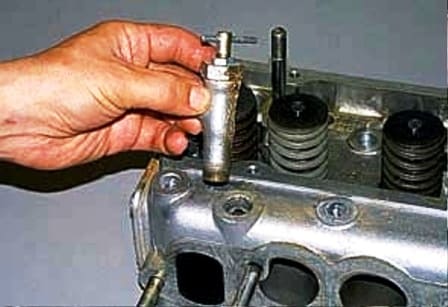
Remove the heater tap
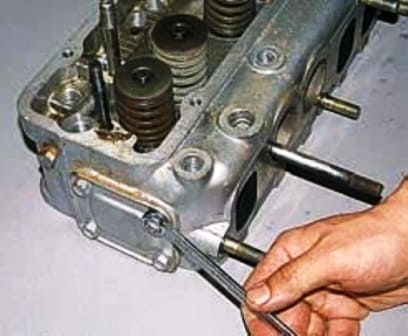
We unscrew the four bolts with a key for 12 fastening the rear cover of the head of the block
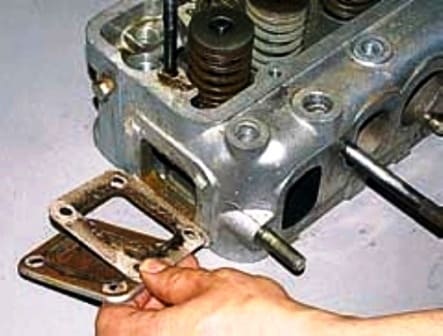
Remove the cover with the gasket
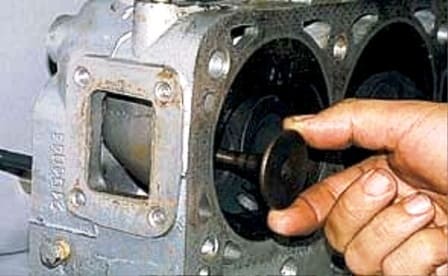
Dry out the valves and remove the valve stem seals
Remove the valve from the guide sleeve
Lapping valves
We grind the valves when replacing them or installing them in a new cylinder head
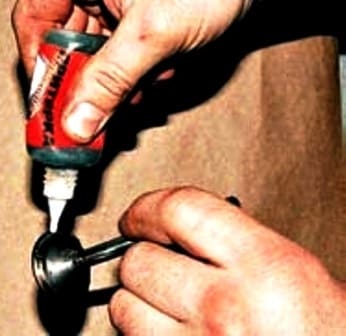
Apply lapping paste to the valve chamfer and install it in the corresponding head sleeve
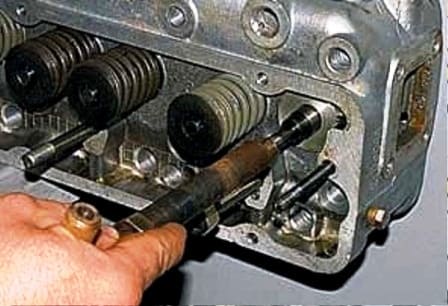
We fix the lapping tool on the valve stem and, pressing the valve against the seat, turn it in both directions
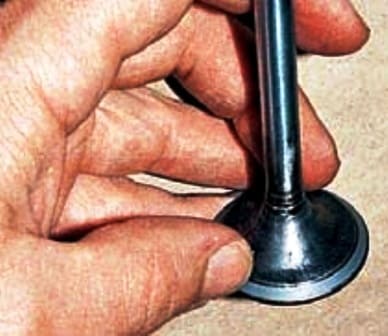
We continue lapping until the sealing chamfer of the valve completely over the entire width and length becomes dull and clean
The chamfer on the valve seat should also look like
We wipe the rest of the paste with a rag from the valve and seat
We install the valve and its fastening parts on the one hundred and replace the oil seal
In the same way we grind all the valves


