Replacement of fuel system filters according to the technology is provided after 16,000 km of run, and air filter after 8,000 km
But, of course, given the operating conditions, it is necessary to perform filter replacement operations much earlier
Replacing the air filter element
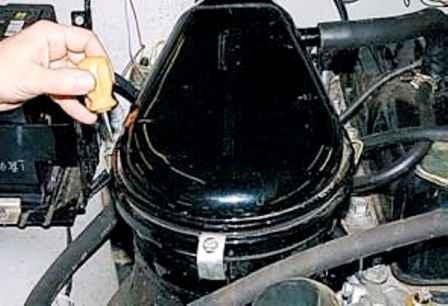
Using a screwdriver, loosen the three tie bolts
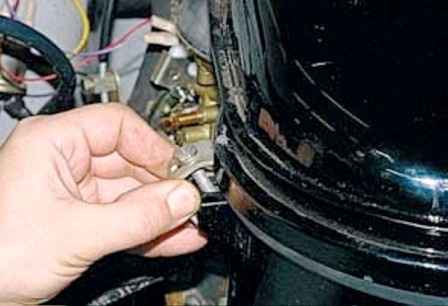
Remove the brackets from the flanging of the cover flange
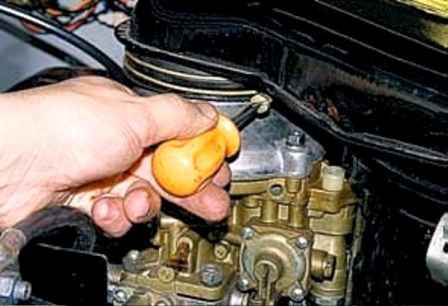
Loosen the clamp of the rubber coupling of the cover
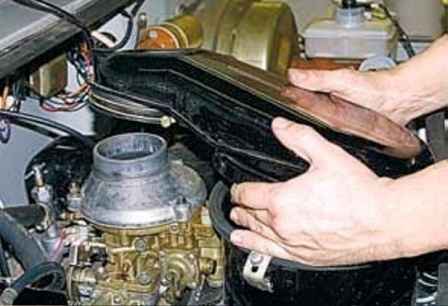
Remove the cover from the adapter mounted on the carburetor and remove it from the body
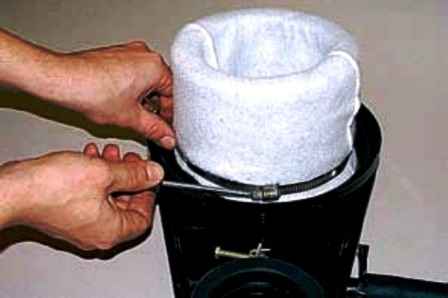
Weaken the clamp of the filter element and remove the element from the cover
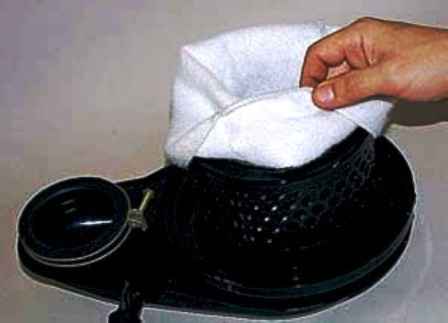
We wash the filter element in water with detergent (washing powder, soap, etc.), rinse it in clean water and dry without wringing.
The filter element can be washed in this way no more than 15 times, after which we replace it with a new one.
We replace the element in case of breaks and other damages on it.
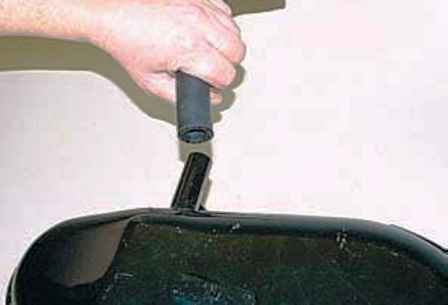
To flush the flame arrester grid and the internal cavity of the covers, remove the crankcase ventilation system hose from the nozzle
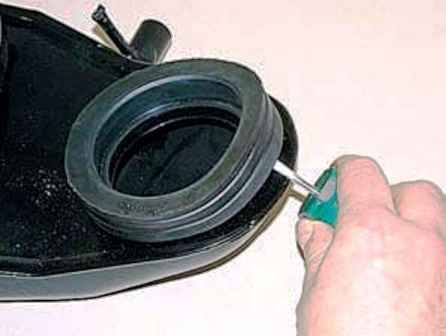
Pry off with a screwdriver and remove the clutch
Pour 0.2 l of kerosene or white spirit into the cavity of the lid and, shaking the lid, wash the flame arrester grid.
Then we drain the liquid, wipe it with a rag and blow the inside of the lid with compressed air.
Wipe the inside of the filter housing with a damp cloth.
Install the filter element and assemble the air filter in reverse order.
Removing the air filter housing
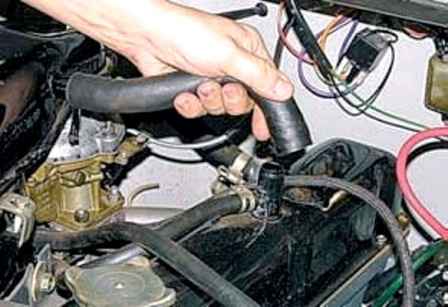
Remove the crankcase ventilation system hose from the pipe of the cylinder head cover
Remove the air filter cover as described above
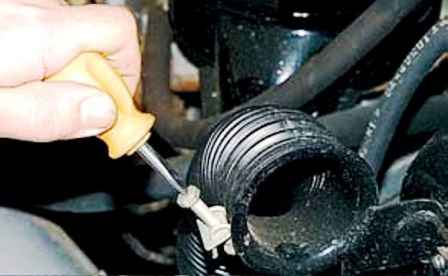
Loosen the air intake hose clamp with a screwdriver
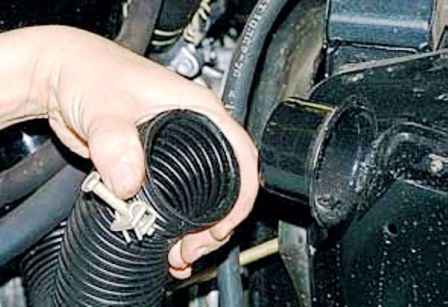
Remove the hose from the air intake
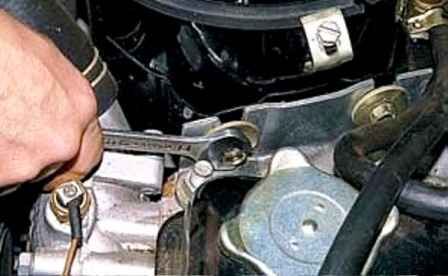
Using a 14 wrench, loosen the two bolts securing the air filter housing to the cylinder head bracket
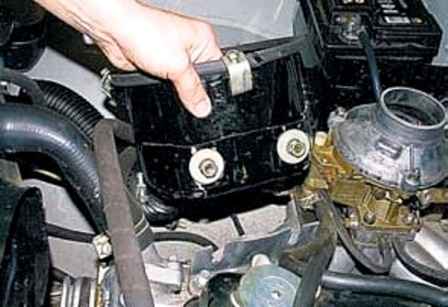
Remove the air filter housing together with the air intake hose
Install the filter in reverse order
Replacing the fine fuel filter
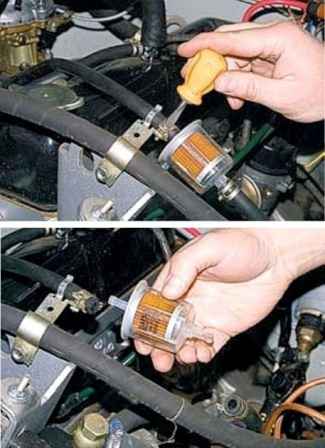
To replace the non-separable filter, loosen the hose clamps with a screwdriver
Disconnect the hoses from the filter and remove it from the car
Install the new filter so that the arrow on its body corresponds to the direction of fuel flow
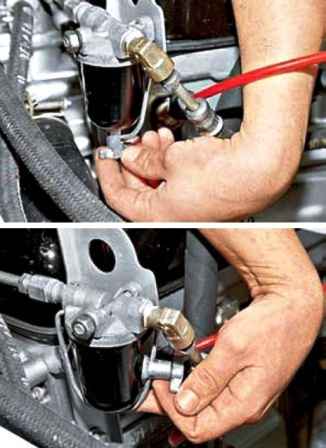
In the event that a collapsible fuel filter is installed on the car
We unscrew the wing nut, at the bottom of the filter we set aside the glass holder
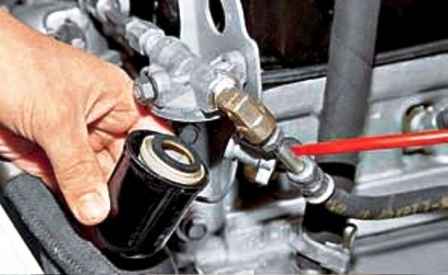
We take out the glass, drain the remaining fuel, take out the filter element and the spring
We wash the removed parts in a solvent
Assembling all the parts in reverse order
Removing and disassembling the sump filter
We install the car on a lift or a viewing ditch
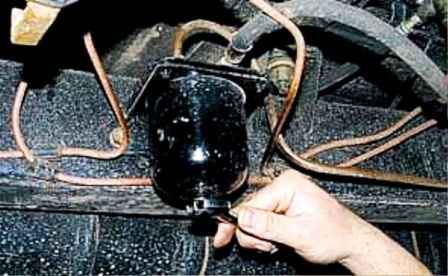
We unscrew the drain plug of the sump filter with a 17 key and drain the gasoline into the prepared container
Put the cork back in place
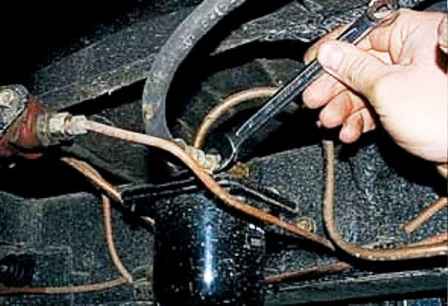
Using a 14 wrench, unscrew the nut of the inlet hose fitting and disconnect the hose
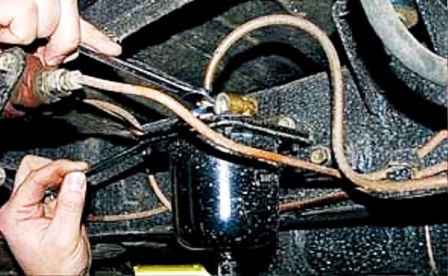
Using a 14 wrench, unscrew the nut of the outlet fuel line fitting, holding the fitting with a 17 wrench
Disconnect the tubes from the sump filter
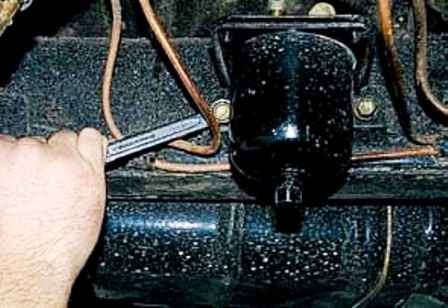
We unscrew the two bolts of the sump filter bracket to the frame side member with a 14 key
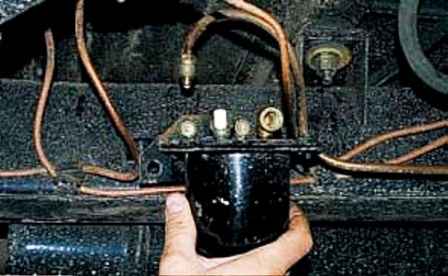
Remove the filter together with the bracket
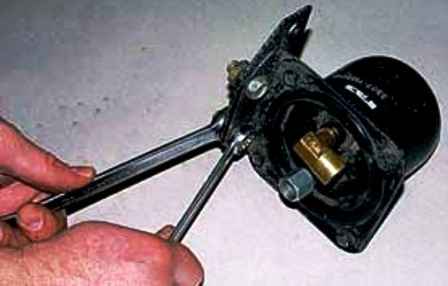
We unscrew the two nuts with a 17 wrench, holding the bolts with a 14 wrench
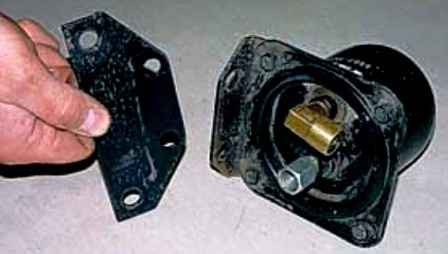
Remove the bracket plate
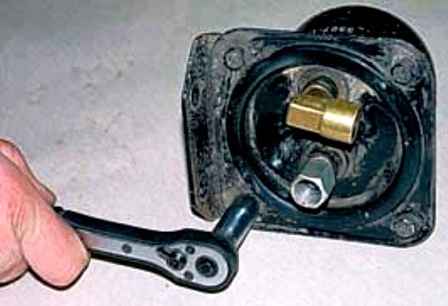
Using a 10 head, unscrew the four bolts securing the bracket to the filter housing
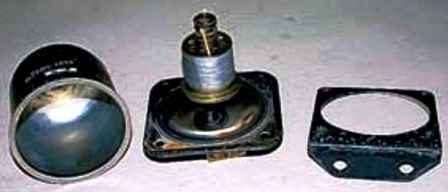
Disconnecting the parts of the filter
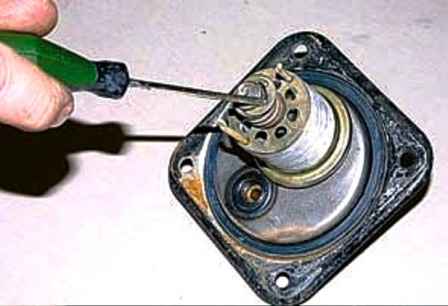
Use a screwdriver to pry off and remove the locking ring
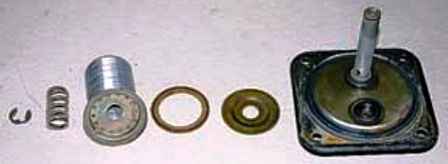
Disassembling the filter element
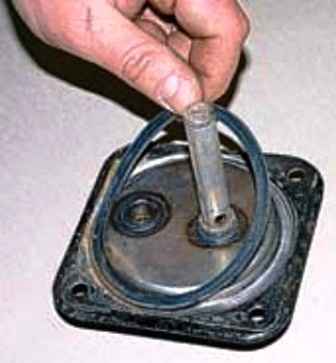
If the rubber sealing ring is damaged, then we replace it
We wash all the parts, assemble and install the sump filter in reverse order
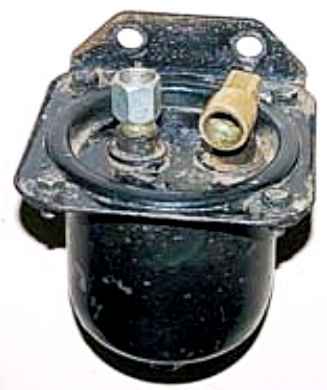
The bracket is attached to the sump filter housing, as shown in the figure


