The engine is dismantled for overhaul. Conditionally, the engine has already been removed from the car.
Motor mounts removed and engine mounted on a frame or stand
Remove the ignition module and the knock sensor for this:
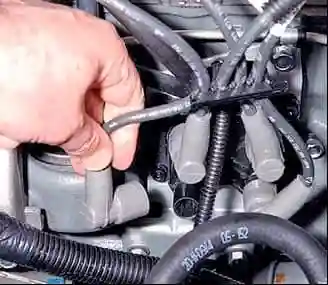
Remove the tips of the high-voltage wires from the coil leads
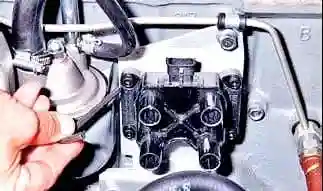
We unscrew the four screws securing the coil using a hexagon 5.
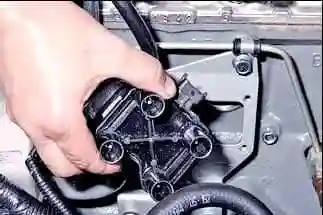
Remove the ignition coil
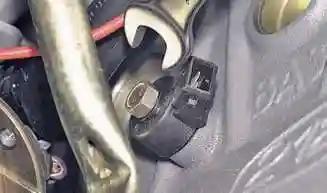
Using a 13 key, unscrew the sensor mounting bolt and remove the knock sensor
Remove the air conditioning compressor drive belt for this:
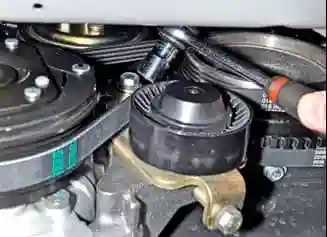
We loosen the two bolts with a head of 13 fastening the tension roller bracket
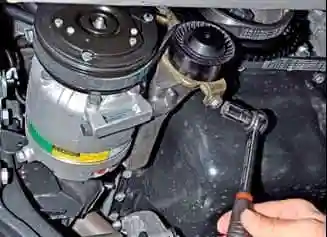
Turn the adjusting bolt counterclockwise with a 13 head.
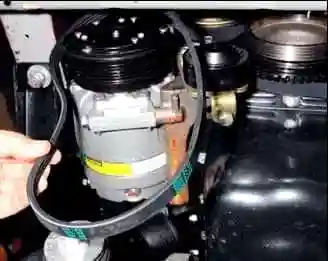
And remove the belt from the roller and compressor pulley
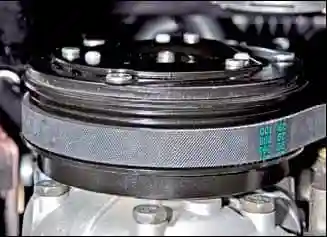
When installing the belt, take into account that it is located closer to the inner edge of the compressor pulley
Remove the accessory drive belt for this:
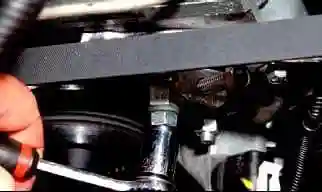
With a 13 head, we loosen the tightening of the three nuts securing the tension roller bracket
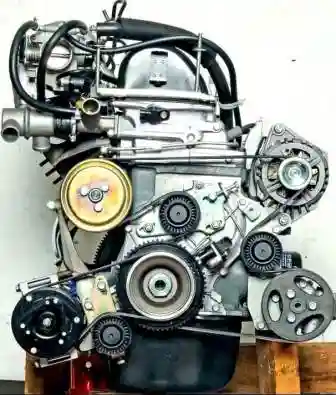
You can see the location of the belts in the photo.
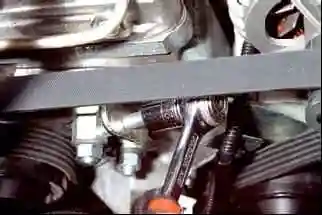
Turn the head on the 13th adjusting bolt counterclockwise and loosen the belt
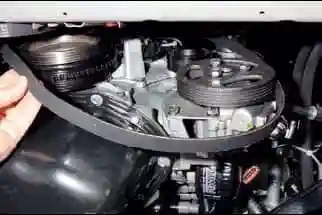
Remove the belt from the tensioner
Remove the generator for this:
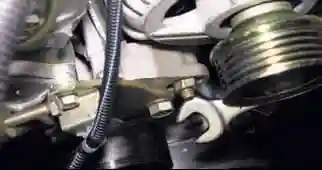
Using a 13 key, we unscrew the nut of the lower mounting bolt of the generator
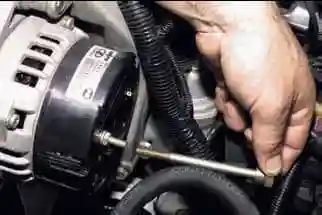
Remove the bolt
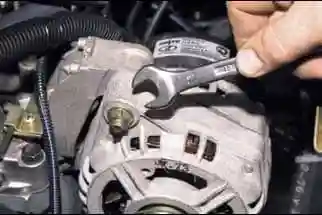
We unscrew the nut of the bolt of the upper fastening of the generator
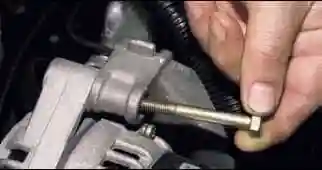
Holding the generator, remove the bolt
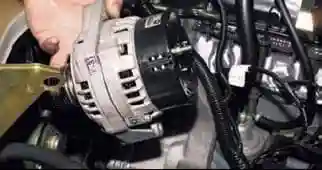
Remove the generator.
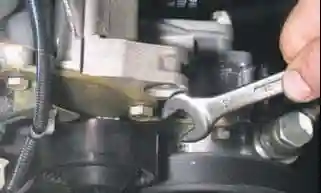
Remove the generator bracket for this: with a 13 key, unscrew the bolt securing the plate to the bracket
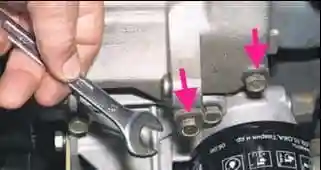
We unscrew the two bolts of the lower bracket mounting
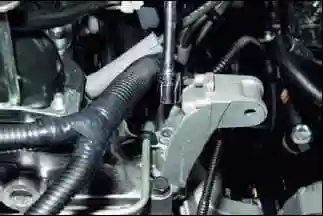
With a head of 13, we unscrew the bolt of the upper mounting of the bracket
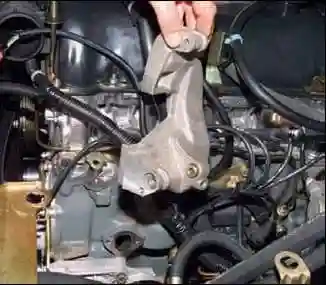
Remove the generator bracket
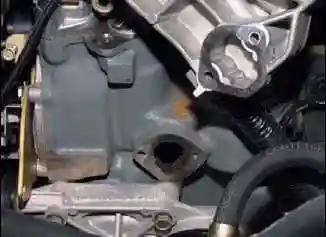
Remove the gasket between the bracket and the block
Remove the power steering pump and oil filter bracket for this:
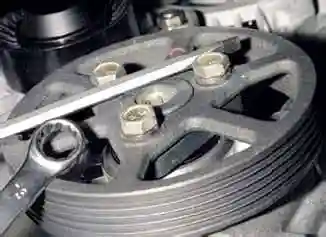
With a screwdriver, hold the pulley from turning and loosen in turn the three bolts securing the pump pulley
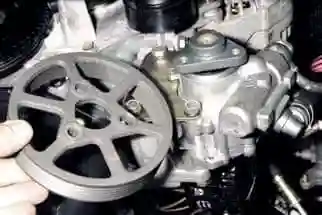
Remove the pulley
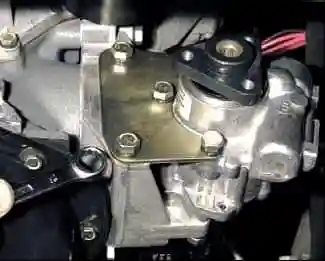
Using a 13 spanner, unscrew the bolt of the lower fastening of the pump plate
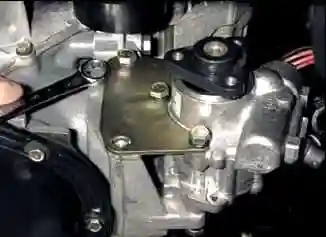
Unscrew the upper plate mounting bolt
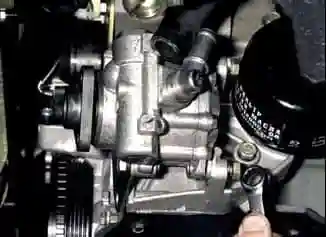
Using a 13 key, we unscrew the bolt of the lower mounting of the pump to the oil filter bracket
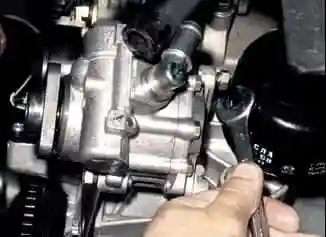
We unscrew the bolt of the upper pump mount
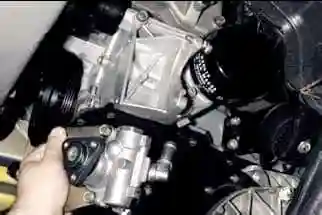
Remove the pump together with the plate.
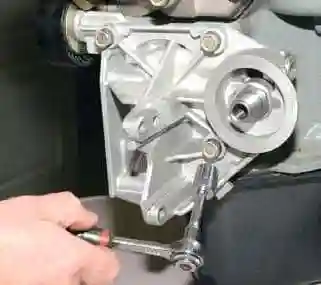
With a 13 head, we unscrew the three bolts securing the oil filter bracket to the block
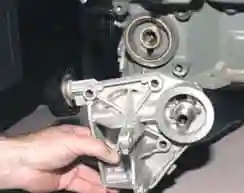
Remove the support roller bracket
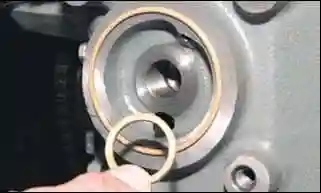
Remove the O-rings
We remove the oil separator of the crankcase ventilation system, the pan and the oil pump, for this:
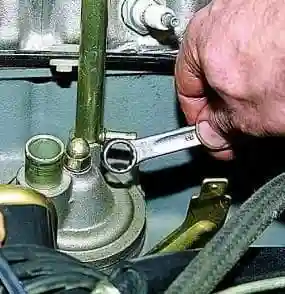
Unscrew the cap nut of the cover fastening with a 13 spanner.
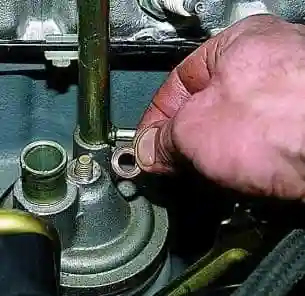
Remove the sealing copper washer.
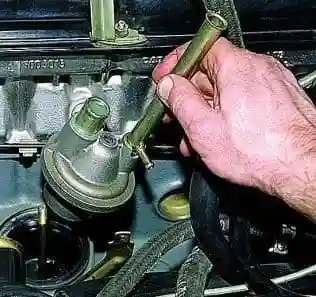
Remove the oil separator cover
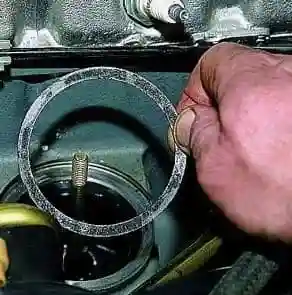
Remove the cover gasket
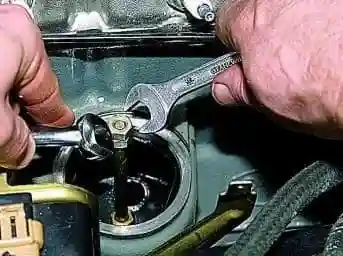
We screw two M8 nuts onto the oil separator stud, lock them and unscrew the stud
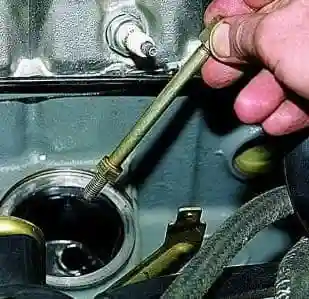
Remove the oil separator mounting pin
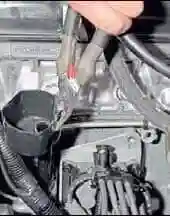
Pliers remove the oil separator from the socket of the cylinder block
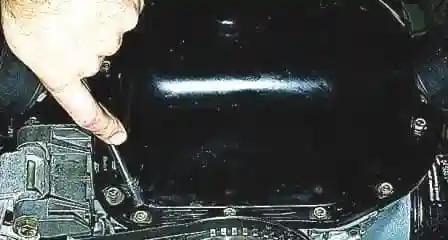
With a 10 head, we unscrew the nineteen bolts securing the oil pan to the cylinder block
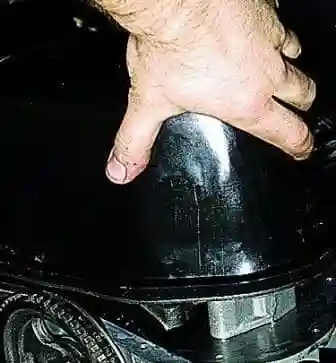
Remove the oil pan
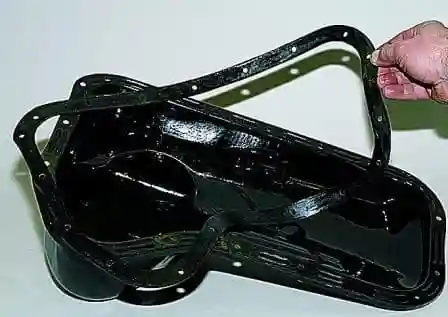
Removing the pan gasket
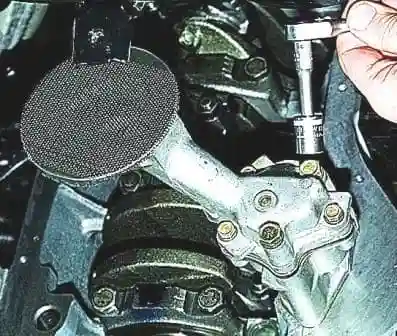
With a 13 head, unscrew the two bolts securing the oil pump to the block
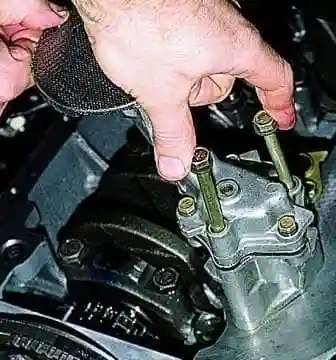
Removing the oil pump mounting bolts
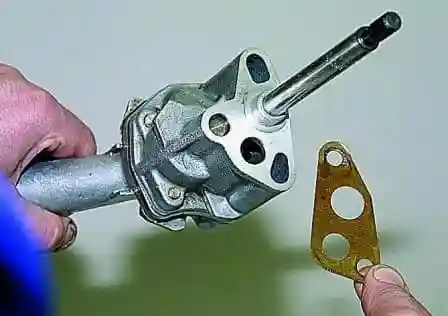
Remove the oil pump seal
Remove the coolant pump for this:
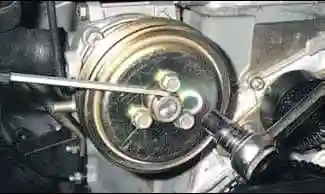
With a 13 head, we loosen the tightening of the three pulley mounting bolts.
Alternately inserting a screwdriver between the bolts to prevent turning.
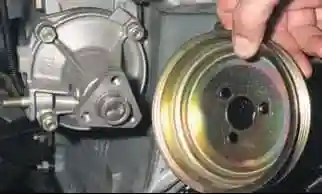
Remove the pulley
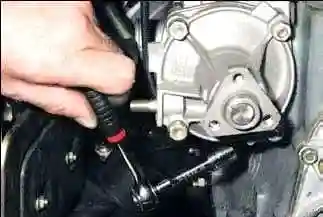
With a 13 head with an extension, we unscrew the two bolts of the lower fastening of the pump housing to the cylinder block
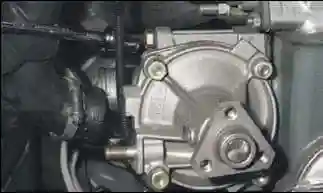
We unscrew one bolt of the upper fastening of the pump housing
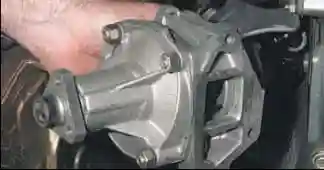
Remove the coolant pump
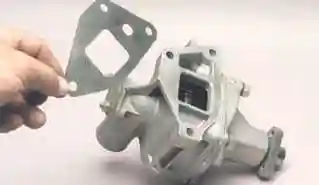
A gasket is installed under the pump housing. When installing, change the gasket
Remove the flywheel and clutch housing cover;
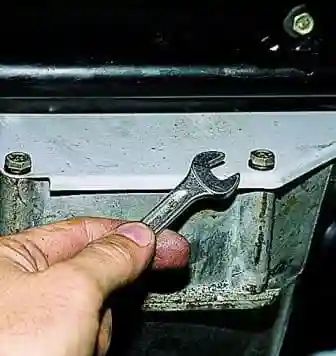
With a 10 key, unscrew the four bolts securing the clutch cover
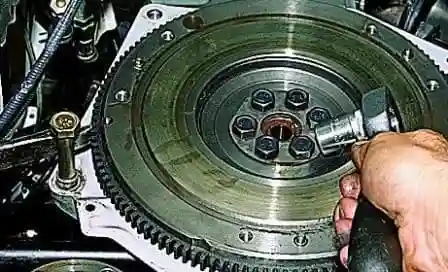
With a 17 head, we unscrew the six flywheel mounting bolts.
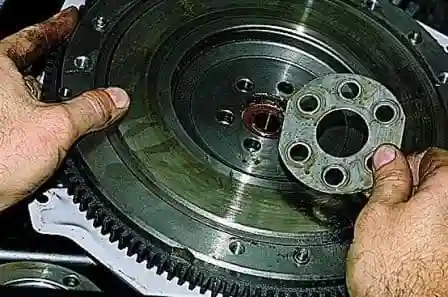
We fix the shaft from turning with a mounting blade
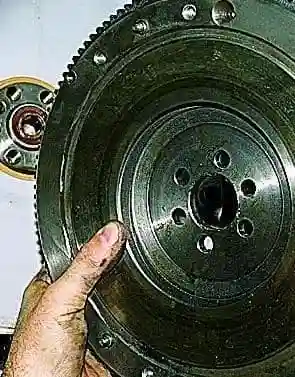
Remove the washer, remove the flywheel
Next remove the cylinder head assembly with the receiver, intake pipe and exhaust manifold;
timing chain, shoe chain tensioner, sprocket crankshaft;
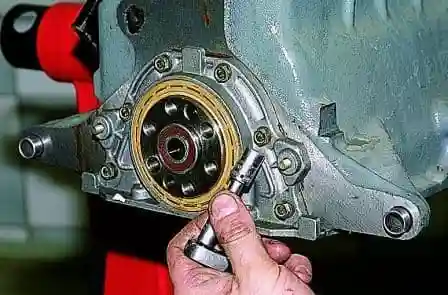
With a head of 10, we unscrew the six bolts securing the crankshaft rear oil seal holder to the cylinder block
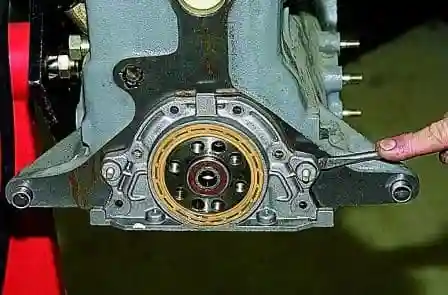
We pry off the tides of the holder with a screwdriver and remove it complete with the stuffing box.
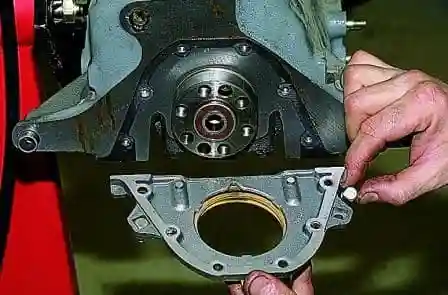
Remove two square head bolts from the stuffing box cover.
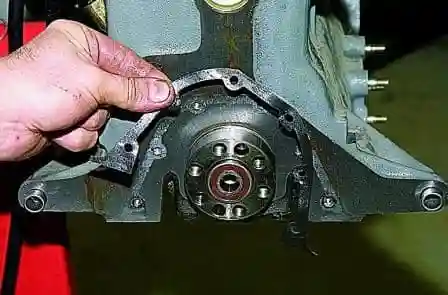
Remove the gasket
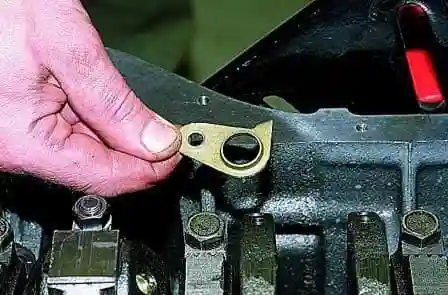
Using a 10 key, unscrew the bolt securing the bracket for the oil separator drain tube and remove the bracket.
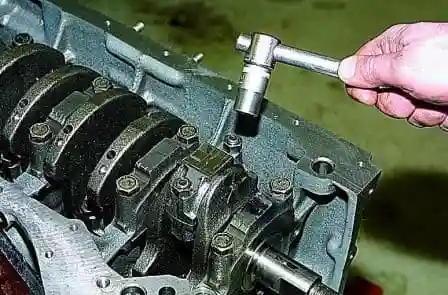
With a 14 head, unscrew the two nuts securing the connecting rod cap
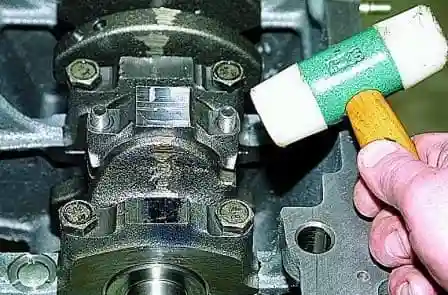
Knocking with a plastic hammer on the surfaces of the connecting rod cap
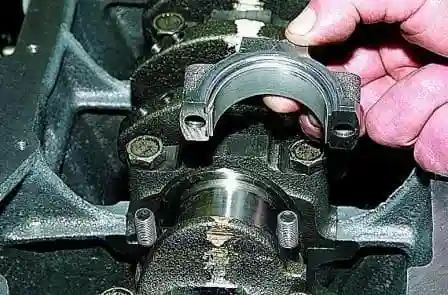
Remove the connecting rod cover
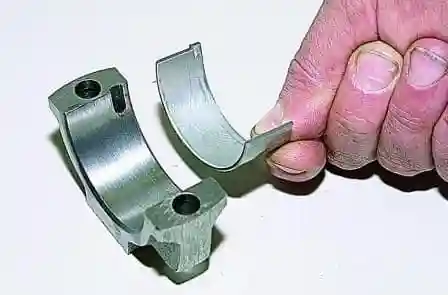
Remove the lower connecting rod
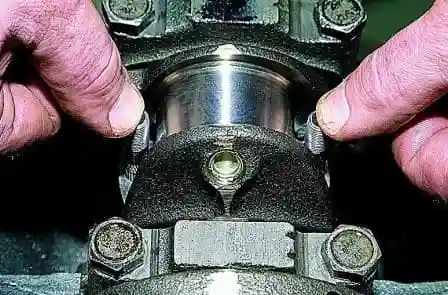
Leaning on the ends of the rods of the connecting rod bolts, we shift the lower head of the connecting rod from the crankshaft journal
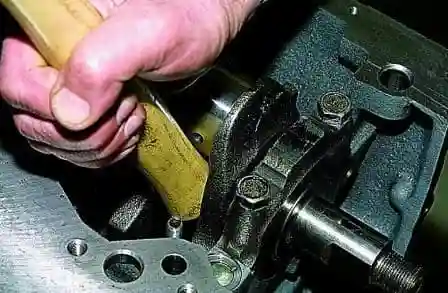
With the wooden handle of the hammer, we rest against the lower head of the connecting rod and push the piston into the cylinder.
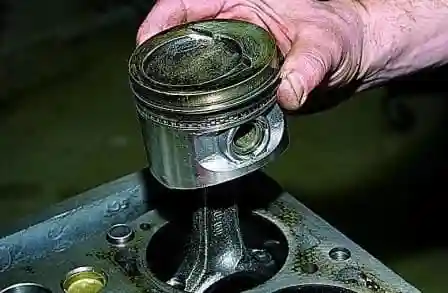
Remove the piston with the connecting rod from the cylinder. We also remove pistons from other cylinders
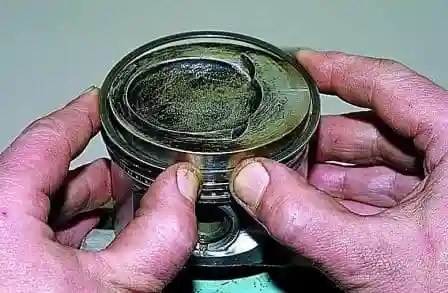
Unlock the upper compression ring
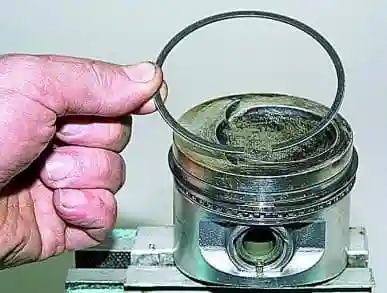
Remove the top compression ring.
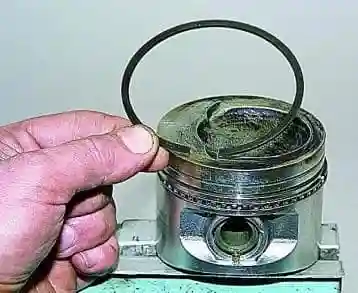
Also remove the lower compression ring
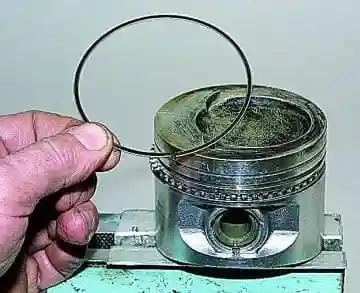
We take out two oil scraper discs.
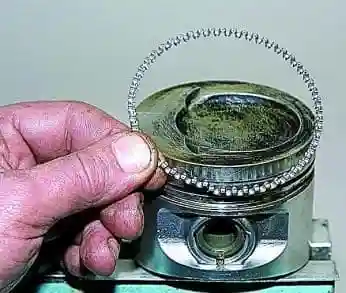
Remove the oil scraper ring expander
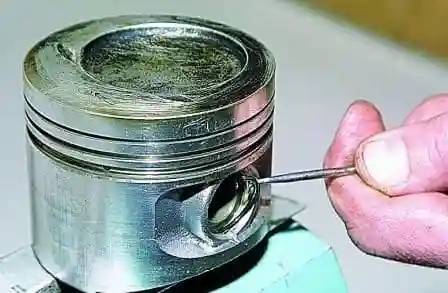
To remove the piston from the connecting rod, pry off the piston pin circlip with a screwdriver
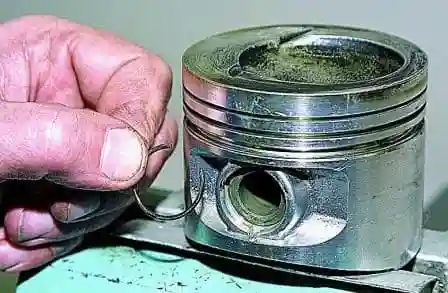
Remove the ring from the piston boss groove. In the same way, take out the second retaining ring
Sliding the piston pin, remove it from the holes in the piston and in the connecting rod head
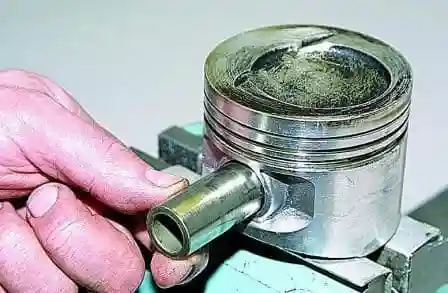
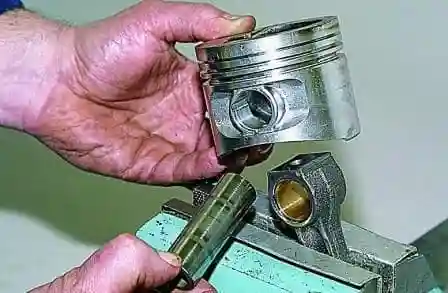
Remove the piston from the connecting rod
Using a 17 head, we unscrew the two bolts securing the crankshaft main bearing cap.
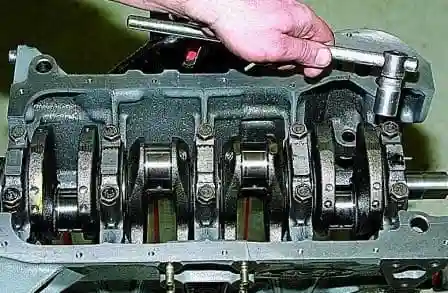
If the parts will be reused, then you need to mark them.
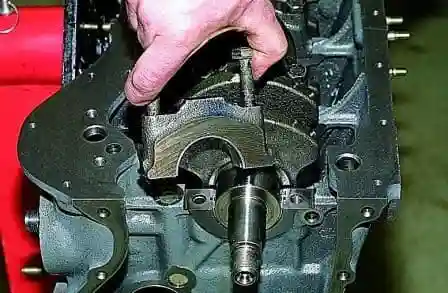
Remove the main bearing cap
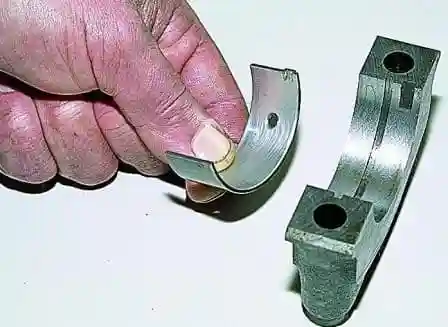
Remove the main bearing shells from the cover.
Also remove the remaining main bearing caps
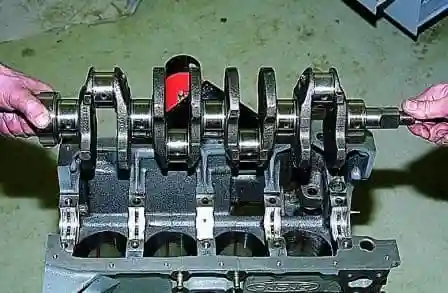
Remove the crankshaft from the block.
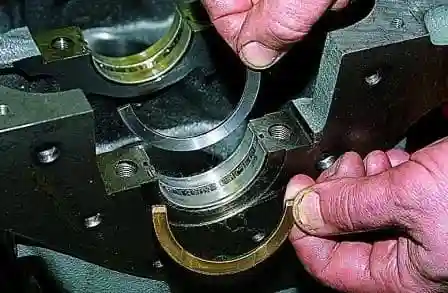
We take out the semi-rings from the grooves of the rear support of the cylinder block
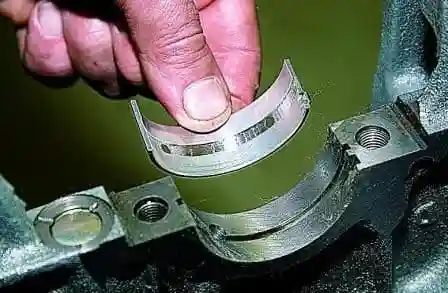
Remove the upper crankshaft main bearing shells from the cylinder block supports
Preparing the engine for inspection and defect detection


