We remove the car engine by lowering it down together with the gearbox from the engine compartment
To complete the task, you will need a lift to raise the front of the car higher.
If we are doing work in a garage, in the absence of a lift, we need a jack and strong high supports to install a raised front part of the car on them, which will make it possible to remove the engine from under it.
Tools required: wrenches for 10, 13, 16, 18, sockets for 16, 18, a set of screwdrivers, a container for coolant, hydraulic support.
We release the fuel pressure in the power system, as described in the article - "Replacing the additional Renault Duster fuel filter"
Removing the electronic engine control unit
We remove the engine crankcase protection (article - Removing the engine protection, fender liner and mudguards Renault Duster)
Drain the fluid from the cooling system
If the engine is removed for repair, drain the oil from the crankcase
We remove the subframe of the front suspension (article - Removing the subframe of a Renault Duster car)
Remove the air filter (article - Removing and installing the air intake and resonator Renault Duster)
On the K4M engine, disconnect the cable from the throttle assembly
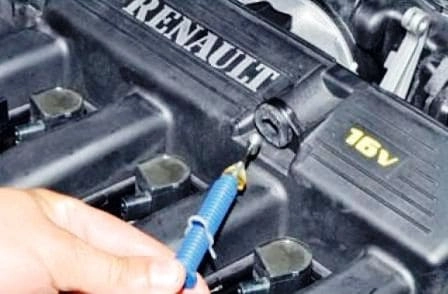
Remove the cable from the receiver bracket and take it aside
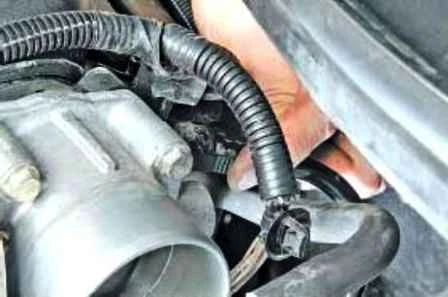
We press the clamp of the vacuum booster hose
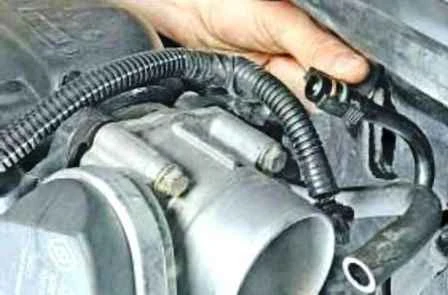
Disconnect the hose from the receiver fitting
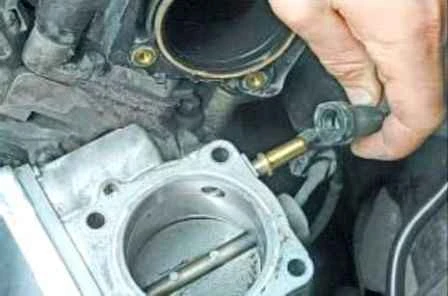
Disconnect the adsorber purge valve hose from the throttle assembly fitting
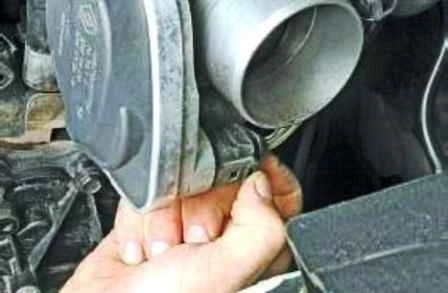
We press the clamp of the throttle position sensor wiring harness block
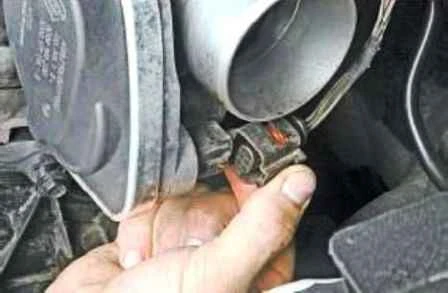
Disconnect the block from the connector
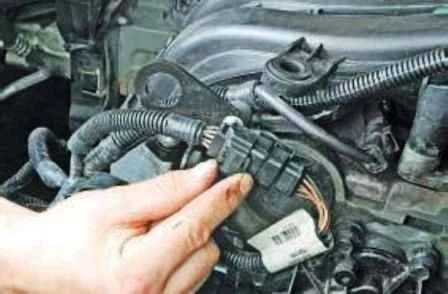
We press the retainer of the fuel injector wire block
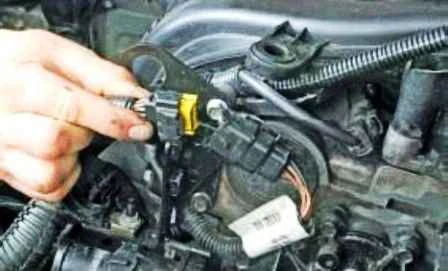
Disconnecting pads
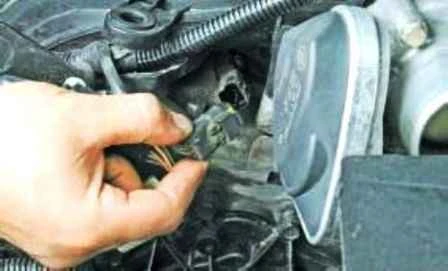
We press the latch and disconnect the wire block from the camshaft position sensor
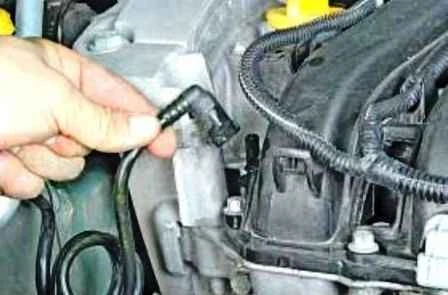
Disconnect the fuel line hose from the fuel fitting external ramp
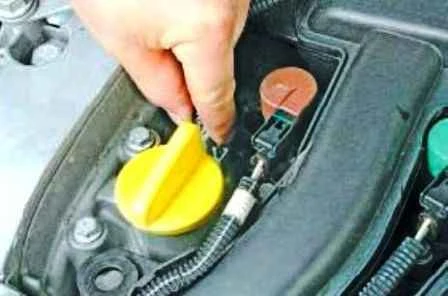
We press the retainer of the block of wires of the valve of the valve of the valve timing
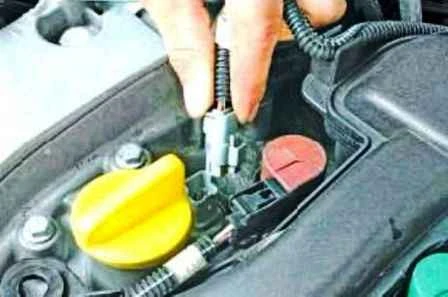
Disconnect the block from the phase regulator valve
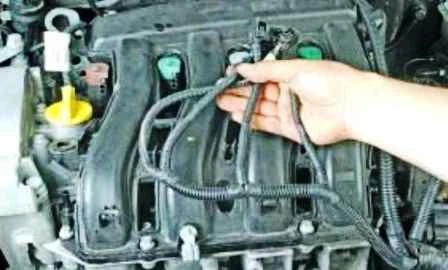
Disconnect the wire blocks from the ignition coils
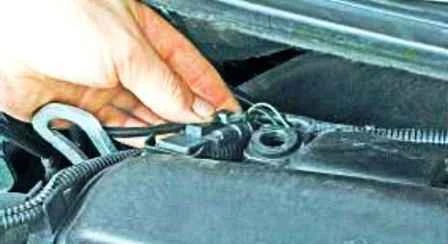
We press the retainer of the absolute pressure sensor wire block in the receiver
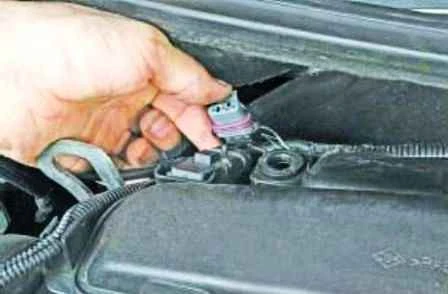
Disconnect the block from the sensor
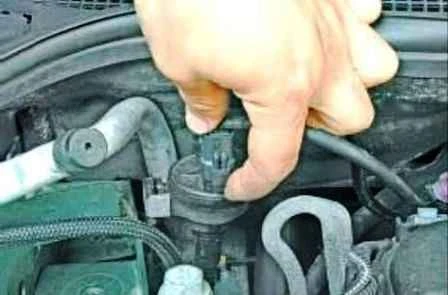
We press the retainer of the block of the wires of the canister purge valve
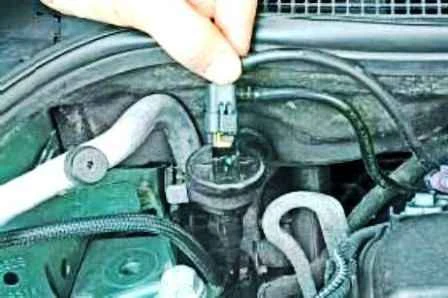
Remove the shoe from the valve
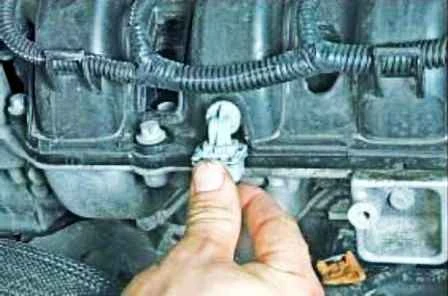
We press the retainer of the block of wires of the air temperature sensor in the receiver
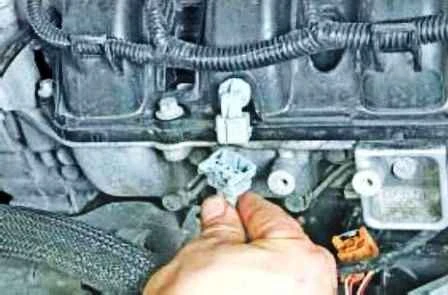
Disconnect the block from the temperature sensor
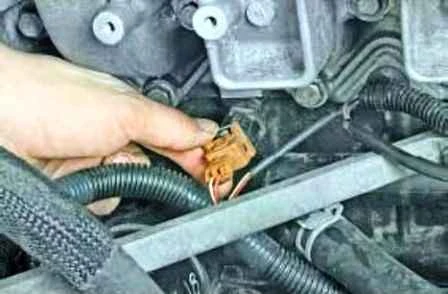
We press the retainer of the knock sensor wiring harness block
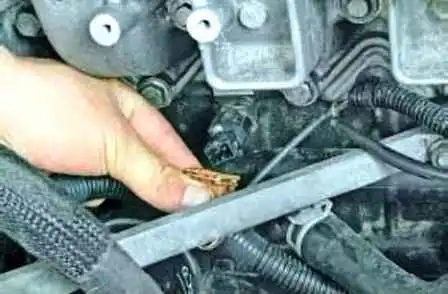
Disconnect the block from the sensor
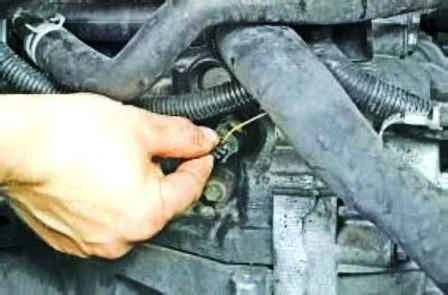
Press the retainer of the oil pressure sensor wiring harness
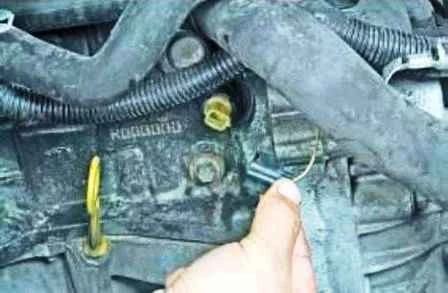
Disconnect the block from the sensor
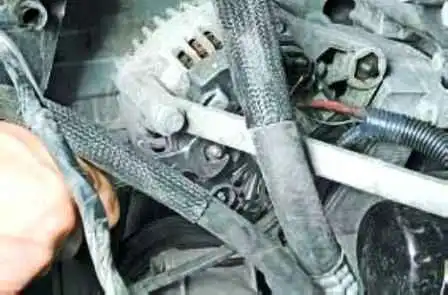
Unscrew the nut of the generator power wire
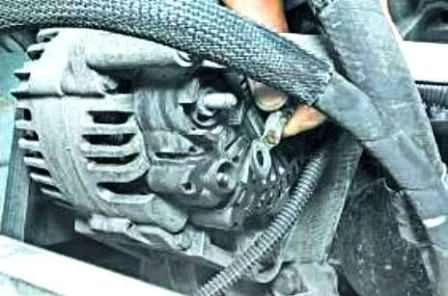
Disconnect the power wire from the generator output
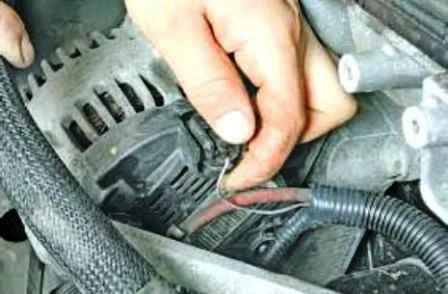
We press the clamp of the wiring harness block
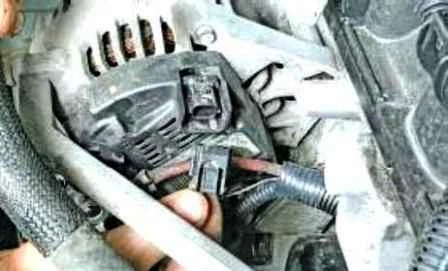
Disconnect the block from the generator
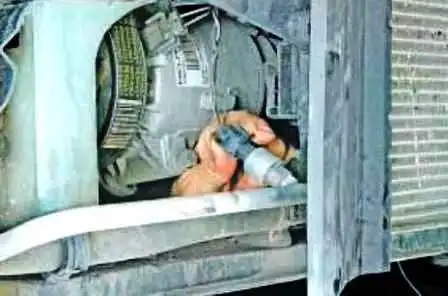
We press the clamp of the block of wires of the pressure sensor of the air conditioning system
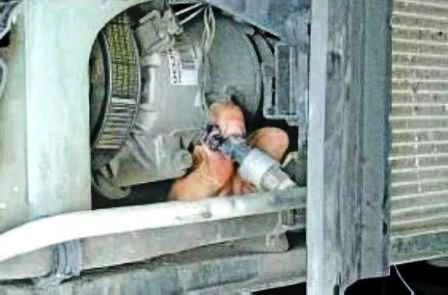
Disconnect the block from the sensor
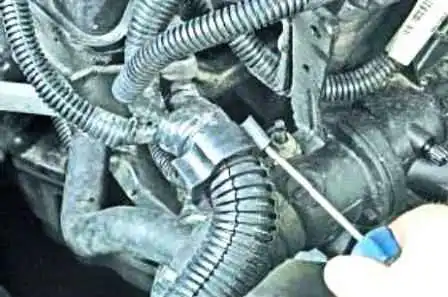
Pry off the wire harness bracket
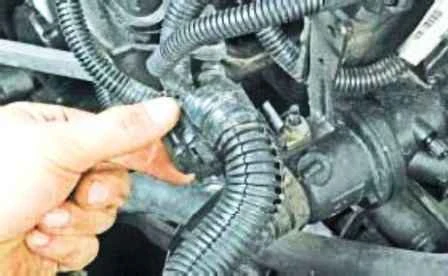
Flip back the bracket and take the wiring harness to the side
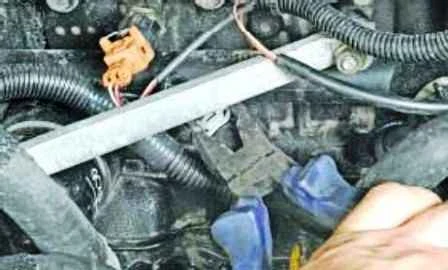
Squeeze the bent ears of the collar for fastening the heater outlet hose
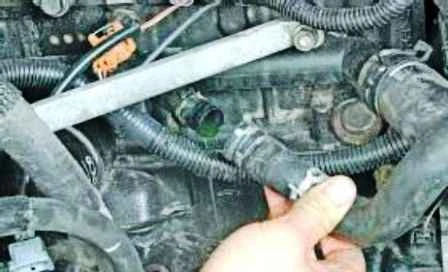
Disconnect the pipe from the fitting of the cooling system sleeve
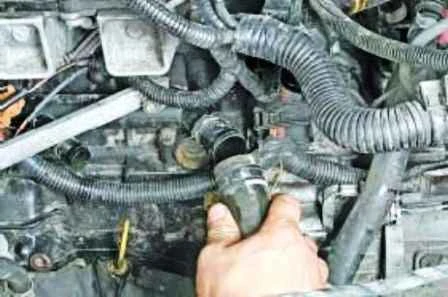
We also disconnect the radiator outlet pipe from the fitting of the cooling system hose
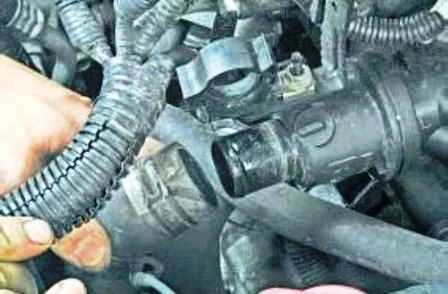
We also disconnect the radiator inlet pipe
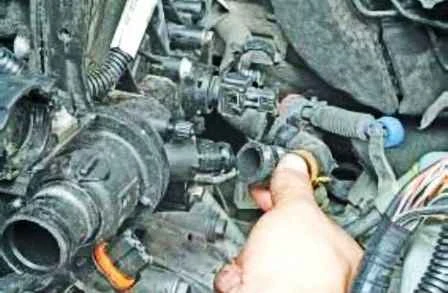
Disconnect the heater supply hose from the water distributor
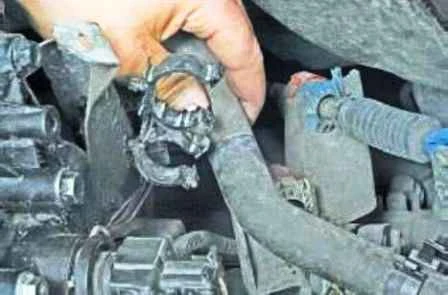
Disconnect the heater hoses from the brackets
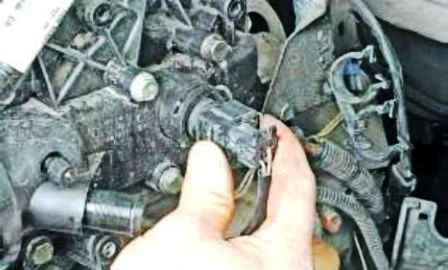
We press the clamp of the block of wires of the coolant temperature sensor
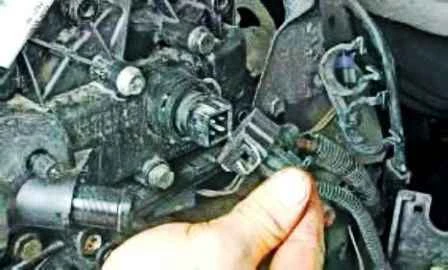
Disconnect the block from the sensor
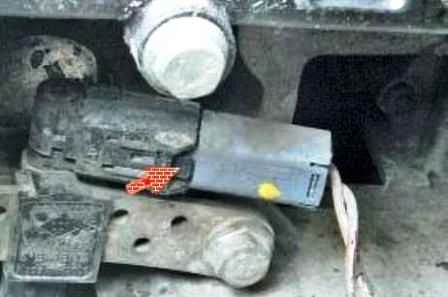
We press the latch and disconnect the wire block from the crankshaft position sensor
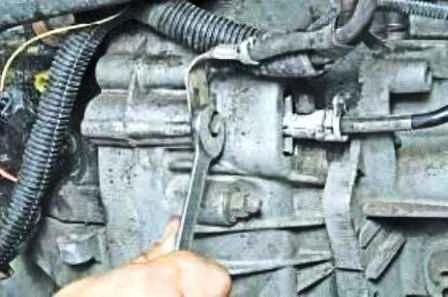
Unscrew the ground wire bolt
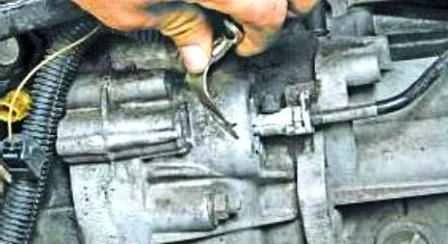
Disconnect the ground wire from the gearbox housing
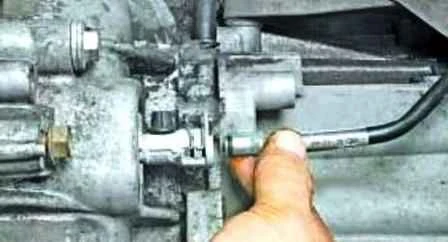
We press the latch and disconnect the pipeline from the clutch slave cylinder
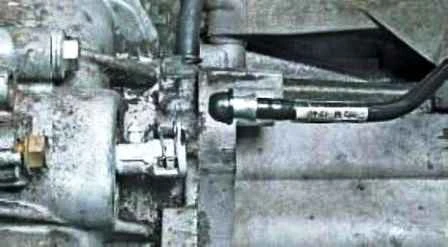
Plug off the piping with the bleed cap of the working cylinder
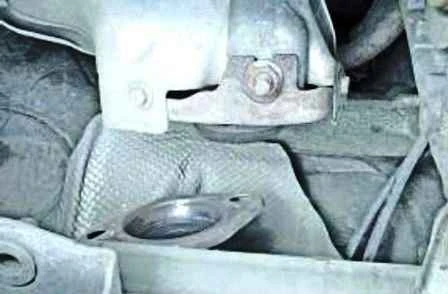
Disconnect the exhaust pipe from the exhaust manifold
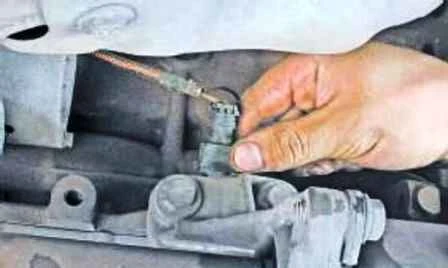
We press the clamp of the wire block from the emergency oil level drop sensor
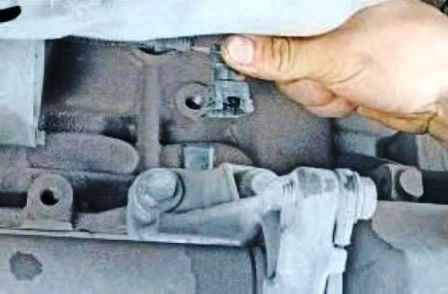
Disconnect the block from the sensor
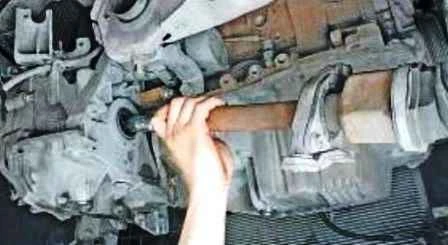
Remove the front wheel drives
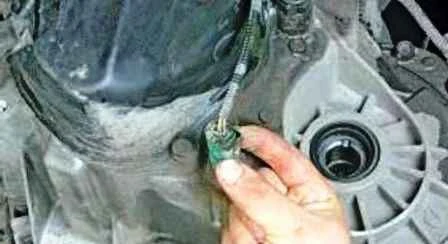
We press the clamp of the wire block from the reverse sensor
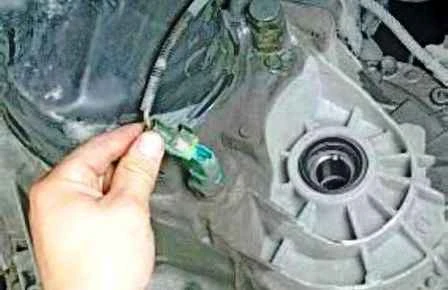
And disconnect the block from the sensor
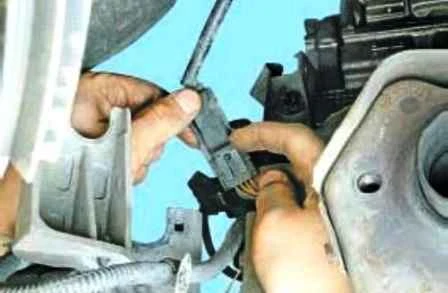
We press the lock of the wire block of the control oxygen concentration sensor
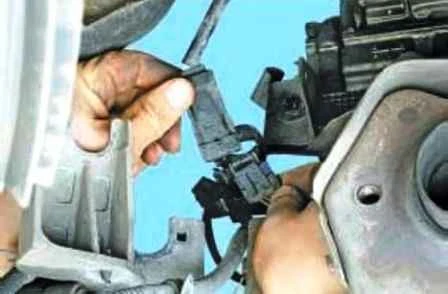
And disconnect the pads
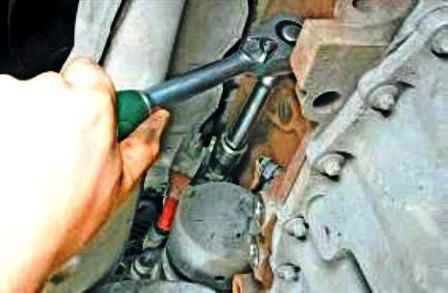
Unscrew the ground wire nut
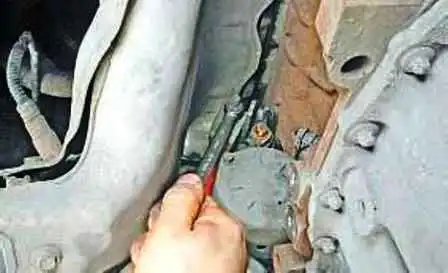
We unscrew the nut of the starter power wire and take the wires to the side
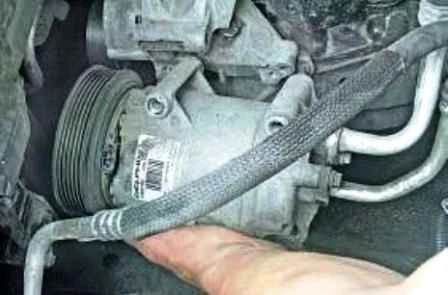
We remove the air conditioning compressor without disconnecting the pipelines, and fix it with wire
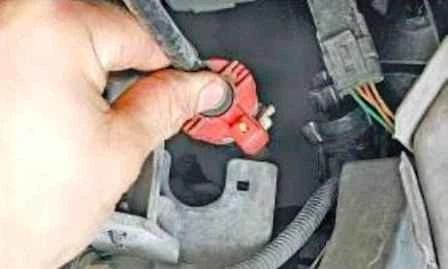
Disconnect the transmission control cables from the gear selection and shift levers and remove them from the bracket
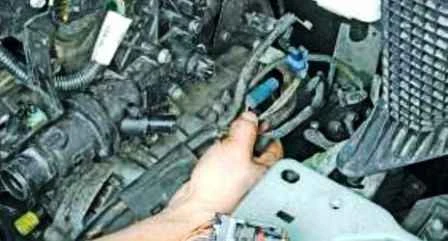
Setting aside the wiring harness
Install the supports under the power unit
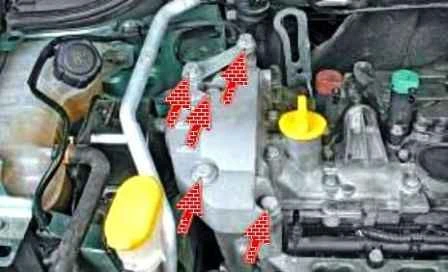
We unscrew the five bolts of the right engine mount
We unscrew the three bolts securing the support to the gearbox
We check once again that all wires and hoses are disconnected from the engine.
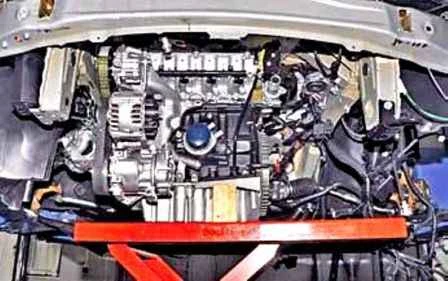
Lower the engine on its stands, keeping it from falling.
If it is not possible to lower the engine on supports, hang the front part of the car (raise the car on a lift) to a height sufficient to remove the power unit from under the car, and place reliable supports under the body.
Install the engine, as well as all removed components and parts, in the reverse order of removal, taking into account the following:
- - before installing the power unit, clean the threaded holes for fastening its supports with a tap;
- - be sure to replace the exhaust pipe gasket with a new one;
- - when connecting wires and pipelines, carefully monitor the correct location of them in the engine compartment, avoiding contact with heating and moving elements of the power unit.
After installing the motor, do the following.
Fill in the oil
Refill coolant.
Start the engine and check for fuel, oil and coolant leaks.
Check the oil pressure.
Listen to the engine, it should run smoothly, without extraneous noise and knocks.


