We remove the cylinder head cover for repair and adjustment work, as well as when replacing seals.
To complete the task, you will need tools: a wrench for 10, a Torx E12 head, screwdrivers, a torque wrench.
We prepare the car for work, disconnect the negative battery terminal.
Remove the air filter (article - Removing and installing the air intake and resonator Renault Duster)
Disconnect the wiring harness block from the intake air temperature sensor on the intake pipe receiver.
Removing ignition coils (article - Replacing Renault Duster coils and spark plugs)
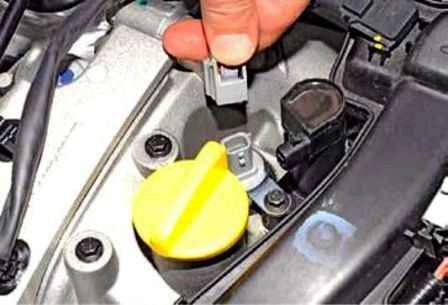
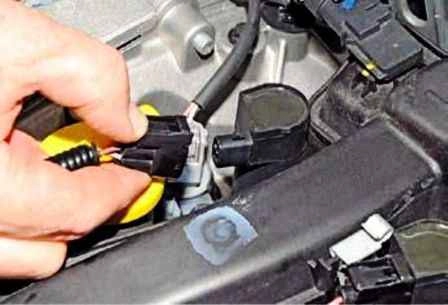
On the F4R engine, depress the retainer of the system valve wiring harness block and disconnect the block from the valve
Removing the intake pipe (article - Removing and installing the Renault Duster engine receiver)
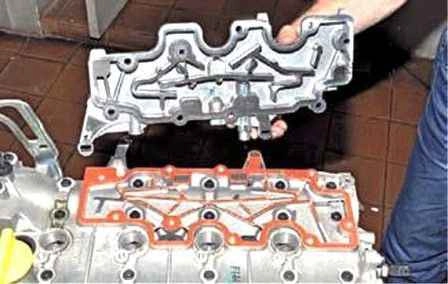
Remove the oil separator
Removing the right suspension support of the power unit (article - Replacing the supports of the Renault Duster power plant)
We remove the top cover of the timing belt (article - Checking and replacing the timing belt of a Renault Duster car)
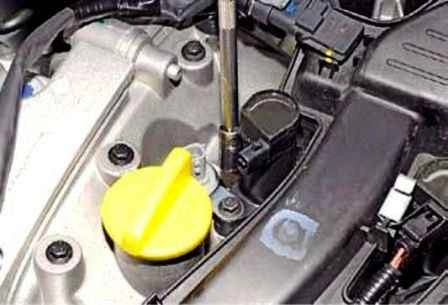
On the F4R engine, we unscrew the bolt securing the valve for the variable valve timing system
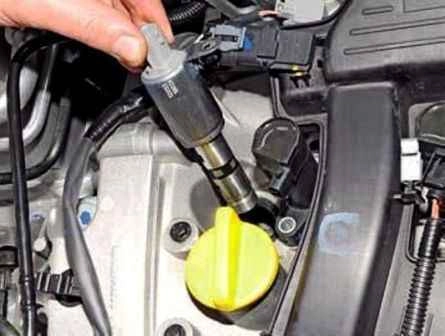
Remove the solenoid valve
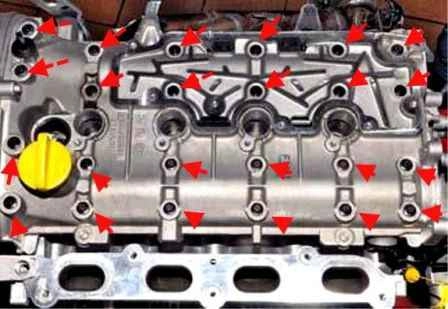
We unscrew the twenty-four bolts securing the cylinder head cover
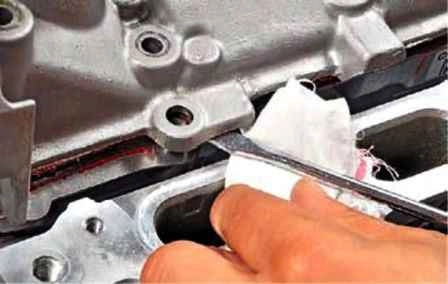
Pry off the cylinder head cover with a mounting spatula or a powerful screwdriver
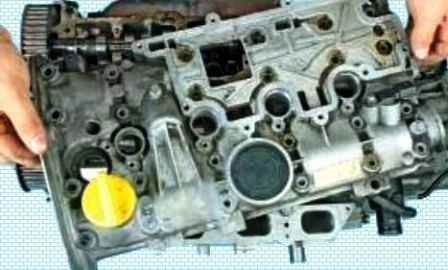
Remove the cover
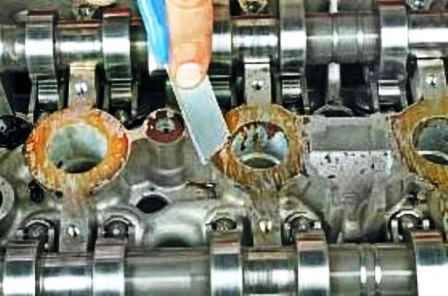
We clean the mating surfaces of the cover and cylinder head from the old sealant
We apply gasket sealant to the mating surface of the cylinder head
Install the cover on the cylinder head.
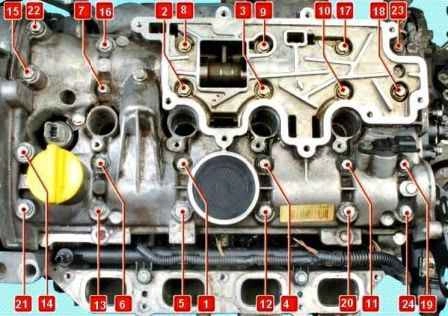
We tighten the cylinder head cover bolts in four stages, in the sequence shown in the figure:
- - first stage - htighten the bolts 22, 23, 20, 13 with a torque of 8 Nm;
- - the second stage - we tighten the bolts from 1 to 12, from 14 to 19, from 21 to 24 with a torque of 12 Nm;
- - the third stage - loosen the bolts 22, 23, 20, 13;
- - the fourth stage - we tighten the bolts 22, 23, 20, 13 with a torque of 12 Nm.
Install all parts in reverse order.


