In this article we will tell you how to install the timing belt of the K9K engine correctly.

Having disconnected the two latches, remove the upper timing cover
Set the piston of the 1st cylinder to the TDC position of the compression stroke for this:

Turning the crankshaft clockwise by the bolt of the accessory drive pulley, we align the hole in the cylinder head with the hole on the camshaft pulley.
There are holes on the camshaft pulley and on the cylinder block that need to be aligned.
We insert a suitable 8 mm stud into the hole of the pulley and cylinder block
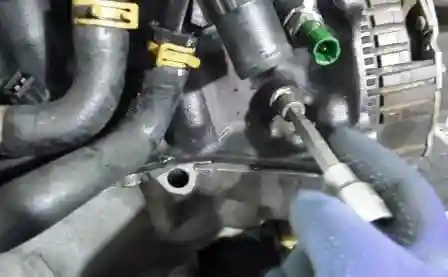
Use the TORX E14 head to unscrew the hole plug for installing the TDC position lock.
The plug is located to the left of the flywheel in the cylinder block at the level of the 1st cylinder
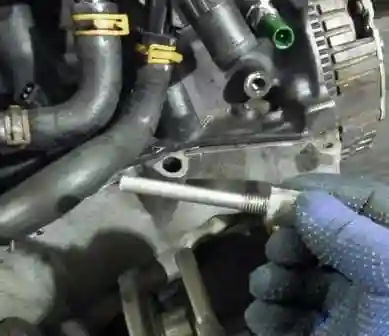
We screw the TDC position lock into the hole
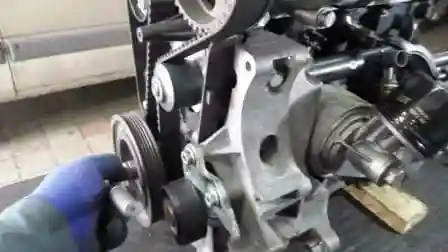
We unscrew the bolt securing the accessory drive pulley
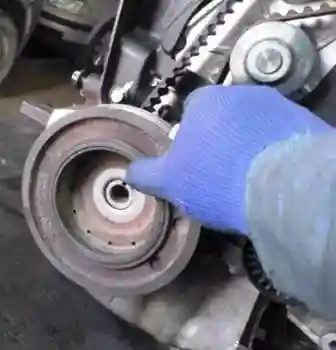
Remove the pulley

After unfastening the latches and removing the plastic bolt, remove the lower cover of the timing belt.
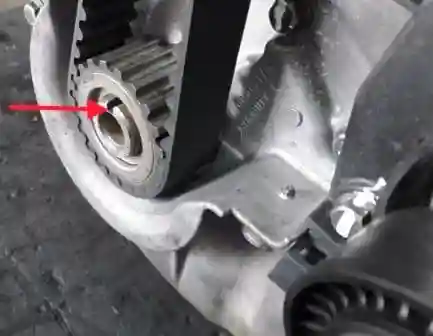
In this position (TDC 1st cylinder), the keyway on the crankshaft should be at the top.
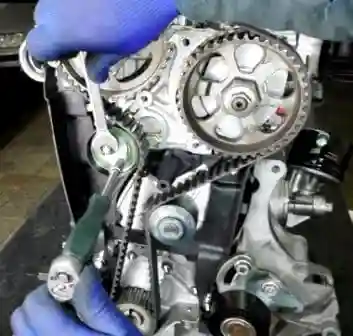
Holding with a 6 hex wrench, loosen the tightening nut of the tension roller and remove the timing belt.
Install the timing belt in the reverse order of removal.
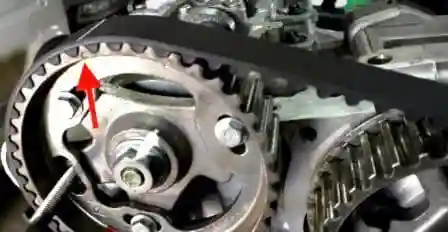
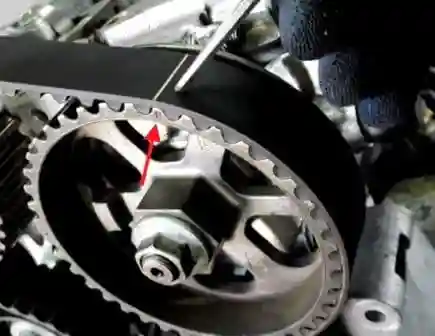
When installing, the mark on the camshaft pulley (Fig. 10) and the mark on the high pressure fuel pump pulley must match the marks on the belt.

The "B" mark on the high pressure fuel pump pulley must align with the "C" mark on the cylinder block.
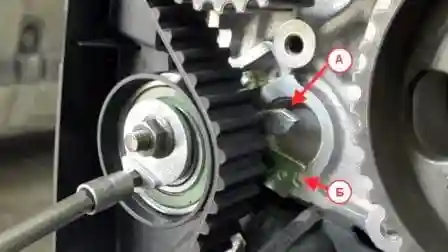
We tighten the belt, the arrow "A" on the tensioner should coincide with the slot "B".
Tighten the roller nut to 27 Nm.
Install the accessory drive pulley in the reverse order of removal.
Remove the clamps of the camshaft pulley and TDC
Turn the crankshaft by the auxiliary drive pulley bolt six turns.
Checking if the labels match.
If the marks do not match, reinstall the belt.
We install all the parts in the reverse order of their removal.


