


Replacement of the Engine Sump Gasket
We replace the engine sump gasket when oil leaks are detected. If tightening the bolts does not eliminate the oil leak, the gasket has become deformed or has dried out.
Preparation and Sump Removal
We prepare the vehicle. We place it over an inspection pit or on a lift. We remove the powertrain guard. We drain the engine oil. We remove the oil dipstick guide.
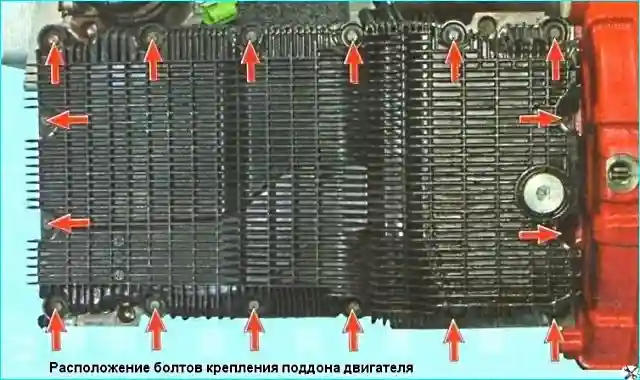
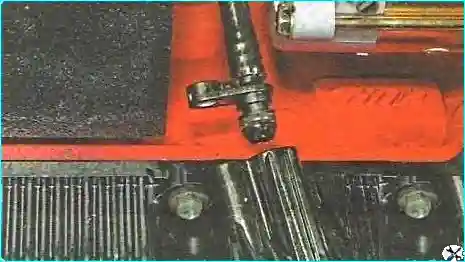
Using a 10 mm socket, we unscrew the sixteen bolts securing the sump to the cylinder block.
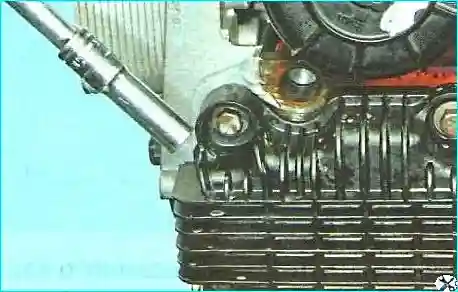
We remove the sump.
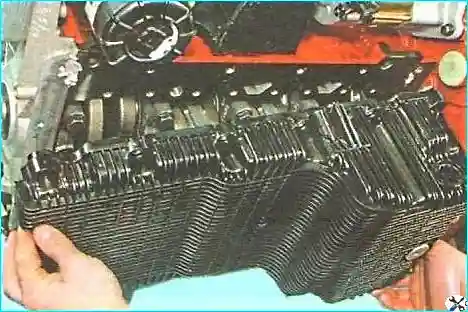
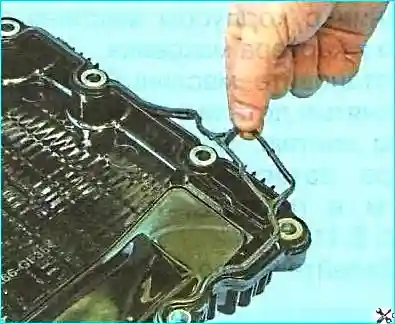
We extract the sealing gasket from the sump grooves.
Cleaning and Inspection of Parts
We clean the oil sump grooves of remnants of the old gasket.
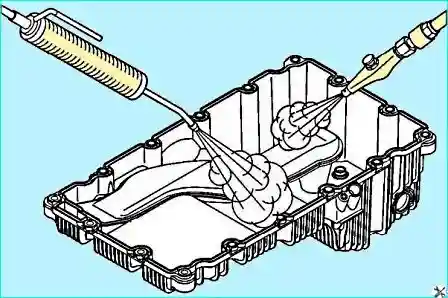
We clean the sump pan and dry it with compressed air. We check the sump support flange and the pick-up pipe for cracks and other damage. The mesh strainer in the oil sump is not removable.
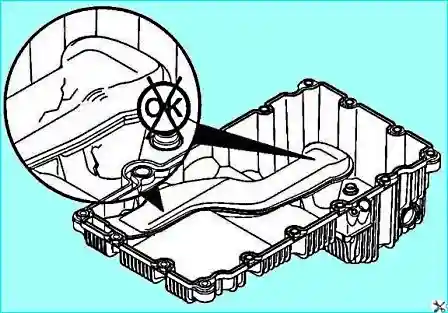
We make sure that no debris is caught by the strainer mesh by back-flushing the pick-up pipe. We check the sealing rings of the oil drain plug.
Installation of the New Gasket and Sump
We install a new gasket. We apply a thin layer of sealant to the mating surface of the cylinder block where it joins the oil pump body and the flywheel housing.
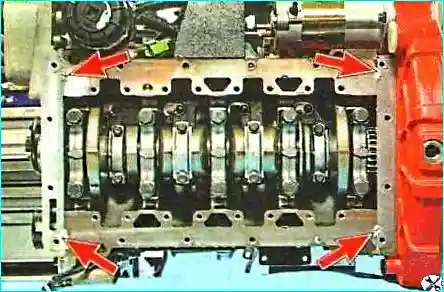
We install the oil sump and all the removed parts in the reverse order.
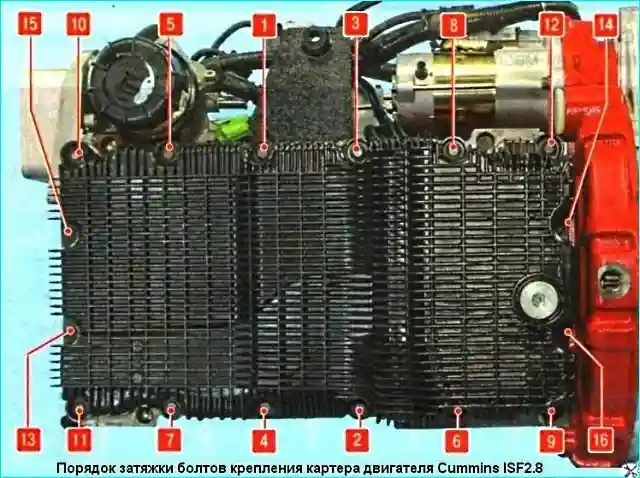
We tighten the sump securing bolts to a torque of 24 N·m in the order shown in the figure. We fill the engine with oil.
Replacement of the Oil Dipstick Guide Seal
The oil dipstick guide is sealed with a rubber ring. If a leak appears at the sealing point, we replace this ring.
Removal of the Guide
We unscrew the bolt of the oil dipstick guide holder and detach the guide from the intake pipe.
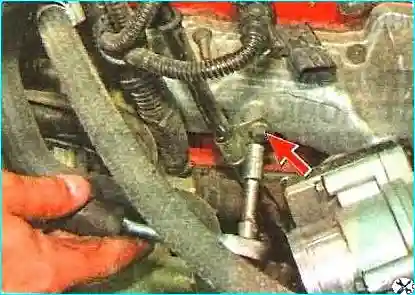
We unscrew the bolt securing the holder to the oil sump, pull the pipe out of the sump opening and remove it from the vehicle.
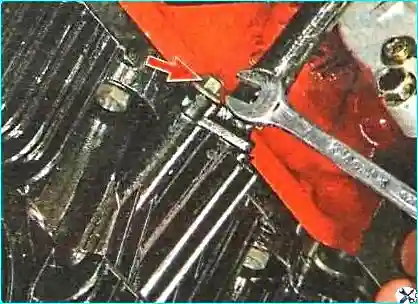
We remove the sealing ring from the guide.
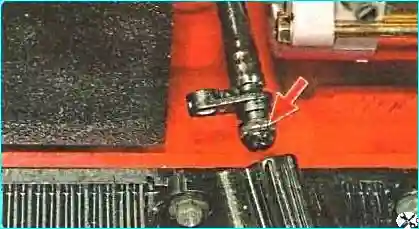
Installation of the Guide
We coat the new ring with engine oil before installation. We install the guide on the oil sump in the reverse order.
Materials and Parameters Used
Oil-resistant sealant (anaerobic or silicone) is used to seal the cylinder block joints. The tightening torque of the sump bolts is 24 N·m. The sump gasket is made of oil-resistant rubber or cork-rubber. The oil dipstick guide sealing ring is coated with engine oil before installation. Solvent or degreaser is used to clean the grooves and surfaces.