We disassemble the gearbox for repair and replacement of parts
Remove the front axle, as indicated in the previous article
Remove steering knuckles
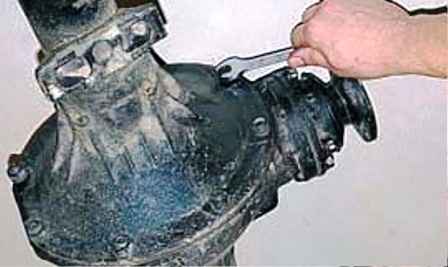
Using keys 14 and 17, we unscrew two bolts and six nuts securing parts of the gearbox housing
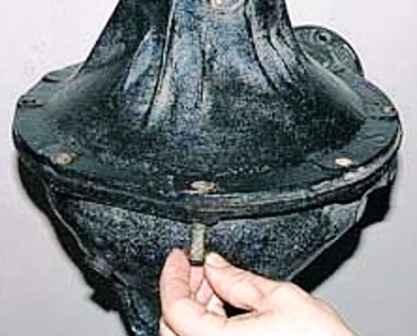
Remove the bolts and separate the parts of the crankcase
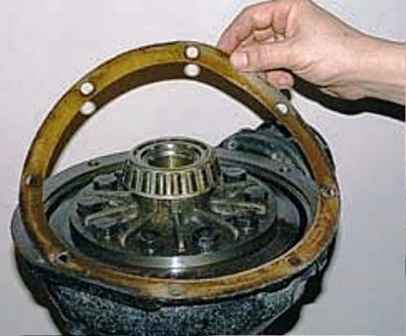
Remove the cardboard spacer and take out the box of satellites with the driven gear
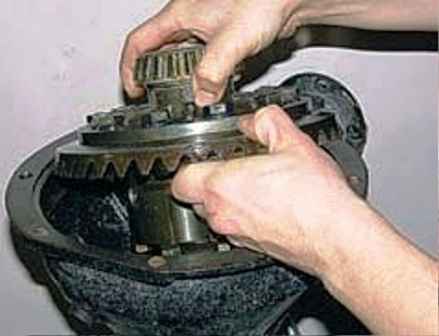
Remove the drive gear flange
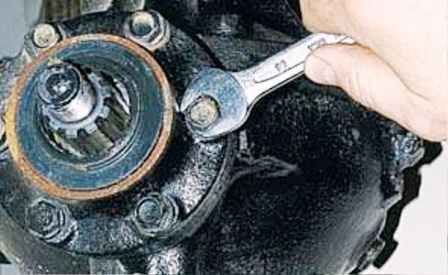
We unscrew the six bolts of the drive gear bearing cap with a 14 key
Remove the bearing cover
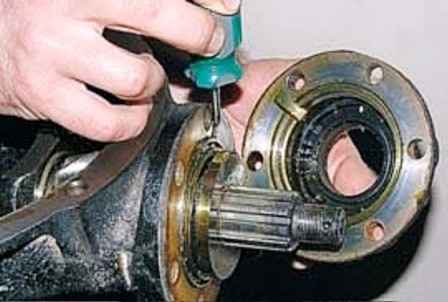
When assembling, it is necessary to ensure that the oil drain channel in the cover, crankcase and gaskets matches
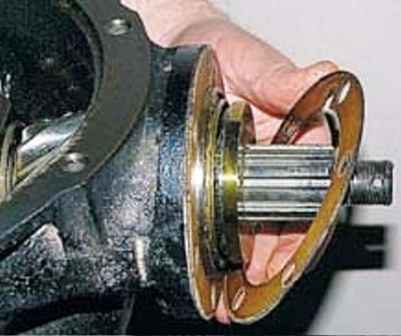
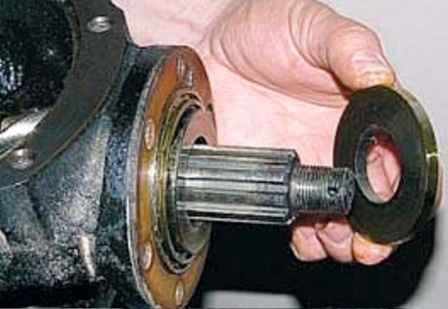
Remove the gasket and ring
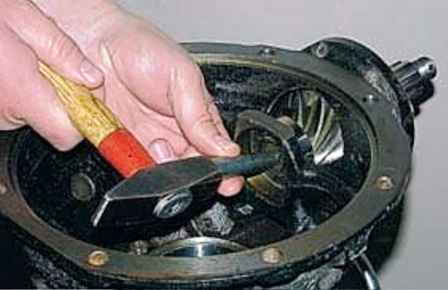
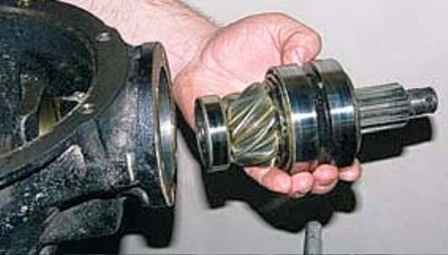
By striking with a hammer through a soft metal drift on the end of the drive gear shaft, we press it out
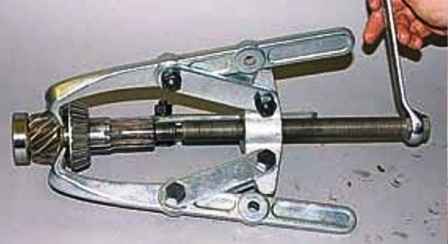
We pull the outer ring and the rear inner ring of the double roller bearing off the shaft with a puller
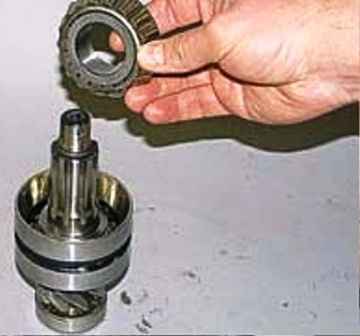
Remove the rear inner race and bearing outer race
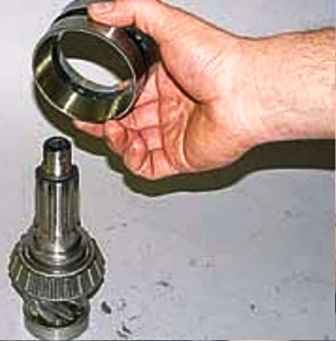
We mark the bearing rings in order to install them in their original places during assembly
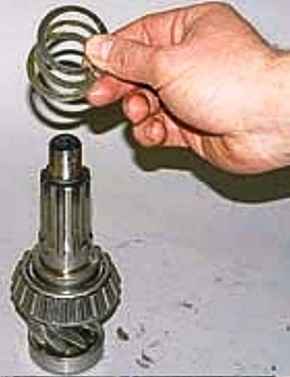
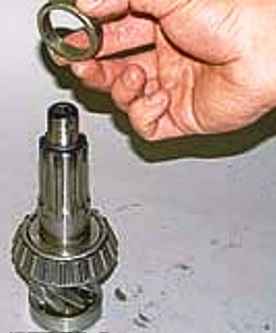
Remove the shims and spacer
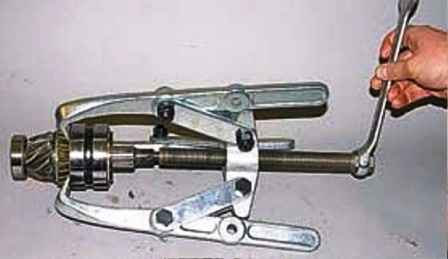
We tighten the bearing inner ring with a puller
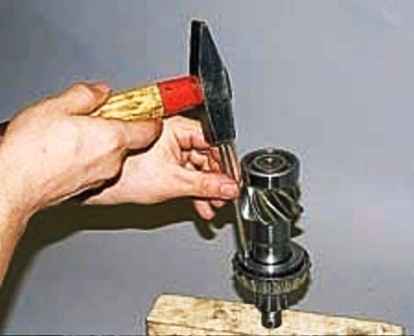
If a puller is not available, bearings can be knocked down with a hammer by striking the inner ring through a drift
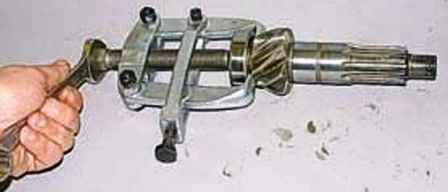
We tighten with a puller and remove the roller bearing
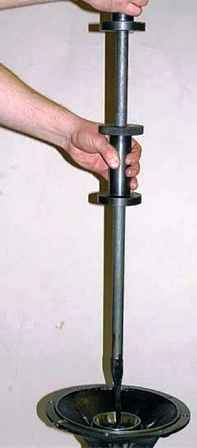
The outer rings of the satellite box bearings can be pressed out with a special puller or use an inertial puller with a hook at the end
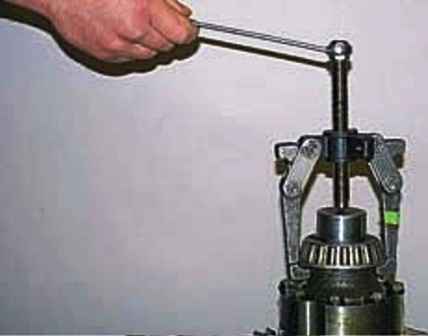
With a puller, we press the inner rings of bearings with rollers from the satellite box
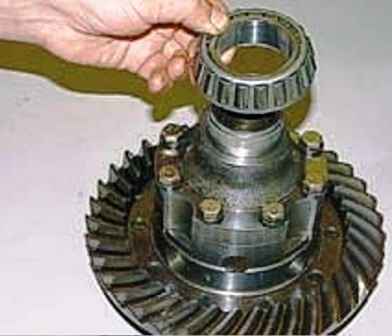
Remove rings and shims
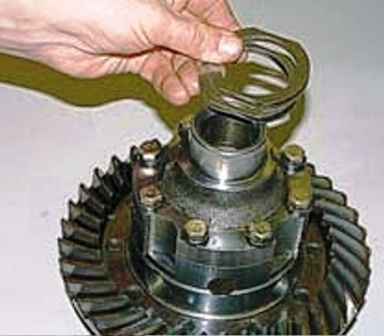
We fold the bearings complete with rings and shims in order to install the parts in their original places during assembly
With a center punch we mark the relative position of the driven gear and the satellite box
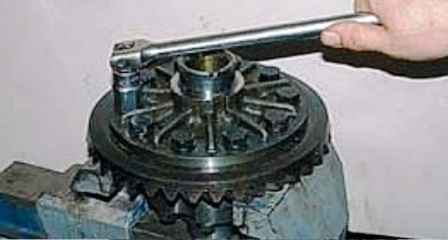
We clamp the box of satellites in a vise and with a 19 head we unscrew ten bolts securing the driven gear
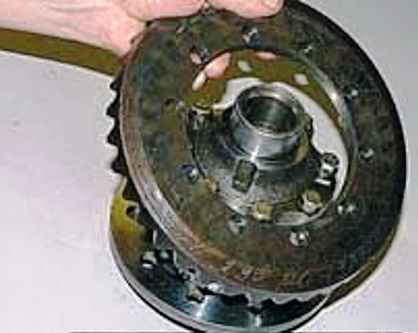
Remove the driven gear, if necessary, striking through a soft drift with a hammer
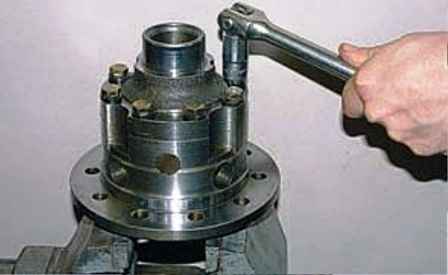
We unscrew the head for 14 eight bolts connecting the parts of the box
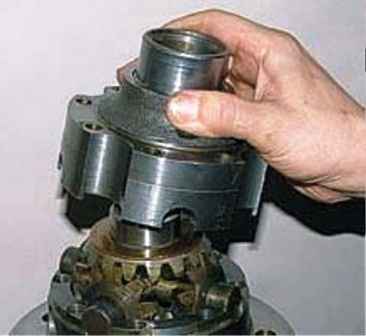
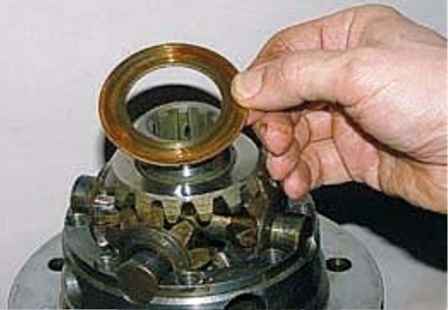
Disconnect the satellite box and remove the side gear thrust washer
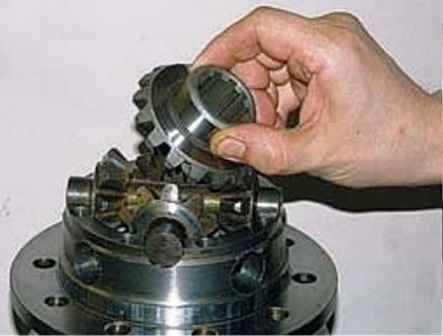
Remove side gear
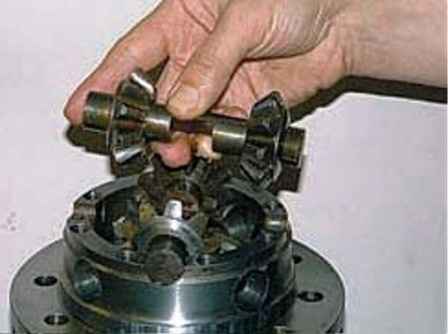
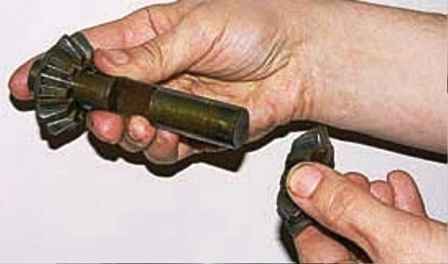
Remove the axle with two satellites and the satellites from the axle
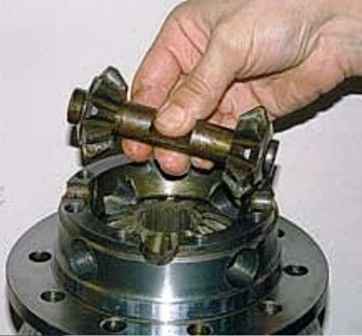
We take out the other axis of the satellites and remove them
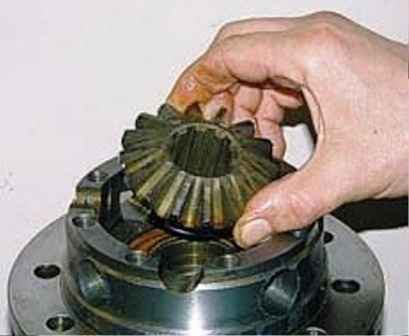
Remove the side gear and its thrust washer
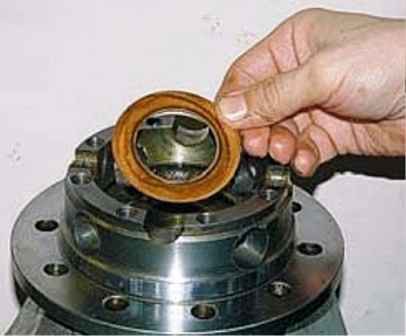
Before assembly, we wash all parts in kerosene or diesel fuel and inspect them
Any cracks are unacceptable on the parts. Gear teeth should be free of scuffing, chipping and heavy wear
The bearings should rotate easily without clicking or binding. On rollers and rings, chipping, chips and heavy wear are unacceptable
Bearing cages must not be torn or deformed.
We replace damaged and worn parts. After a run of more than 100 thousand km, we recommend replacing the bearings, regardless of their condition.
We assemble the main gear in the reverse order of disassembly, lubricating the bearings and gears with gear oil.
Bearings can be pressed with hammer blows through suitable sizes:
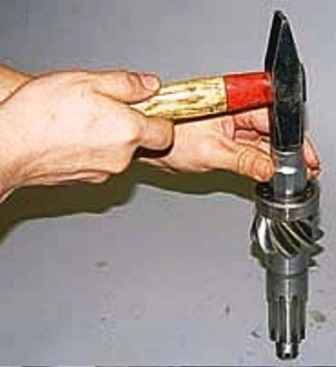
- tool head or pipe section;
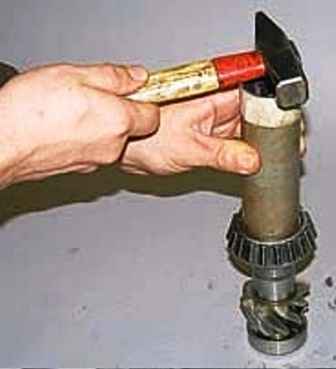
- tubular wrench
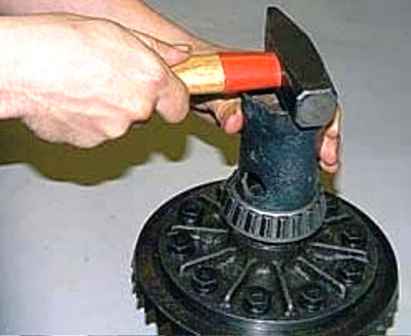
We press the outer rings of the satellite box bearings into the crankcase with hammer blows in a circle through a soft metal drift
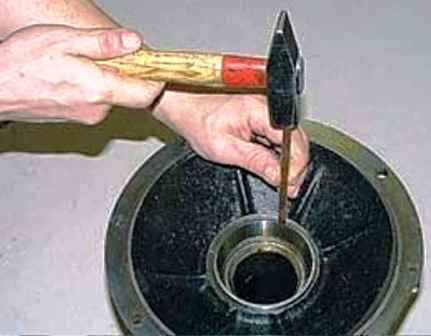
We degrease the fastening bolts of the parts of the satellite box, the bolts of the driven gear, as well as their threaded holes before assembly with a solvent or acetone and apply an anaerobic sealant to the thread
We pay special attention to the cleanliness of the end seating surfaces of the driven gear and the satellite box. The slightest pollution or nicks on them are unacceptable
Existing damage is removed with an abrasive tool, followed by thorough washing of parts in kerosene or diesel fuel
Adjustment of bearings and gear engagement
We make adjustments only when replacing gears (completely), bearings, as well as when noise appears during the operation of the main gear
The drive gear bearing is adjustable by selecting the thickness of the gasket package between its inner rings.
To do this, we assemble the drive gear assembly with clean bearings lubricated with gear oil.
Cuff in do not install the cover
Tighten the shank nut with a torque of 17–21 kgf.m.
After that, the gear should turn by hand without much effort, and there should be no axial play
If there is axial play, remove one of the shims. If the rotation is too tight, add one gasket
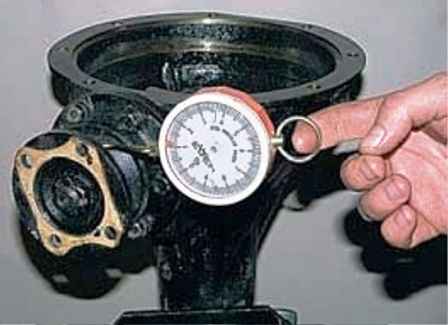
We finally check the adjustment with a dynamometer by hooking it on the flange hole
The force when turning the gear should be in the range of 1.5–3.0 kgf for worn-in and 2.0–3.5 kgf for new bearings
The bearings of the satellite box are adjustable in the following order:
- we press the inner rings with rollers onto the necks of the box so that there is a gap of 3.0–3.5 mm between the bearing ring and the end of the box.
Bearings must be clean and oiled.
We install the satellite box in the main gear housing, put the gasket in the housing connector and evenly tighten the bolts and nuts of the housing, connecting its parts.
At the same time, we rotate the drive gear to properly install the rollers in the bearings.
Finally tighten the crankcase bolts and nuts
We unscrew the bolts and nuts, carefully disconnect the crankcase and take out the box of satellites.
With a feeler gauge, we measure the gaps between each bearing and the end of the box.
We select a package of gaskets, the thickness of which is equal to the total clearance of both bearings and add another gasket 0.1 mm thick to create a preload
Remove the inner rings of the bearings, divide the selected package of gaskets in half and, having installed the gaskets in their places, press the inner rings of the bearings to the stop.
After that, we adjust the side clearance in the meshing of the gears, for which:
install the satellite box, connect the halves of the crankcase, tighten the bolts and nuts
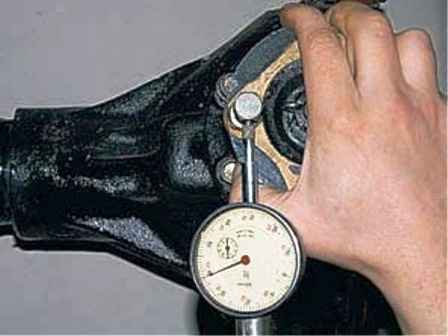
We measure the backlash in engagement with the indicator, shaking the drive gear in both directions
At a radius of 40 mm at the drive gear flange (bolt centers), the indicator reading should be between 0.35-0.77 mm.
To increase the gap, remove the spacers from under the bearing of the satellite box from the side of the driven gear and rearrange them under another bearing.
To reduce the gap, do the opposite
We assemble the gearbox, install the cuff, during assembly we apply sealant to the gasket and the threads of the bolts
We finally check the operation of the gearbox by rotating the drive gear flange.
There should be no sticking in the engagement, the rotation should be smooth, without clicks and play


