Disassembling the gearbox to replace worn parts
We show the disassembly using the example of a four-speed gearbox with synchronizers in III-IV gears
We remove the gearbox, as indicated in the previous article
Pour 0.5 liters of kerosene or diesel fuel into the gearbox crankcase and flush the gearbox by rotating the secondary shaft
After that, drain the liquid
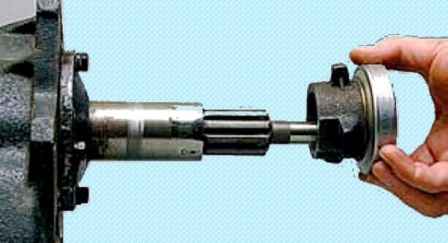
Remove the release bearing
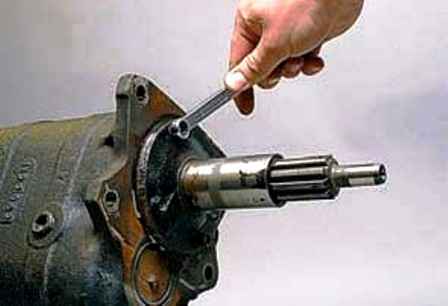
We unscrew the four mounting bolts with a 12 key
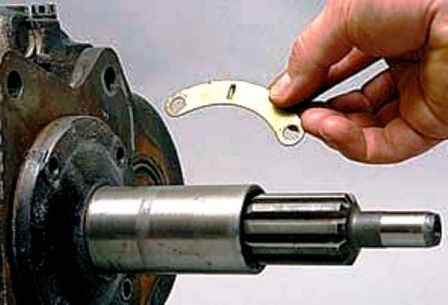
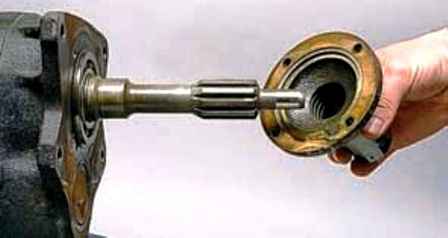
Remove the semicircular plate and the bearing cap with gasket
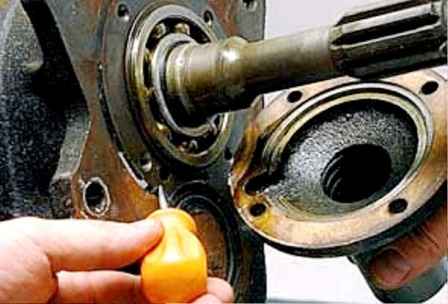
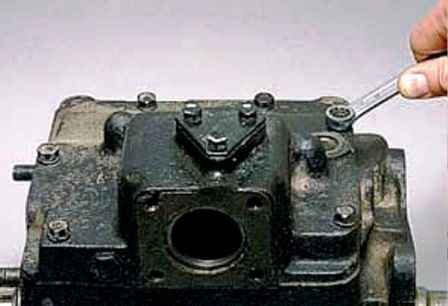
During installation, the drain channel in the cover must match the hole in the crankcase
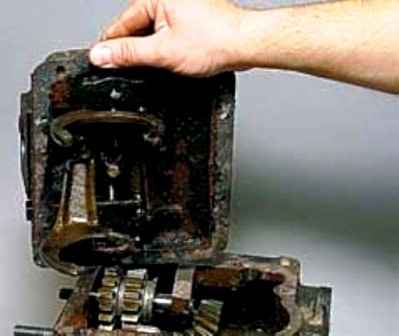
Using a 12 wrench, unscrew the six bolts securing the gearshift cover and remove the cover with the gasket
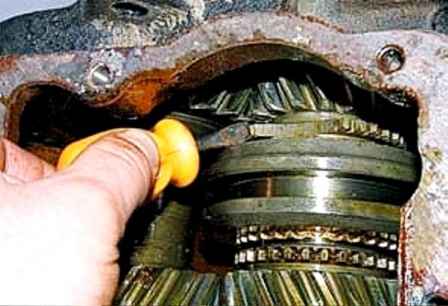
Turn the input shaft with a cutout on the synchronizer sleeve towards the intermediate shaft gear
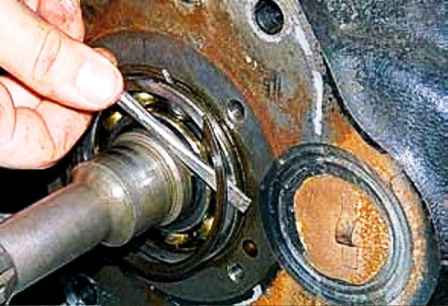
Pry off with a screwdriver and remove the retaining ring of the input shaft front bearing
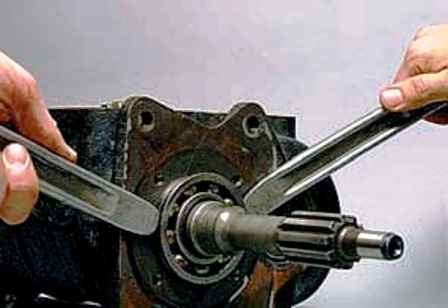
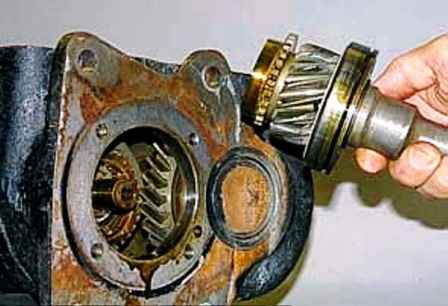
We pry the bearing with two mounting blades or screwdrivers and take out the input shaft
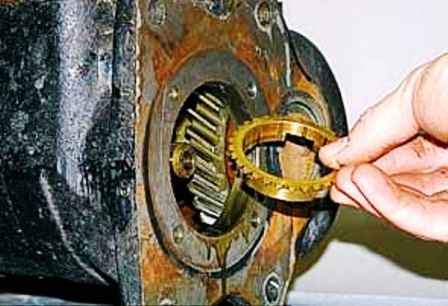
Remove the synchronizer ring
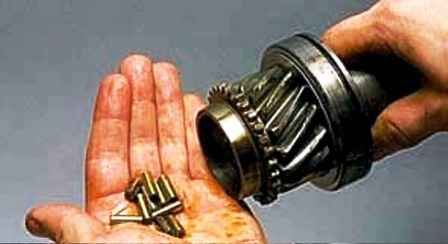
Removing 14 rollers from the input shaft bore
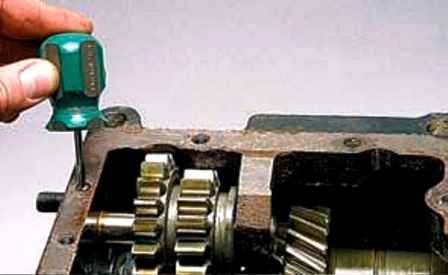
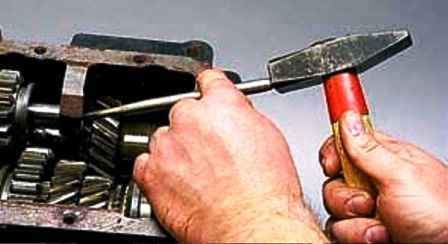
Using a flat screwdriver, unscrew the locking screw of the axis of the reverse gear block
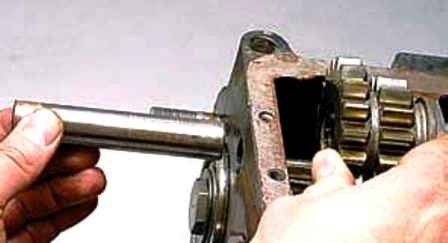
Through the beard we knock the axle back and take out the axle and the reverse gear block
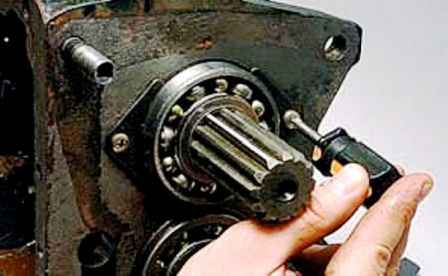
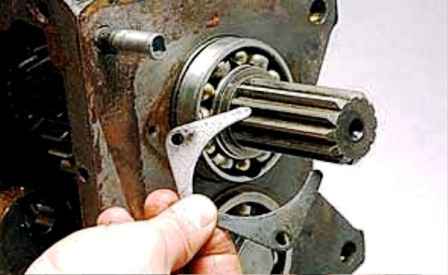
Using a Phillips screwdriver, unscrew the two screws securing the locking plates of the rear bearing of the secondary shaft and remove the plates
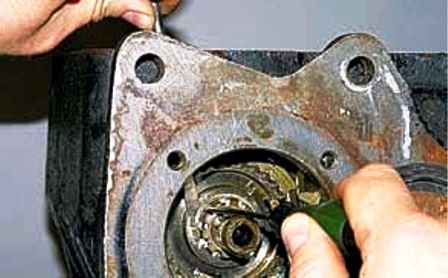
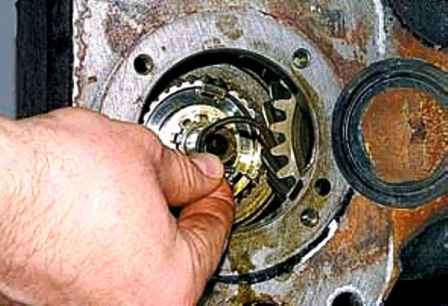
Pry with screwdrivers and remove the retaining ring of the synchronizer hub
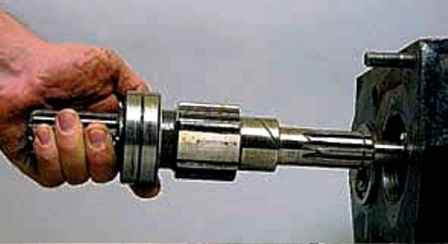
With a soft metal drift, we knock out and take out the secondary shaft back
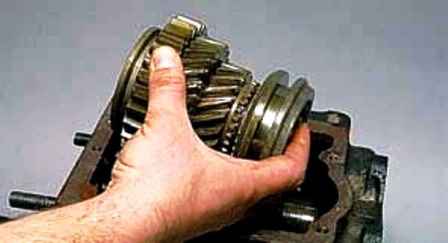
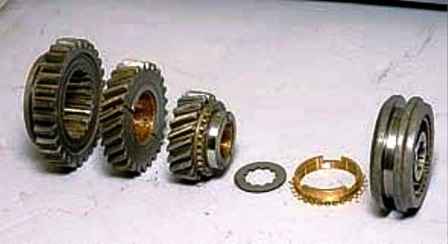
Carefully remove the gears and the secondary shaft synchronizer clutch and remember the location of the parts on the shaft
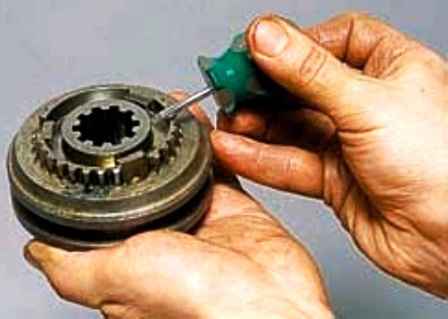
When assembling the coupling, it must be taken into account that the chamfer on the synchronizer crown and the deep groove on the hub face the same direction
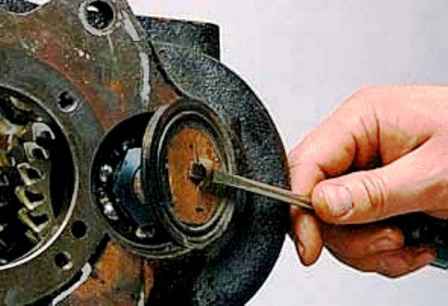
Pry off with a screwdriver and remove the intermediate shaft front bearing cover
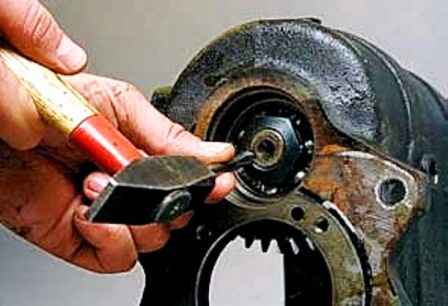
Unlock the nut of the front end of the intermediate shaft
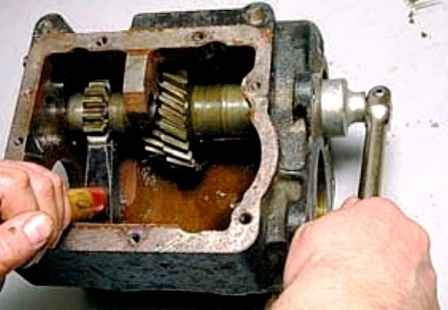
We unscrew the 36 nut with the head, keeping the shaft from turning, resting with a hammer against the spur gear
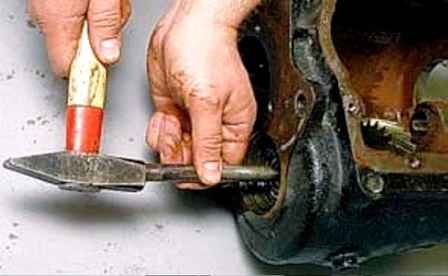
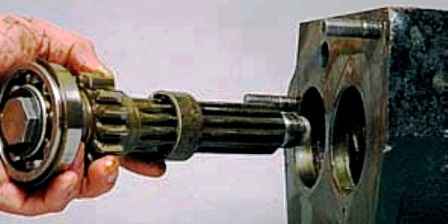
Through a drift with a soft metal hammer, we knock out the intermediate shaft back

Remove the shaft (with bearing and spacer) and gears from the crankcase
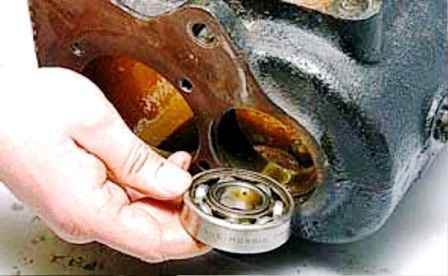
Knock the front bearing out of the crankcase
Disassembling the input shaft
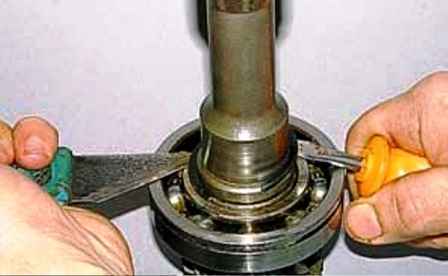
Pry off with a screwdriver and a knife to remove the retaining ring from the input shaft
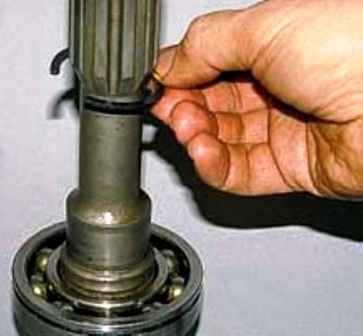
Holding the shaft on the weight of the bearing, knock the shaft out of it with a soft metal hammer
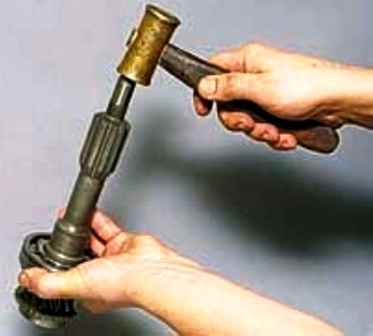
It is not recommended to use a puller, it can damage the oil slinger
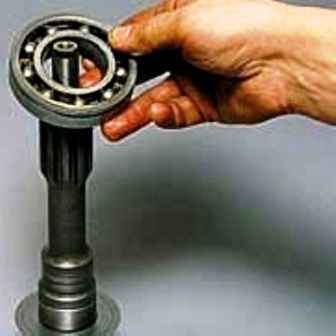
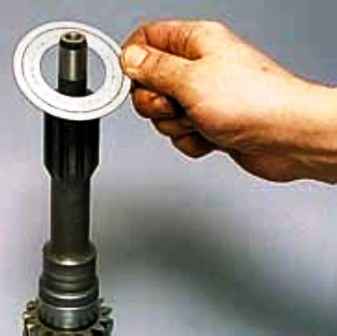
Remove the bearing and oil slinger
Disassembly of the reverse gear set
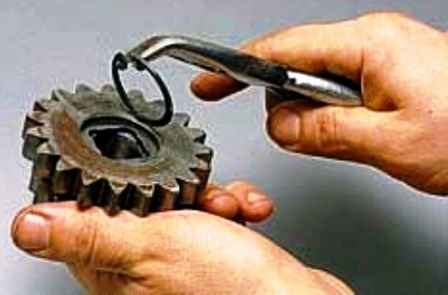
Squeeze with round-nose pliers and remove the retaining ring of the bearing of the reverse gear unit
Also remove the retaining ring on the other side of the gear block
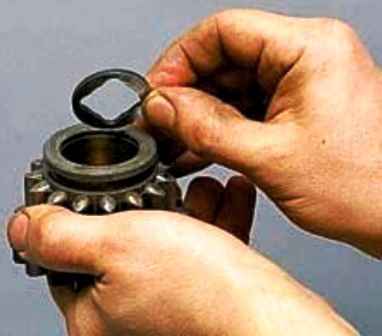
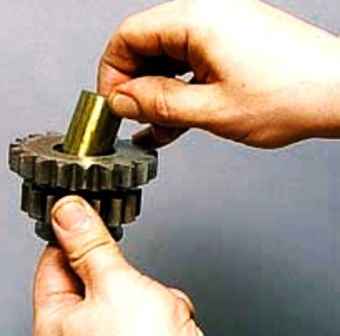
Push on the inner bearing bush, remove the end washer and take out the bearing bush
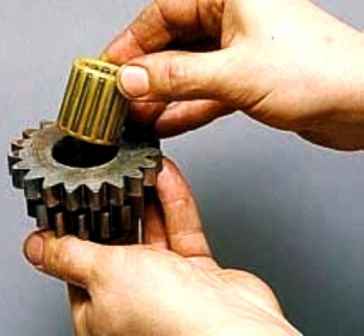
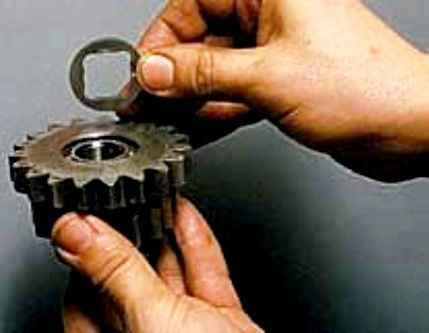
Remove the separator with rollers and the second end washer
Disassembling the secondary shaft
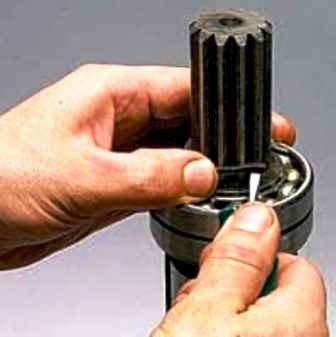
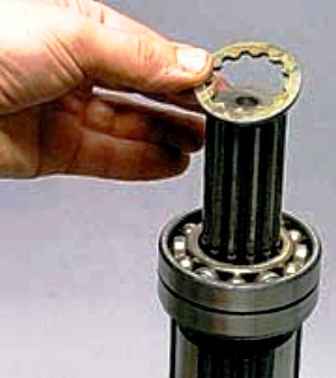
Using a screwdriver or tongs sn We have the output shaft retaining ring and spline washer
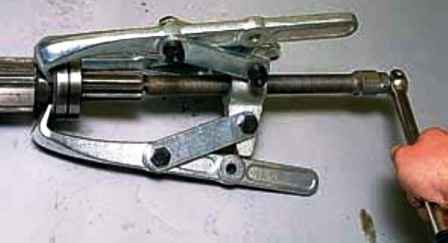
Using a puller, we press the double-row ball bearing from the secondary shaft
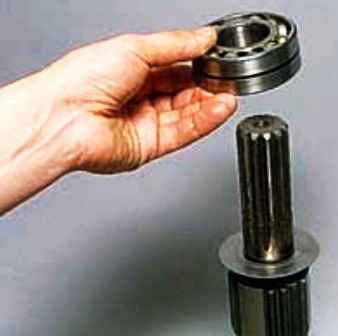
Remove the bearing and oil slinger
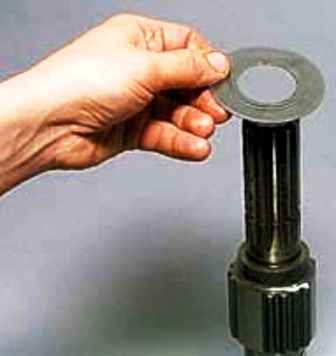
Remove the distance sleeve from the intermediate shaft (the chamfer is directed towards the gear)
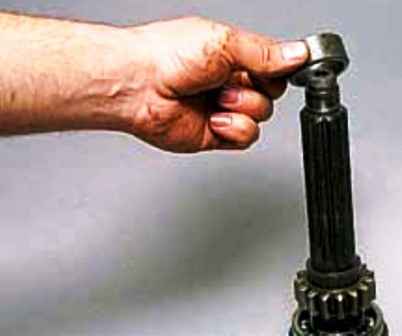
We clamp the shaft in a vice for the splined part through wooden spacers
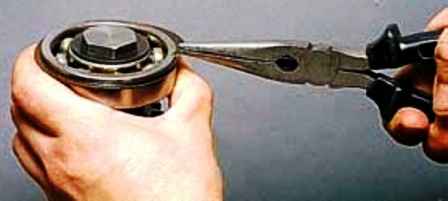
Pliers remove the retaining ring from the bearing
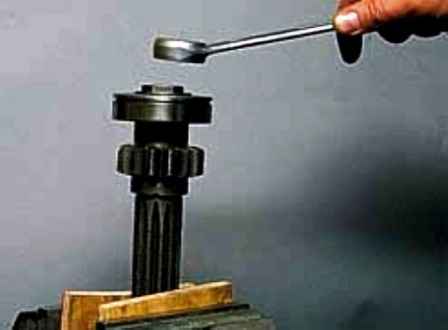
With a key of 27, we unscrew clockwise (left thread) the bolt securing the rear bearing of the intermediate shaft
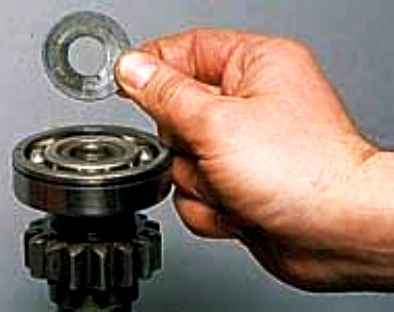
Remove the special washer
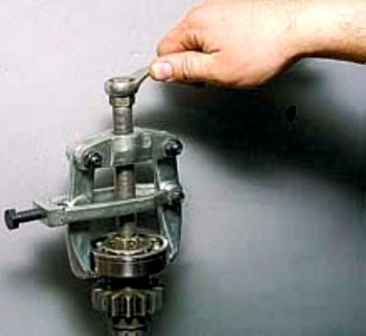
Using a puller, placing an M12 nut under its screw, if necessary, press and remove the bearing
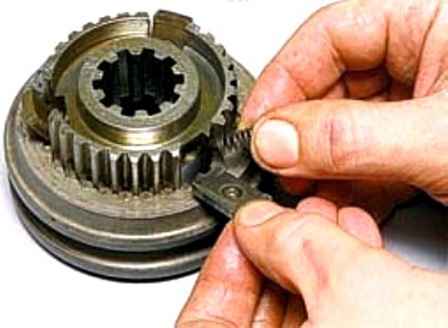
Disassembling the synchronizer clutch
Disassembly of the gearshift mechanism
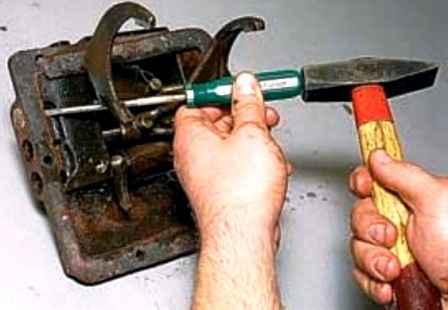
Use a screwdriver to knock out the plugs of the gearshift rods
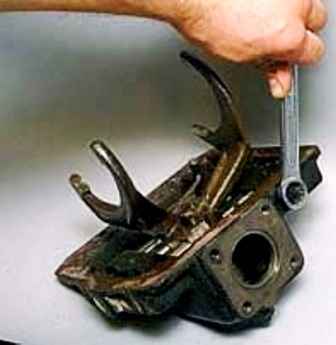
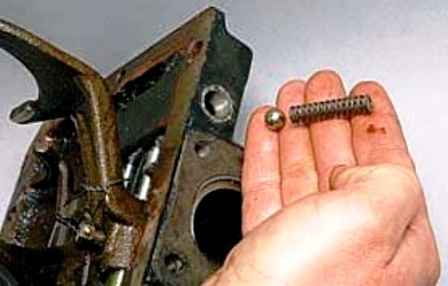
We unscrew the plug-plug of the latch socket with a 17 key and remove the spring and ball
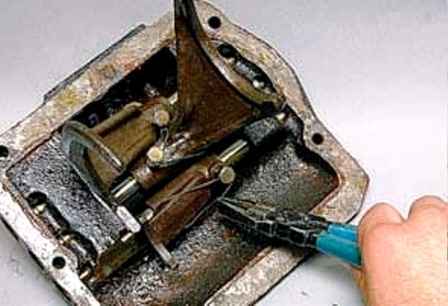
Using pliers, remove the safety wire of the bolts that fasten the forks to the stems
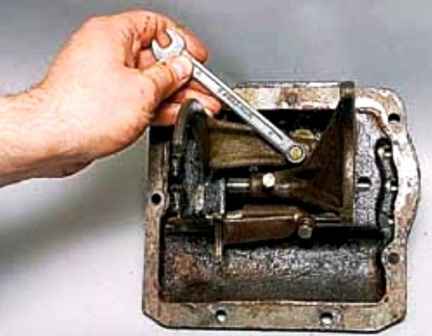
Use a 10 key to unscrew the three bolts
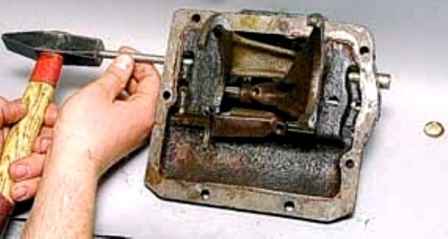
With a beard we knock out the stem of the first-second gear fork along with the plug
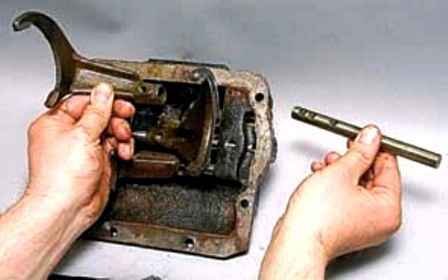
Remove the plug and stem
We put the forks on the rods and fix them with bolts so as not to confuse them
In the same way, we knock out the stem of the third-fourth gear fork
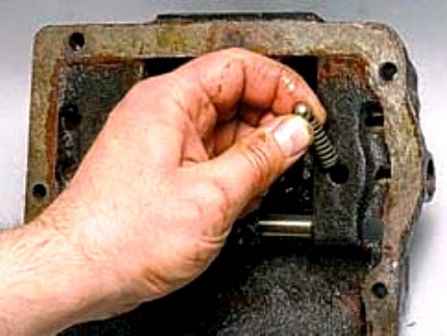
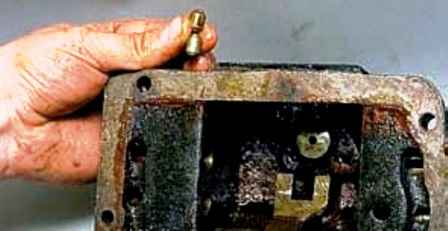
We take out the spring and ball and two plungers
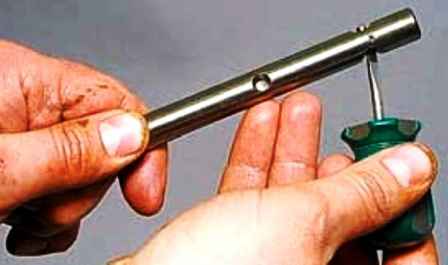
A lock pin is placed in the middle stem
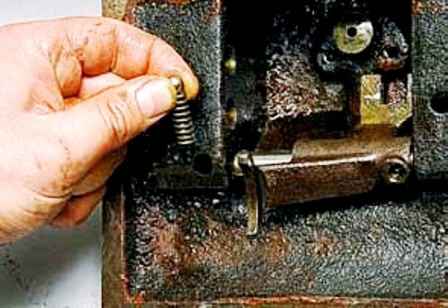
Knocking out the stem of the reverse gear fork, take out the ball with the spring
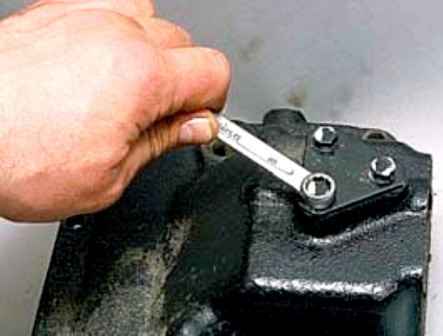
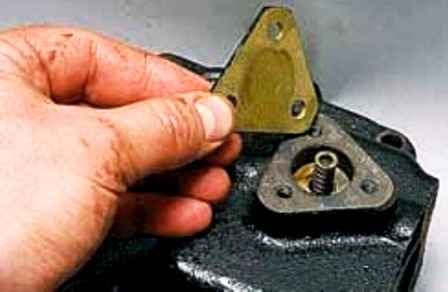
Using a 10 key, unscrew the three bolts securing the fuse cover and remove the cover
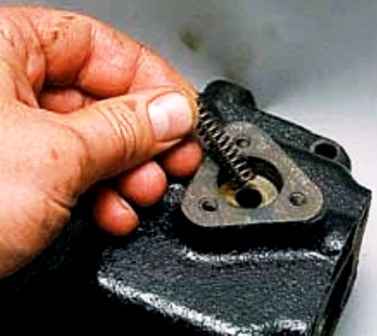
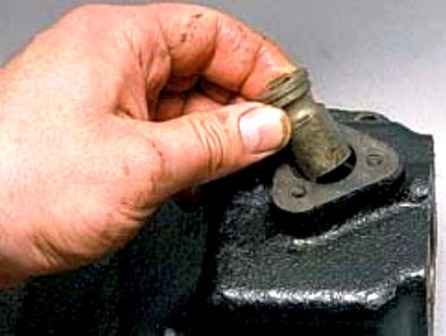
Remove the spring and fuse
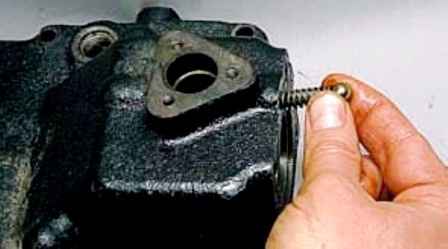
Remove the ball with the spring (fuse holder)
We wash the parts in kerosene or diesel fuel and inspect them.
Cracks of any shape and length are not allowed on crankcase parts.
The bearing seats, the holes for the gearshift rods must be smooth, without nicks, scuff marks and noticeable wear.
The bearings should fit into the sockets tightly, by hand force or by light tapping through the spacer.
Gaskets must be intact, without tears, delaminations and breaks.
We check the shafts, axles and rods for the absence of cracks, noticeable signs of wear, scuffing and metal enveloping.
This also applies to the splined parts of the shafts, the mating parts should move easily on the shafts, without noticeable backlash and jamming.
Insignificant traces of scuffing, as well as corrosion (on the splines) are eliminated with a needle file or very fine sandpaper, and the necks of the shafts are polished with a thin GOI paste or diamond paste.
On the teeth of the gears and synchronizer couplings, chips, signs of seizing and chipping are unacceptable, on the cones of the blocking rings of the synchronizers there must also be no signs of seizing, heavy wear and enveloping of bronze on steel.
Ball and roller bearings must be in perfect condition.
Their rotation should be easy, without jamming, clicking, play and vibration.
Fatigue chipping (pitting), noticeable wear and chips are not allowed on the raceways, balls and rollers (needles).
Shari separators bearings should not touch the rings, have cracks and breaks.
After a run of about 100 thousand km, it is better to replace all ball bearings, regardless of their condition.
The cuff of the input shaft, if any, is also replaced.
Before assembling, we lubricate the bearings, their seats, as well as the shafts with gear oil.
To assemble the secondary shaft roller bearing, apply any grease to the rollers.
We assemble the gearshift mechanism in the reverse order, starting with the installation of the fuse.
We install the spring and the ball-retainer of the reverse fork rod.
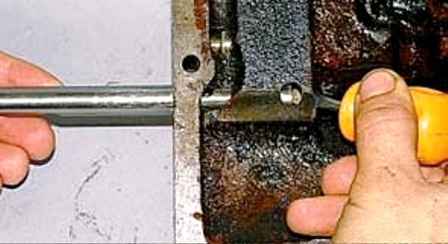
Sinking the ball with a flat screwdriver, insert the stem into the hole in the cover
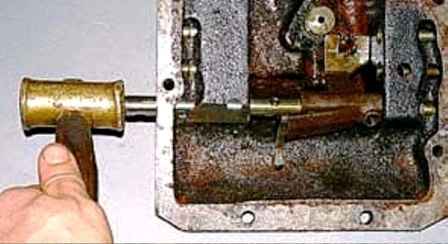
We put a fork on the stem, tapping on the end of the stem with a soft metal hammer, and fix it with a locking bolt, aligning the holes of the stem and fork
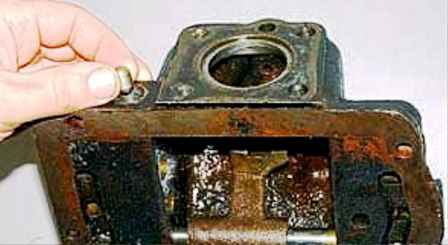
Install the plunger in the channel between the stem of the reverse gear fork and the stem of III-IV gears
In the same way, we install the stem of III–IV gears with a fork and the second plunger (between the stems of III–IV and I–II gears).
We install the stem of I-II gears, the fork, the ball with the spring and the plug-plug of the latch.
Having clamped the switching mechanism in a vise, and placing a lever on it, we check the correct assembly and operation of the mechanism. The rods should be easy to move and clearly fixed.
Secure the shift fork bolts with safety wire
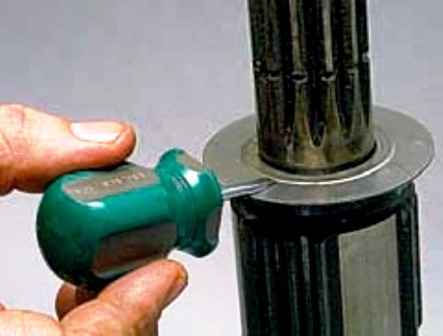
We orient the oil-slinger with the protrusion to the inner ring of the bearing
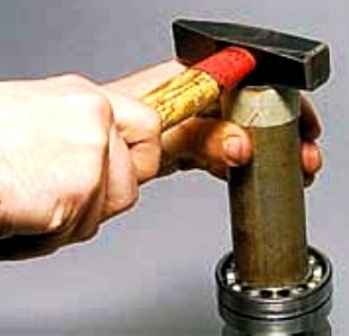
The bearings are pressed onto the shaft with a piece of pipe of suitable length and diameter
We further assemble the gearbox in the reverse order, while degreasing the gaskets and bolts of the crankcase covers and applying sealant to them.
Checking the gearshift on the assembled box by turning its shafts by hand.
Having installed the gearbox on the car and filling it with oil, we check its operation in motion.
Transmissions should be switched on clearly, without jamming and noise. At the same time, make sure that the gears are fully engaged.
The stroke of the lever when engaging the first gear in a gearbox with synchronizers only in gears III–IV is 2.5 times greater than when engaging the second gear.
Missing the first gear causes rapid wear and destruction of the gears.


