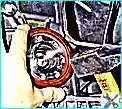
The pressure in the lubrication system is generated by a gear oil pump installed in the engine oil sump at the front of the cylinder block and driven by a chain drive from the crankshaft
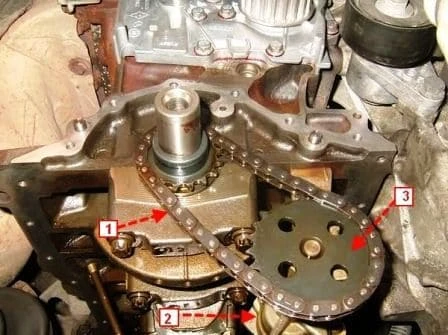
The pump draws oil from the engine oil sump through an oil receiver with a strainer and then through a full-flow oil filter with a porous paper filter element to the main oil line located in the body of the cylinder block on the left side.
The channels for supplying oil to the main bearings of the crankshaft depart from the main line.
Oil is supplied to the connecting rod bearings through channels made in the body of the crankshaft.
A channel for supplying oil to the camshafts departs from the main oil line.
To lubricate the camshaft bearings, oil from the vertical channel through a radial hole in the neck of the third bearing flows through a hollow bolt into the axial hole of the rocker arm axis, through which it is distributed between the remaining camshaft bearings and the rocker arms of the valve drive.
The camshaft cams are lubricated with oil sprayed through holes in the rocker arms.
From the head of the block, excess oil is drained into the oil sump through vertical drainage channels.
Removing and installing the oil pump
Tools will be required: socket heads for 10, 13, 16, 18, Torx E8, E14, a four-sided wrench, a set of screwdrivers, a retainer for setting the TDC, a camshaft retainer, engine oil, an oil drain container.
We drain the oil from the oil pan (article - Changing the oil and filter of the Renault Duster engine)
Removing the oil pan (article - Replacing the Renault Duster engine pan gasket)
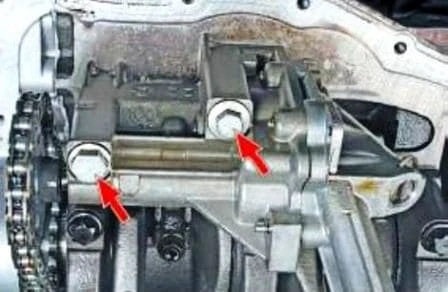
We unscrew the two bolts of the oil pump
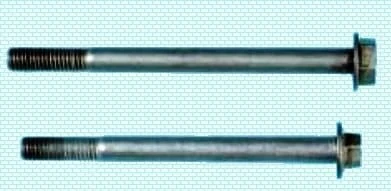
Bolts have different lengths
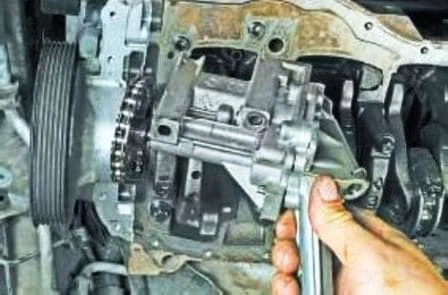
Lower the pump a little
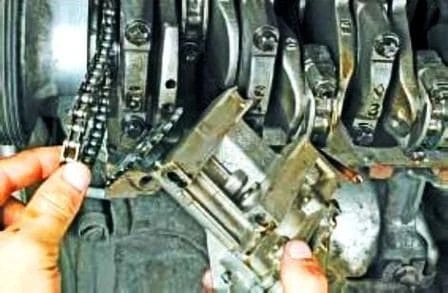
Remove the chain from the pump sprocket.
Install the parts in reverse order.
Tighten the oil pump bolts to 25 Nm.
Replacing the oil pump drive chain and gear
We install the car on a lift or inspection ditch
We drain the oil from the engine oil sump (article - Changing the oil and filter of the Renault Duster engine)
We remove the auxiliary drive belt (article - Checking and replacing the Renault Duster auxiliary drive belt)
We remove the timing belt (article - Checking and replacing the timing belt of a Renault Duster car)
Remove the oil pan (Replacing the Renault Duster engine pan gasket)
Remove the oil pump as described above.
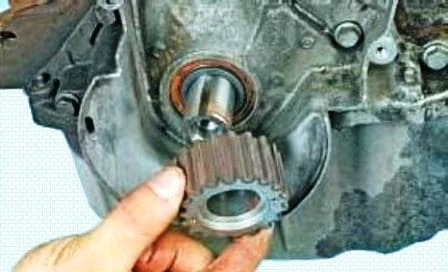
Remove the crankshaft gear
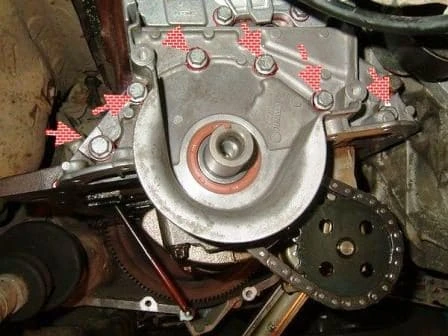
We unscrew the bolts of the crankshaft front cover
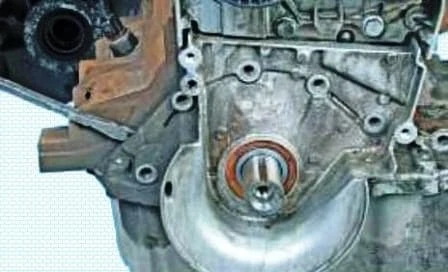
Pry off the front cover of the crankshaft with a screwdriver
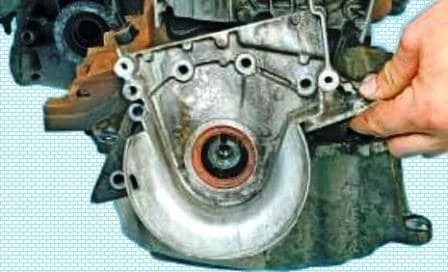
Remove the cover
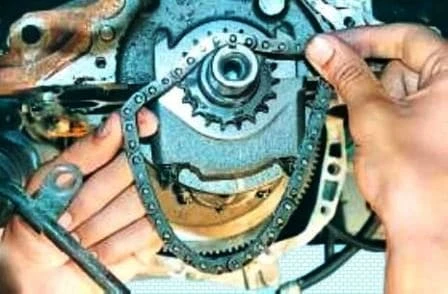
Remove the pump drive chain
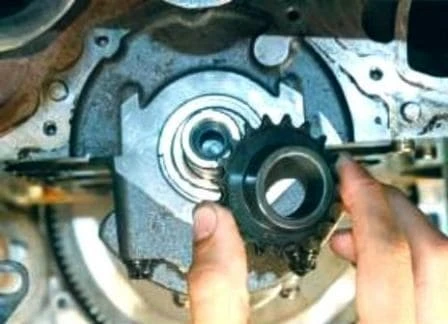
Remove the oil pump drive gear
Install the parts in reverse order.
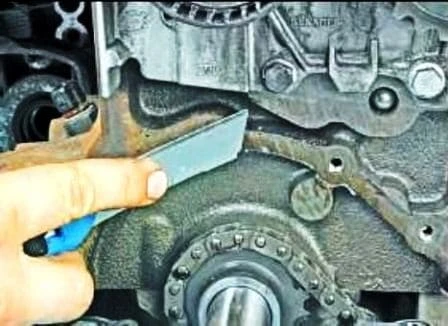
Before installing the front cover of the crankshaft, we clean the mating surfaces of the cylinder block
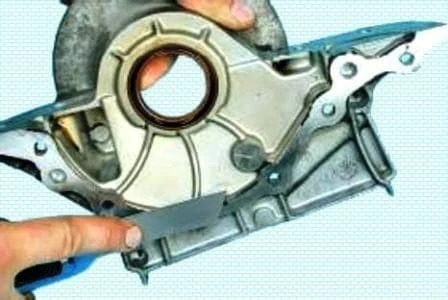
Cleaning the lid from sealant residue
We apply sealant to the mating surface of the front cover of the crankshaft and install the cover.
Oil pump detection and repair
Tools will be required: socket heads 10, 13, Torx E8, square wrench, engine oil, oil drain container, special sealant, wrench 8, pliers, metal ruler, a set of flat feelers.
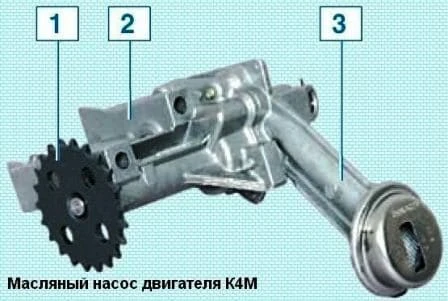
Remove the oil pump, as described at the beginning of the article
Drain the oil from the pump
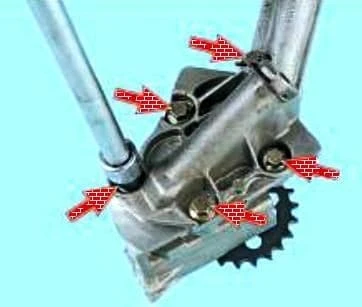
We unscrew the five bolts securing the oil pump cover
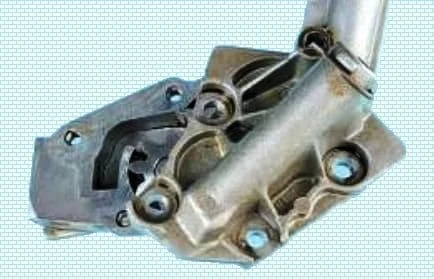
Remove the oil pump cover.
Remove the spring retainer of the pressure reducing valve
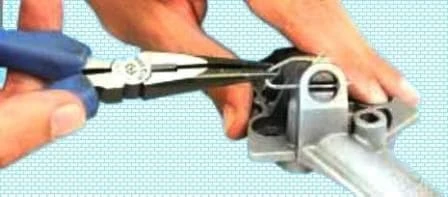
Reducing valve spring is preloaded.
Remove the latch carefully, holding the spring stop.
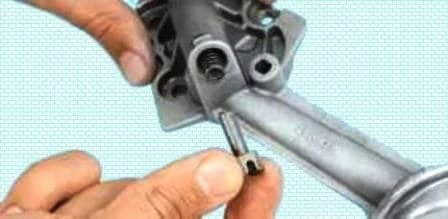
Removing the spring stop
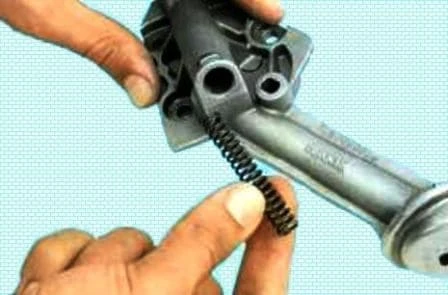
Remove the spring
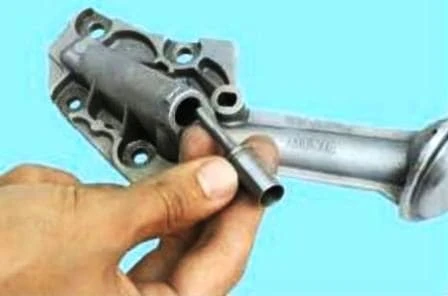
Remove the pressure reducing valve plunger
Measuring the radial clearance between the gears and the pump housing
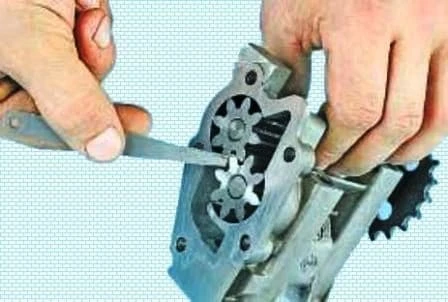
The gap should be 0.110-0.249 mm.
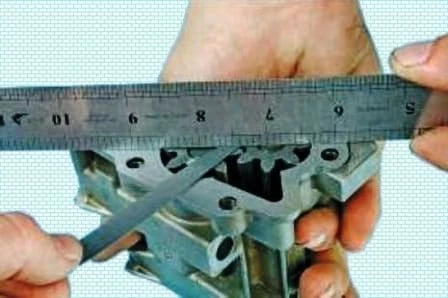
We measure the axial clearance of the gears. It should be equal to 0.020-0.086 mm.
If the measured clearances are out of specification, replace the housing or pump assembly.
We wash the pump housing and parts.
We remove deposits from the internal cavities of the pump.
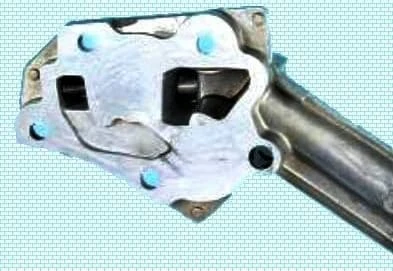
Inspecting the pump housing and cover.
In the presence of cracks, scratches, casting defects, damage to the threaded holes, we replace the housing or the pump assembly.
Check the pressure reducing valve spring for permanent deformation and bending.
We replace the damaged spring.
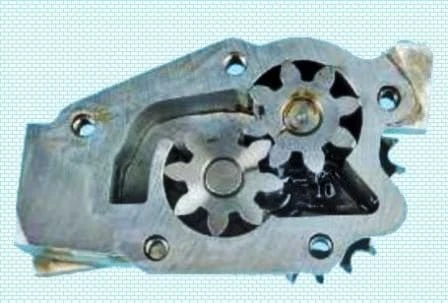
Check the gears for metal chipping, scuffing and tooth wear.
Assemble the pump in reverse order.


